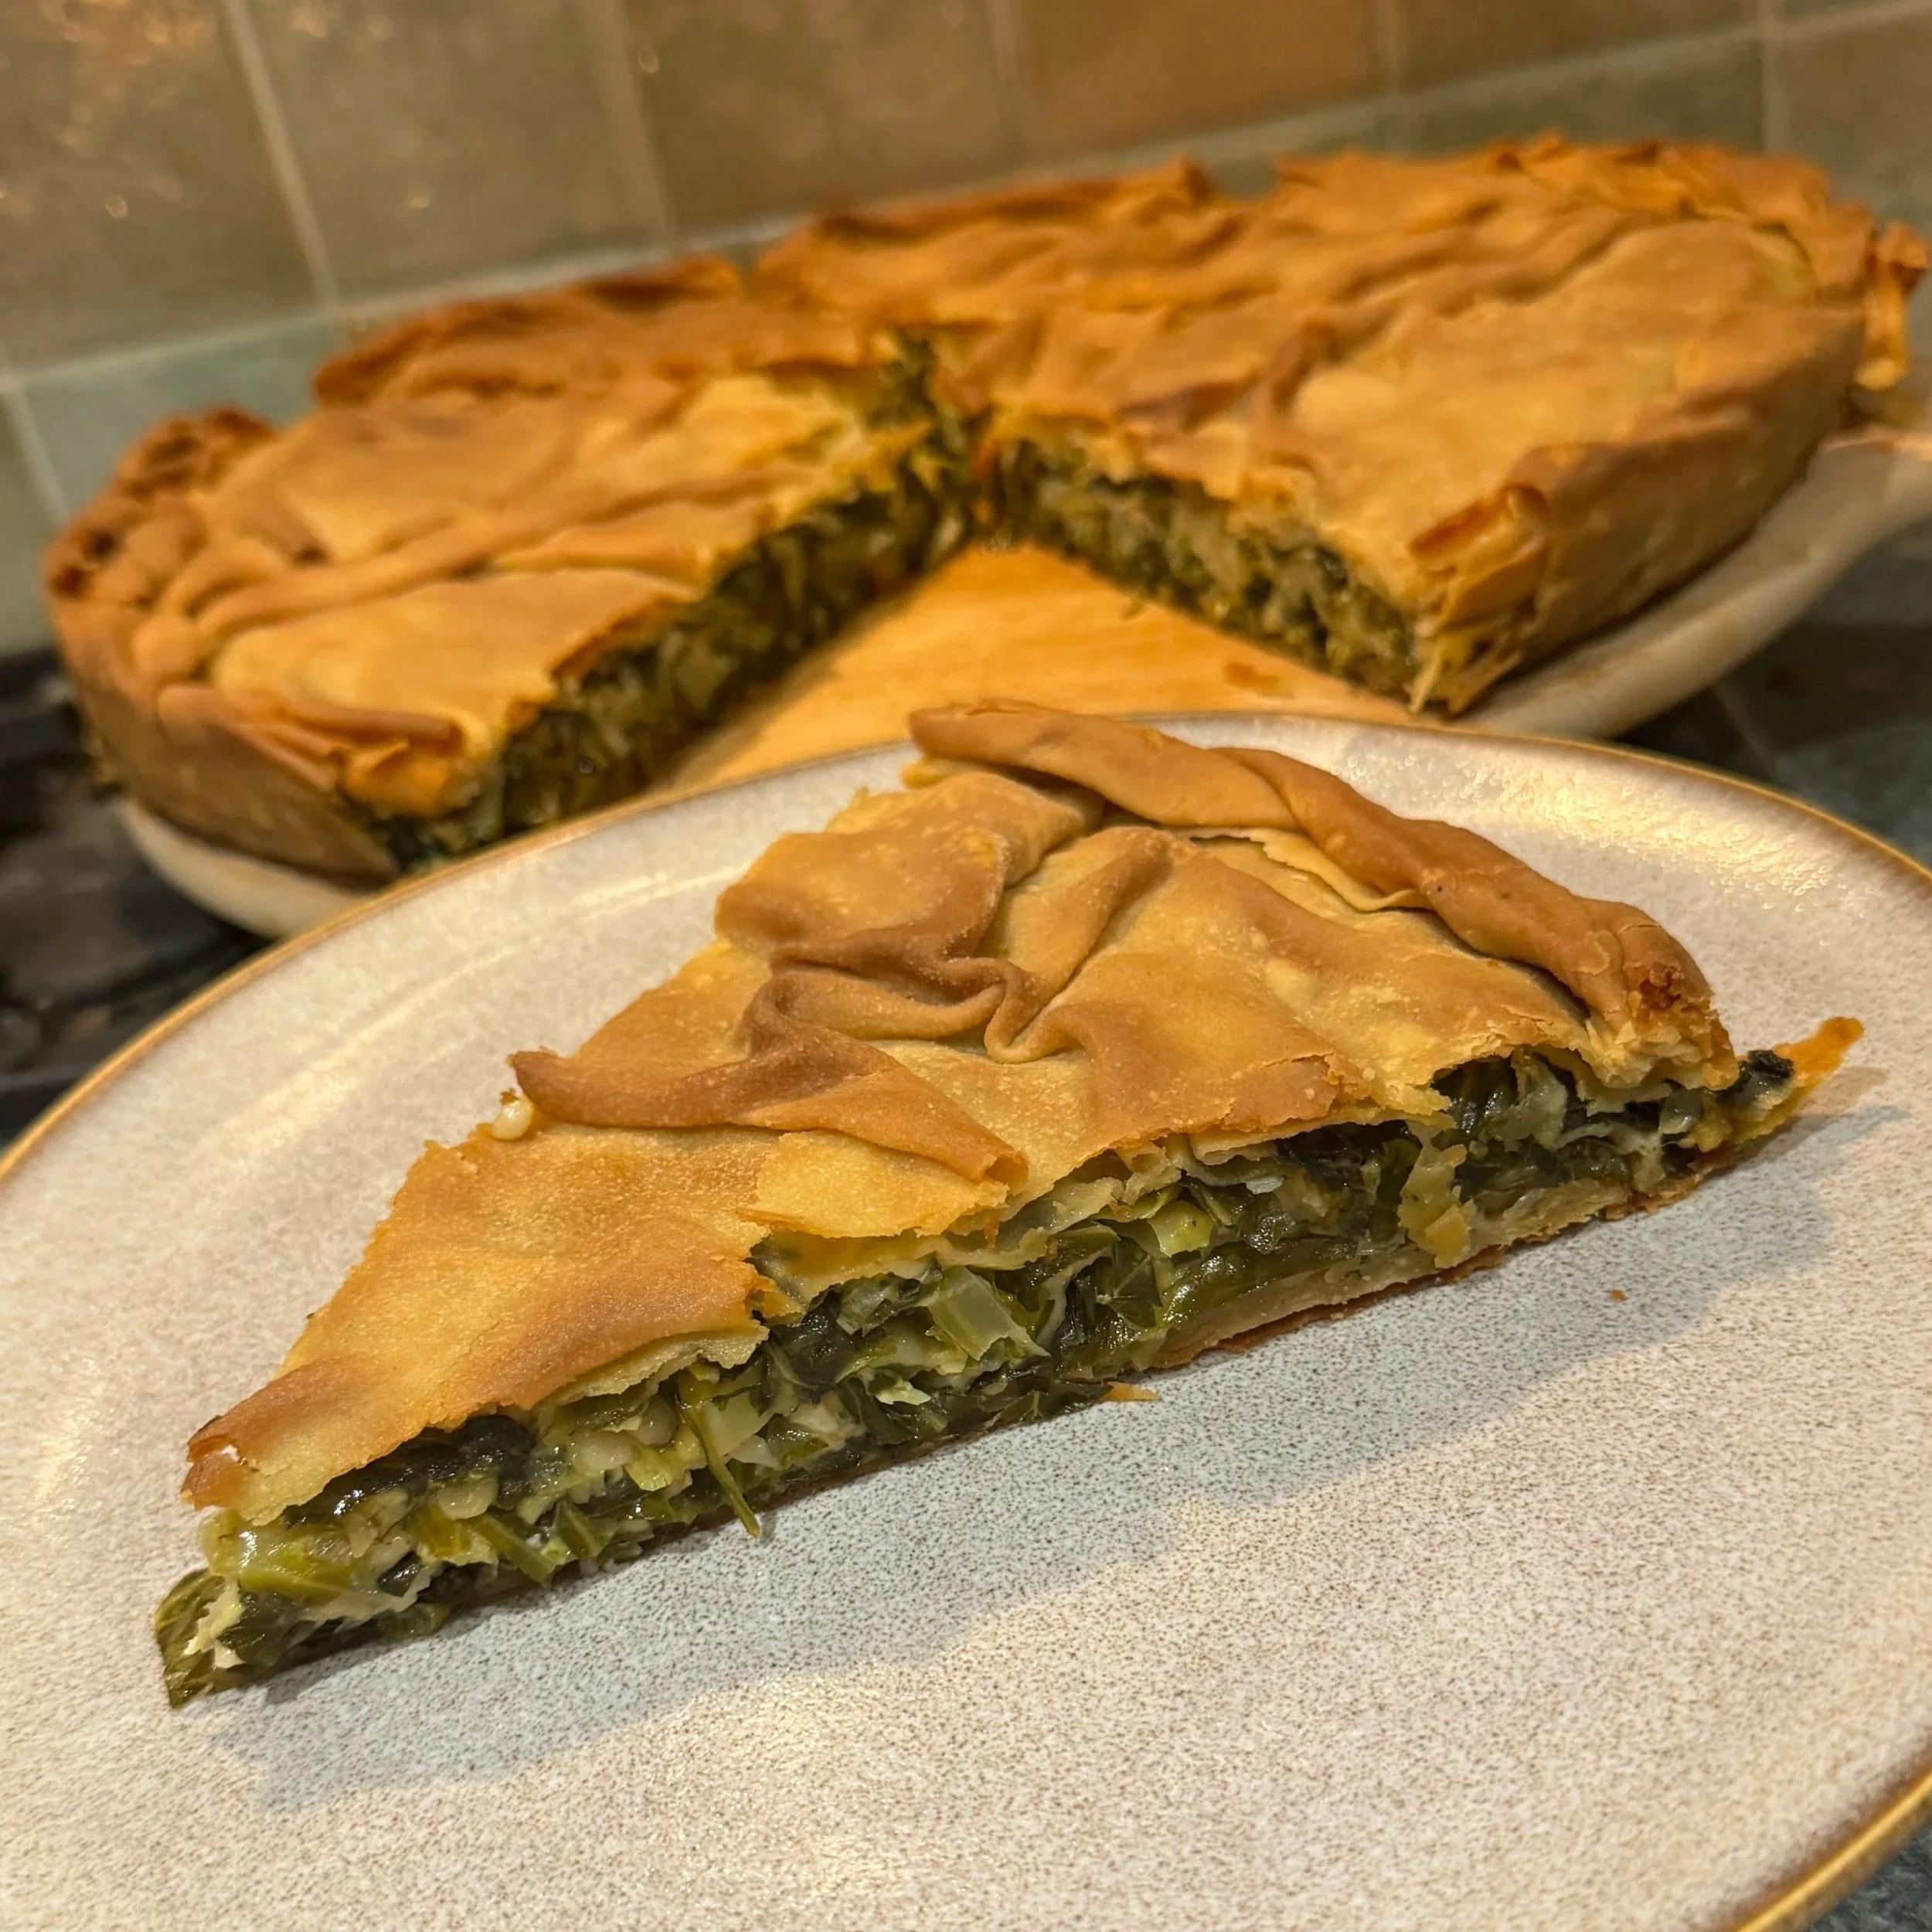
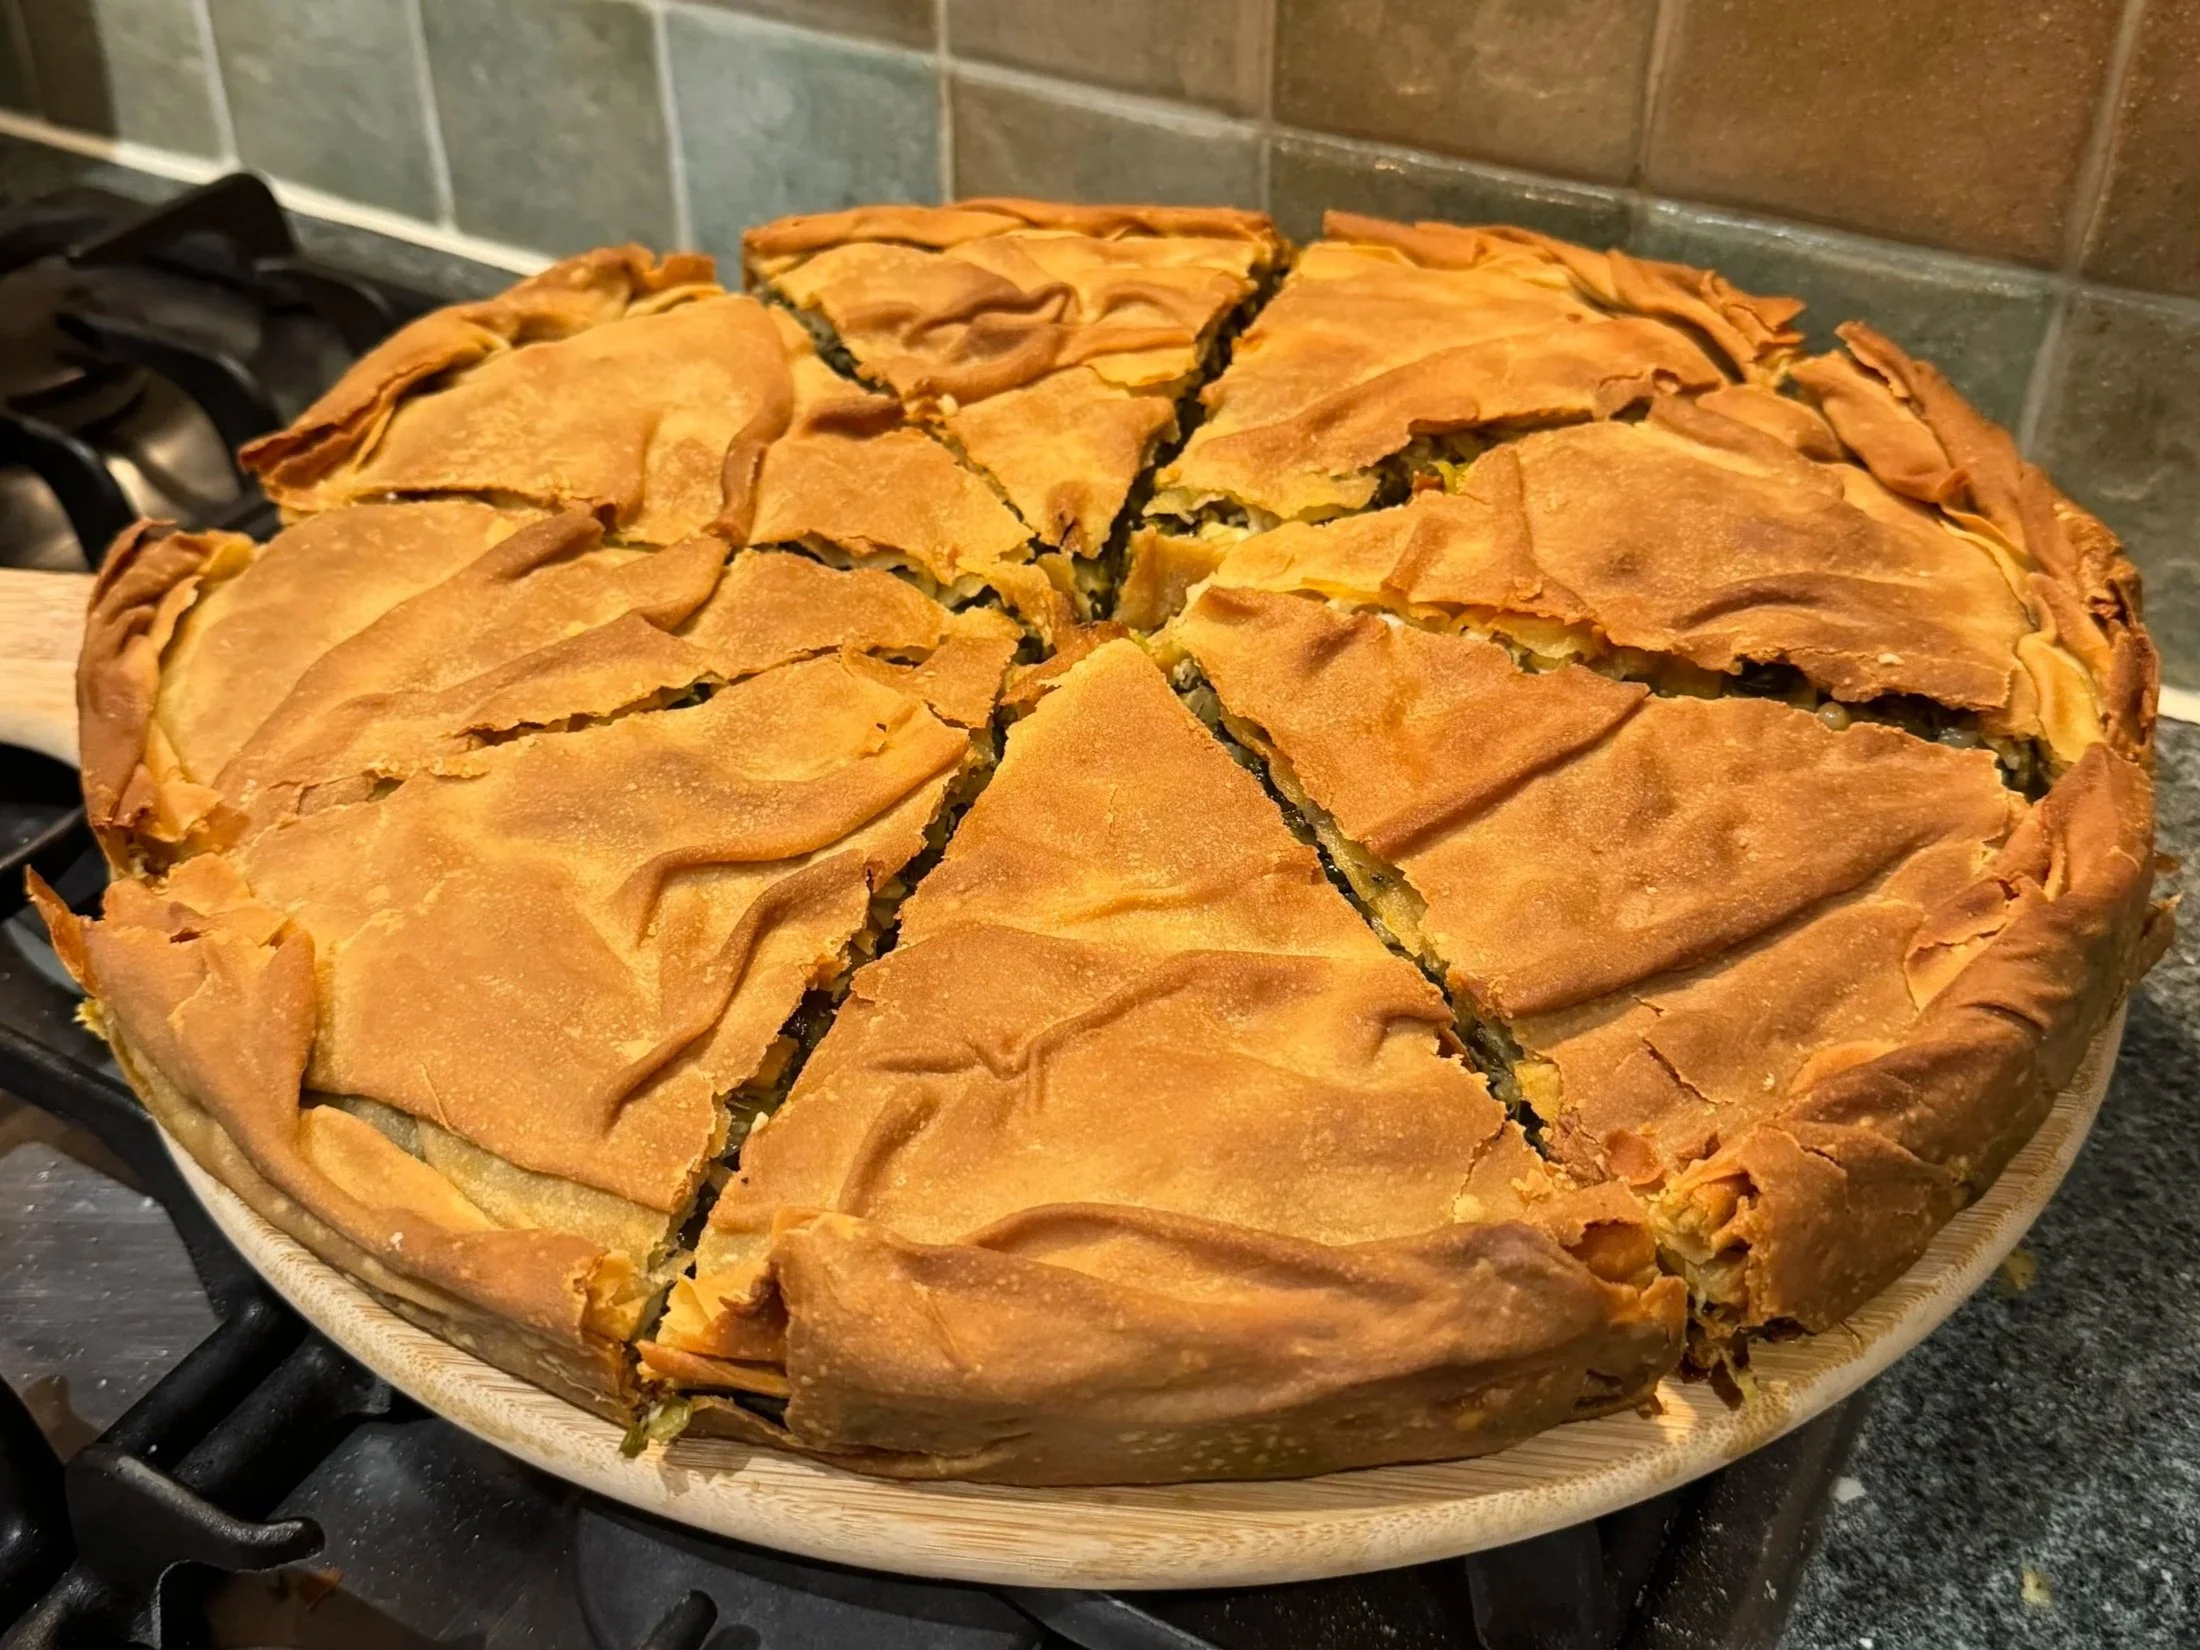
Traditional Spanakopita Recipe

Spanakopita recipe aka hortopita recipe
What does pita actually mean in Greek?
Pita means pie. It’s one of the most traditional, guaranteed aspects of Greek cuisine, from the mountains to the islands, village to city, antiquity to modernity. The food of the village and of the poor – but the happy poor who ate healthily, lived off the land and knew how to share it. For them, it was a regular meal, straight from the garden (perivóli/kýpo/etc,). In his modern Greek lexicon, Triantafyllides defines ‘pita’ as “food or confection with or without filo pastry and with a variety of ingredients, which is cooked in the oven” (φαγητό ή γλύκισμα με ή χωρίς φύλλο ζύμης και με διάφορα άλλα υλικά, που ψήνεται στον φούρνο).
Almost everyone knows and loves Greek pites, more specifically spanakopita and tyropita (cheese pie), both of which seem capable of random bursts of virality whenever the next English-speaking travel influencer discovers it for the first time. Nowadays, pita is also the word for the flatbread that appears in Athens from the mid-1920s, which Greeks use for souvlaki and gyros wraps. Pita might also describe the wrap as a whole. However, say pita to a Greek, and the first thing they will assume you are talking about is a version of this recipe here. The traditional Greek pie. Often made with filo pastry, sometimes not. Often in a large tray, sometimes in smaller hand-sized pockets.

As you’ll see below, there are a couple of different ways in which you can make this recipe, to your liking.
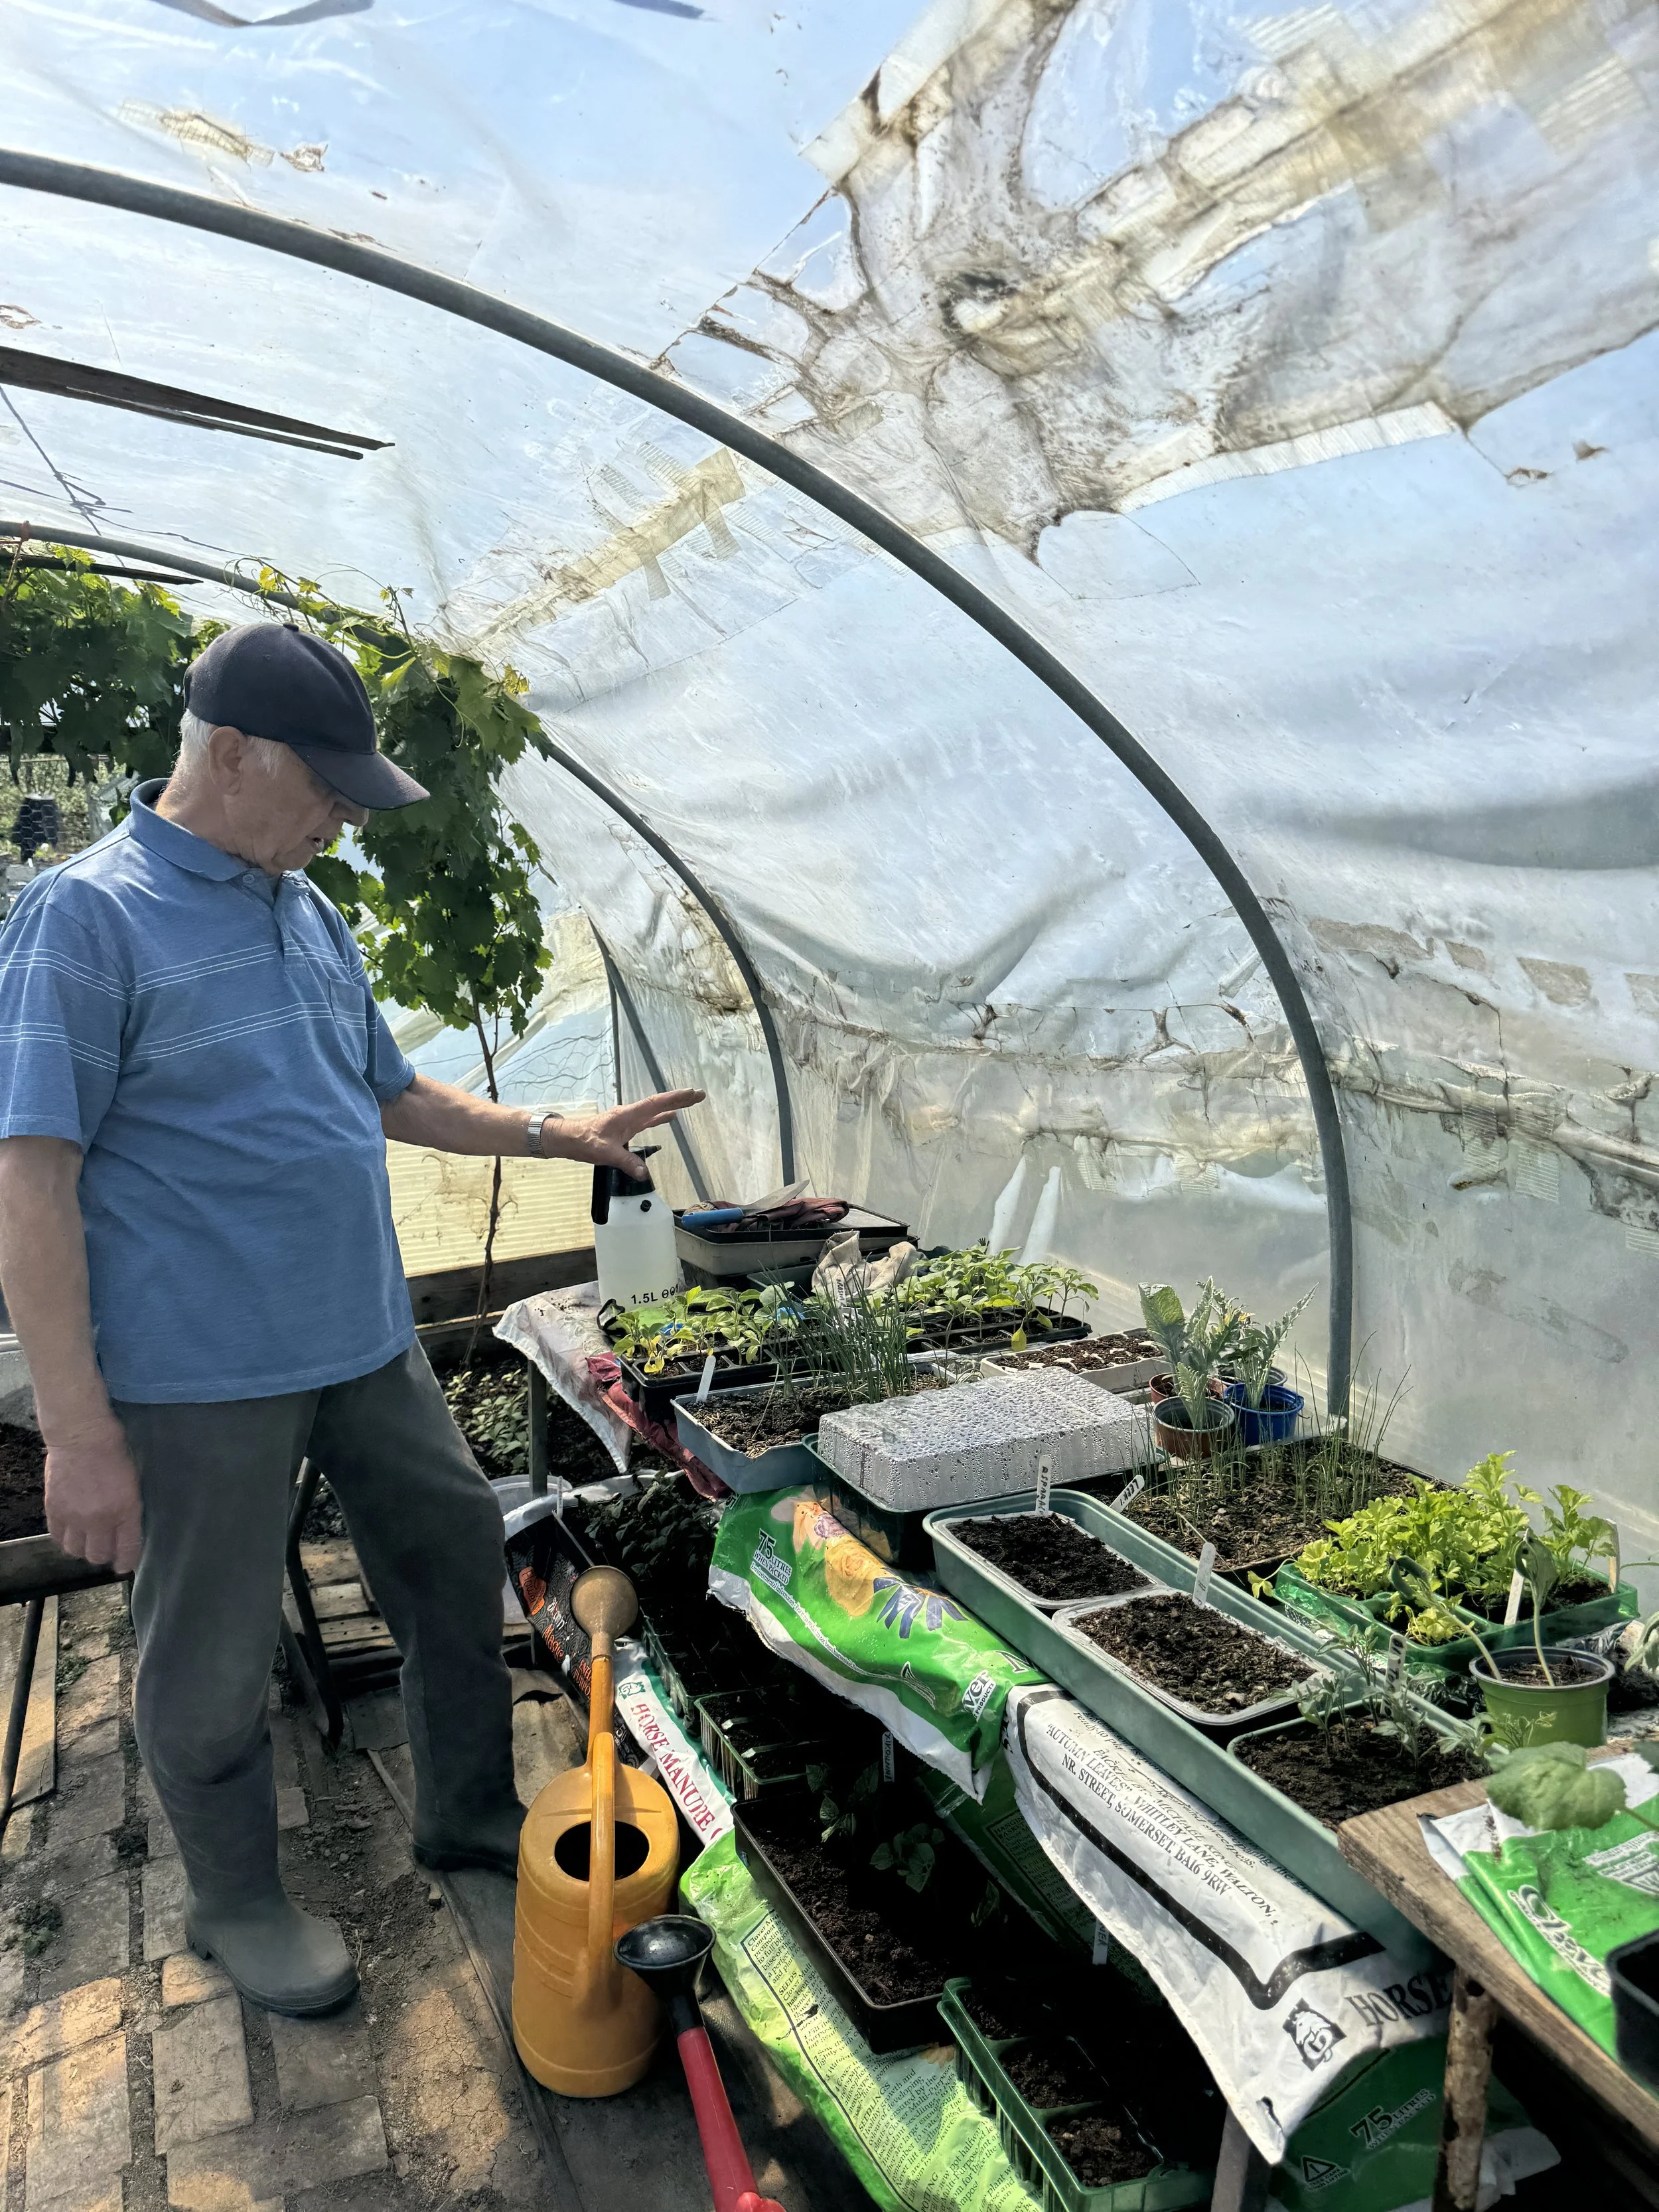
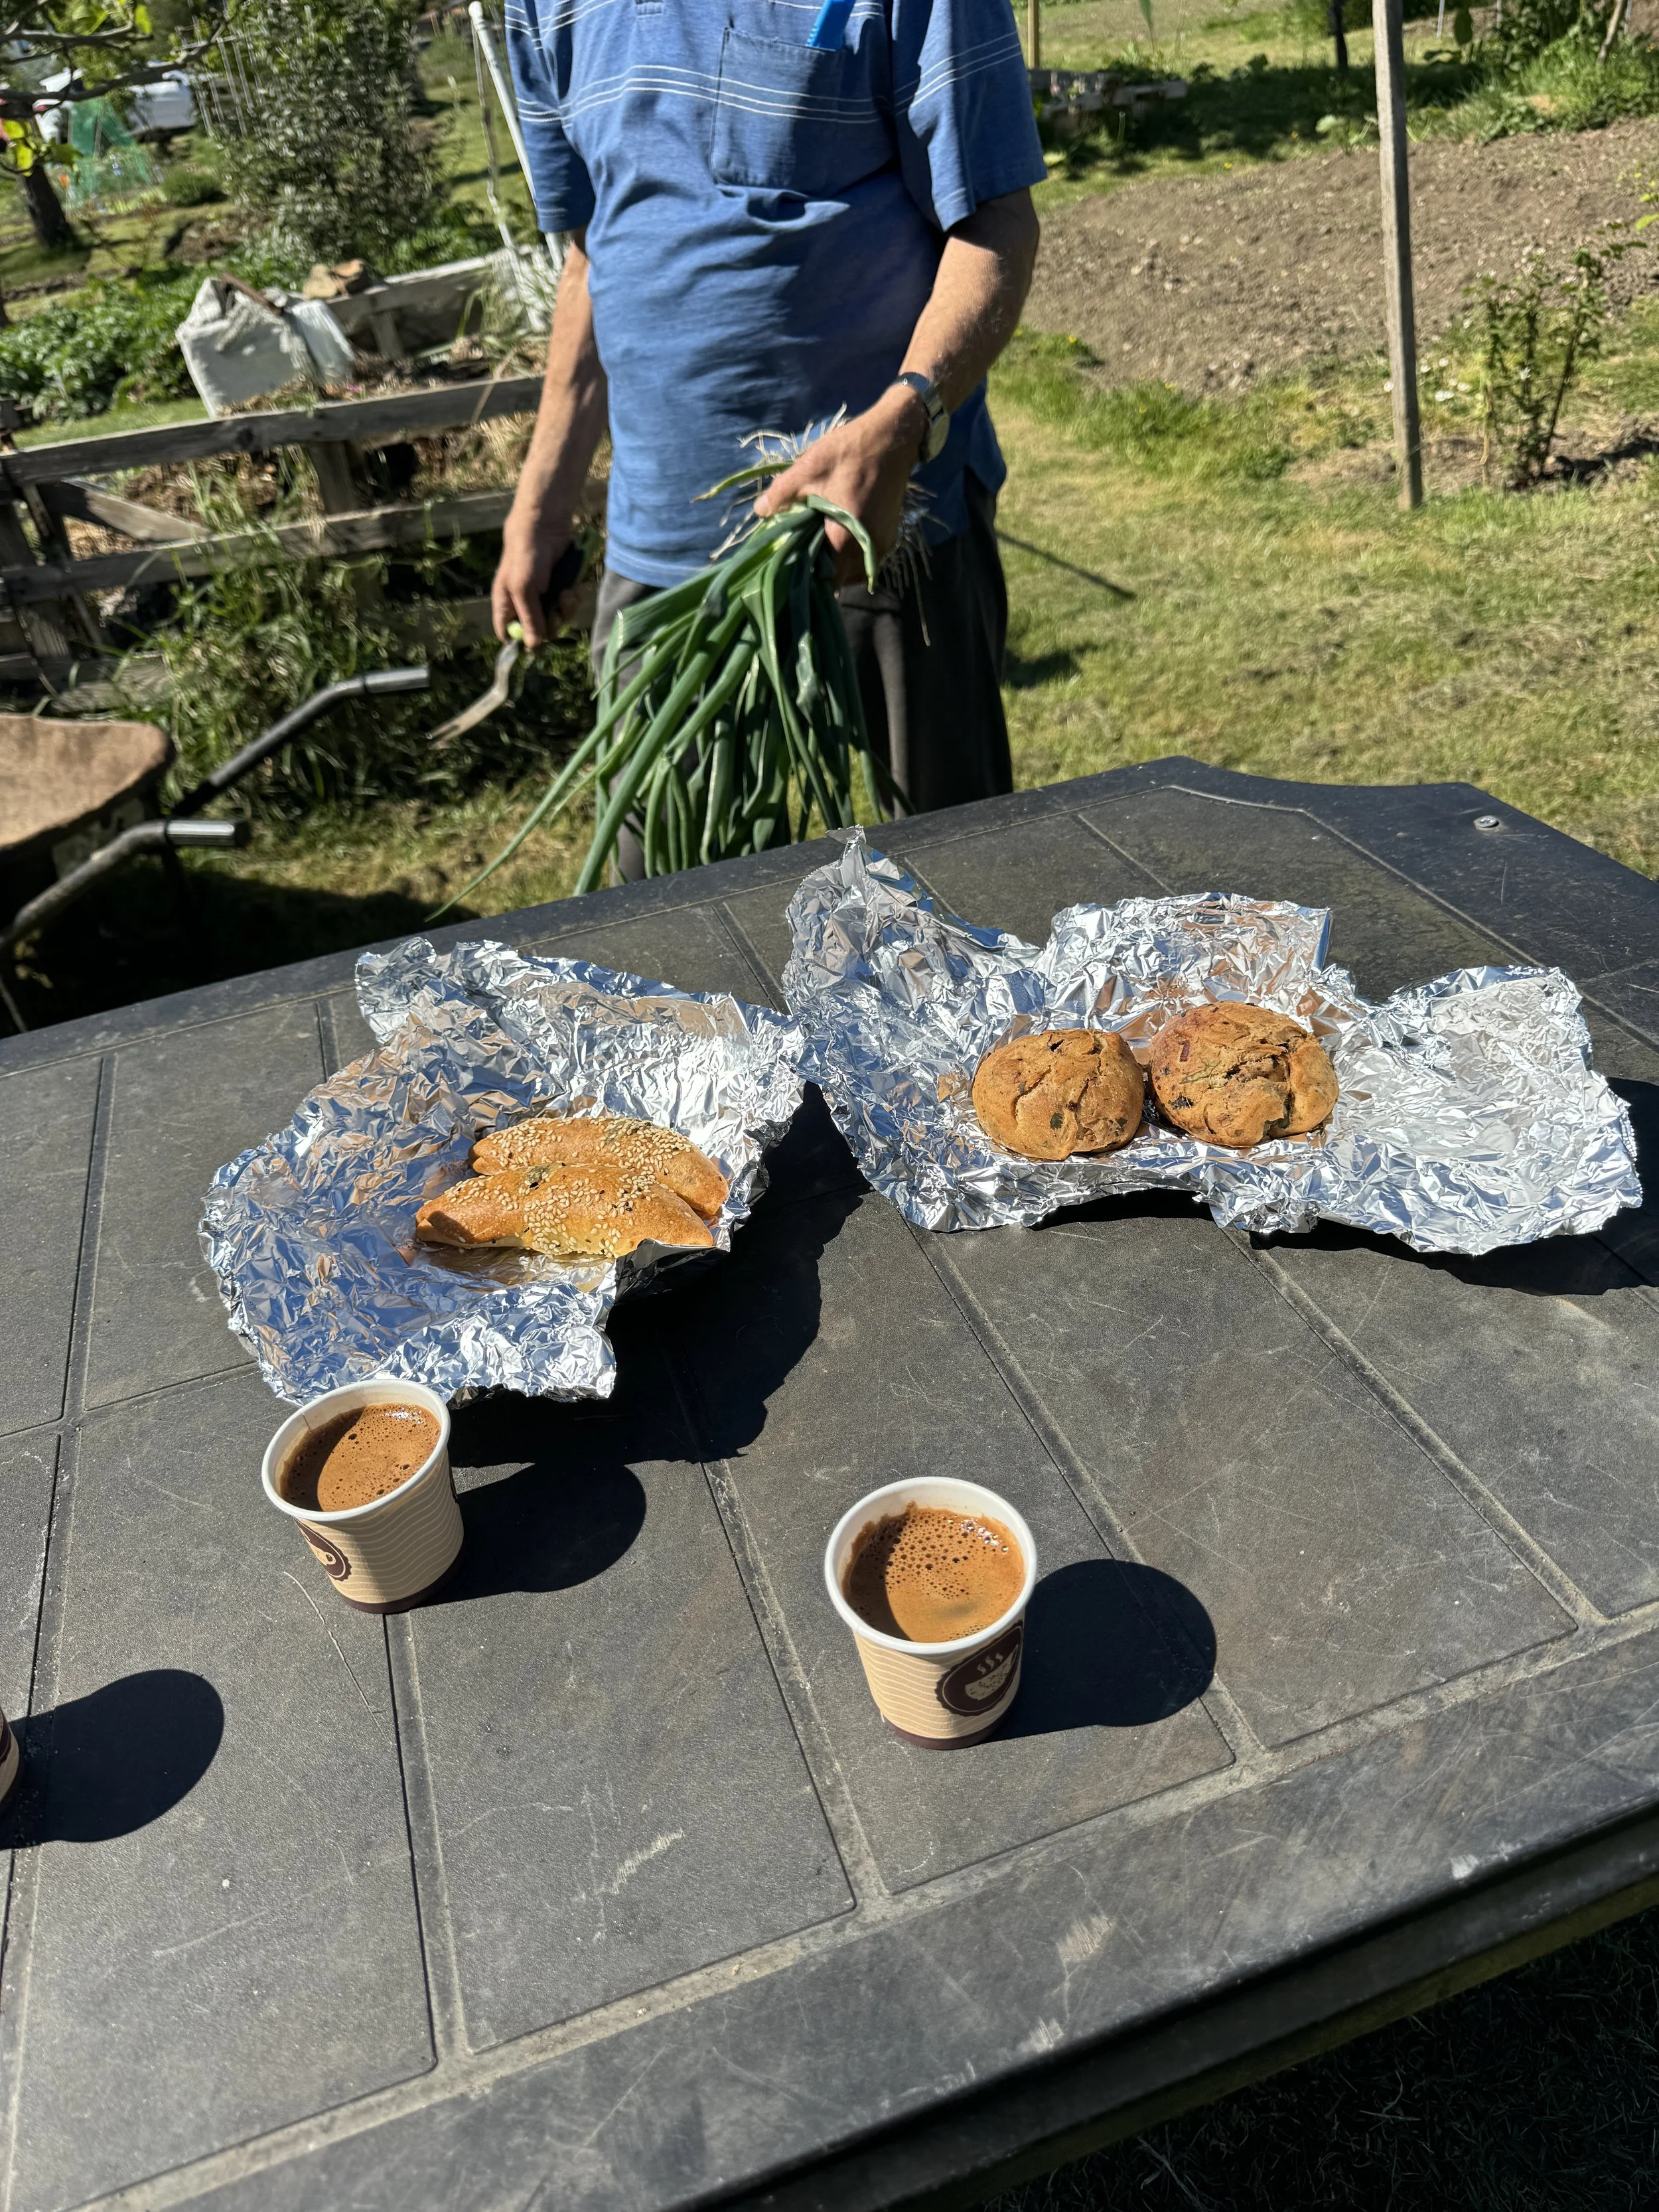
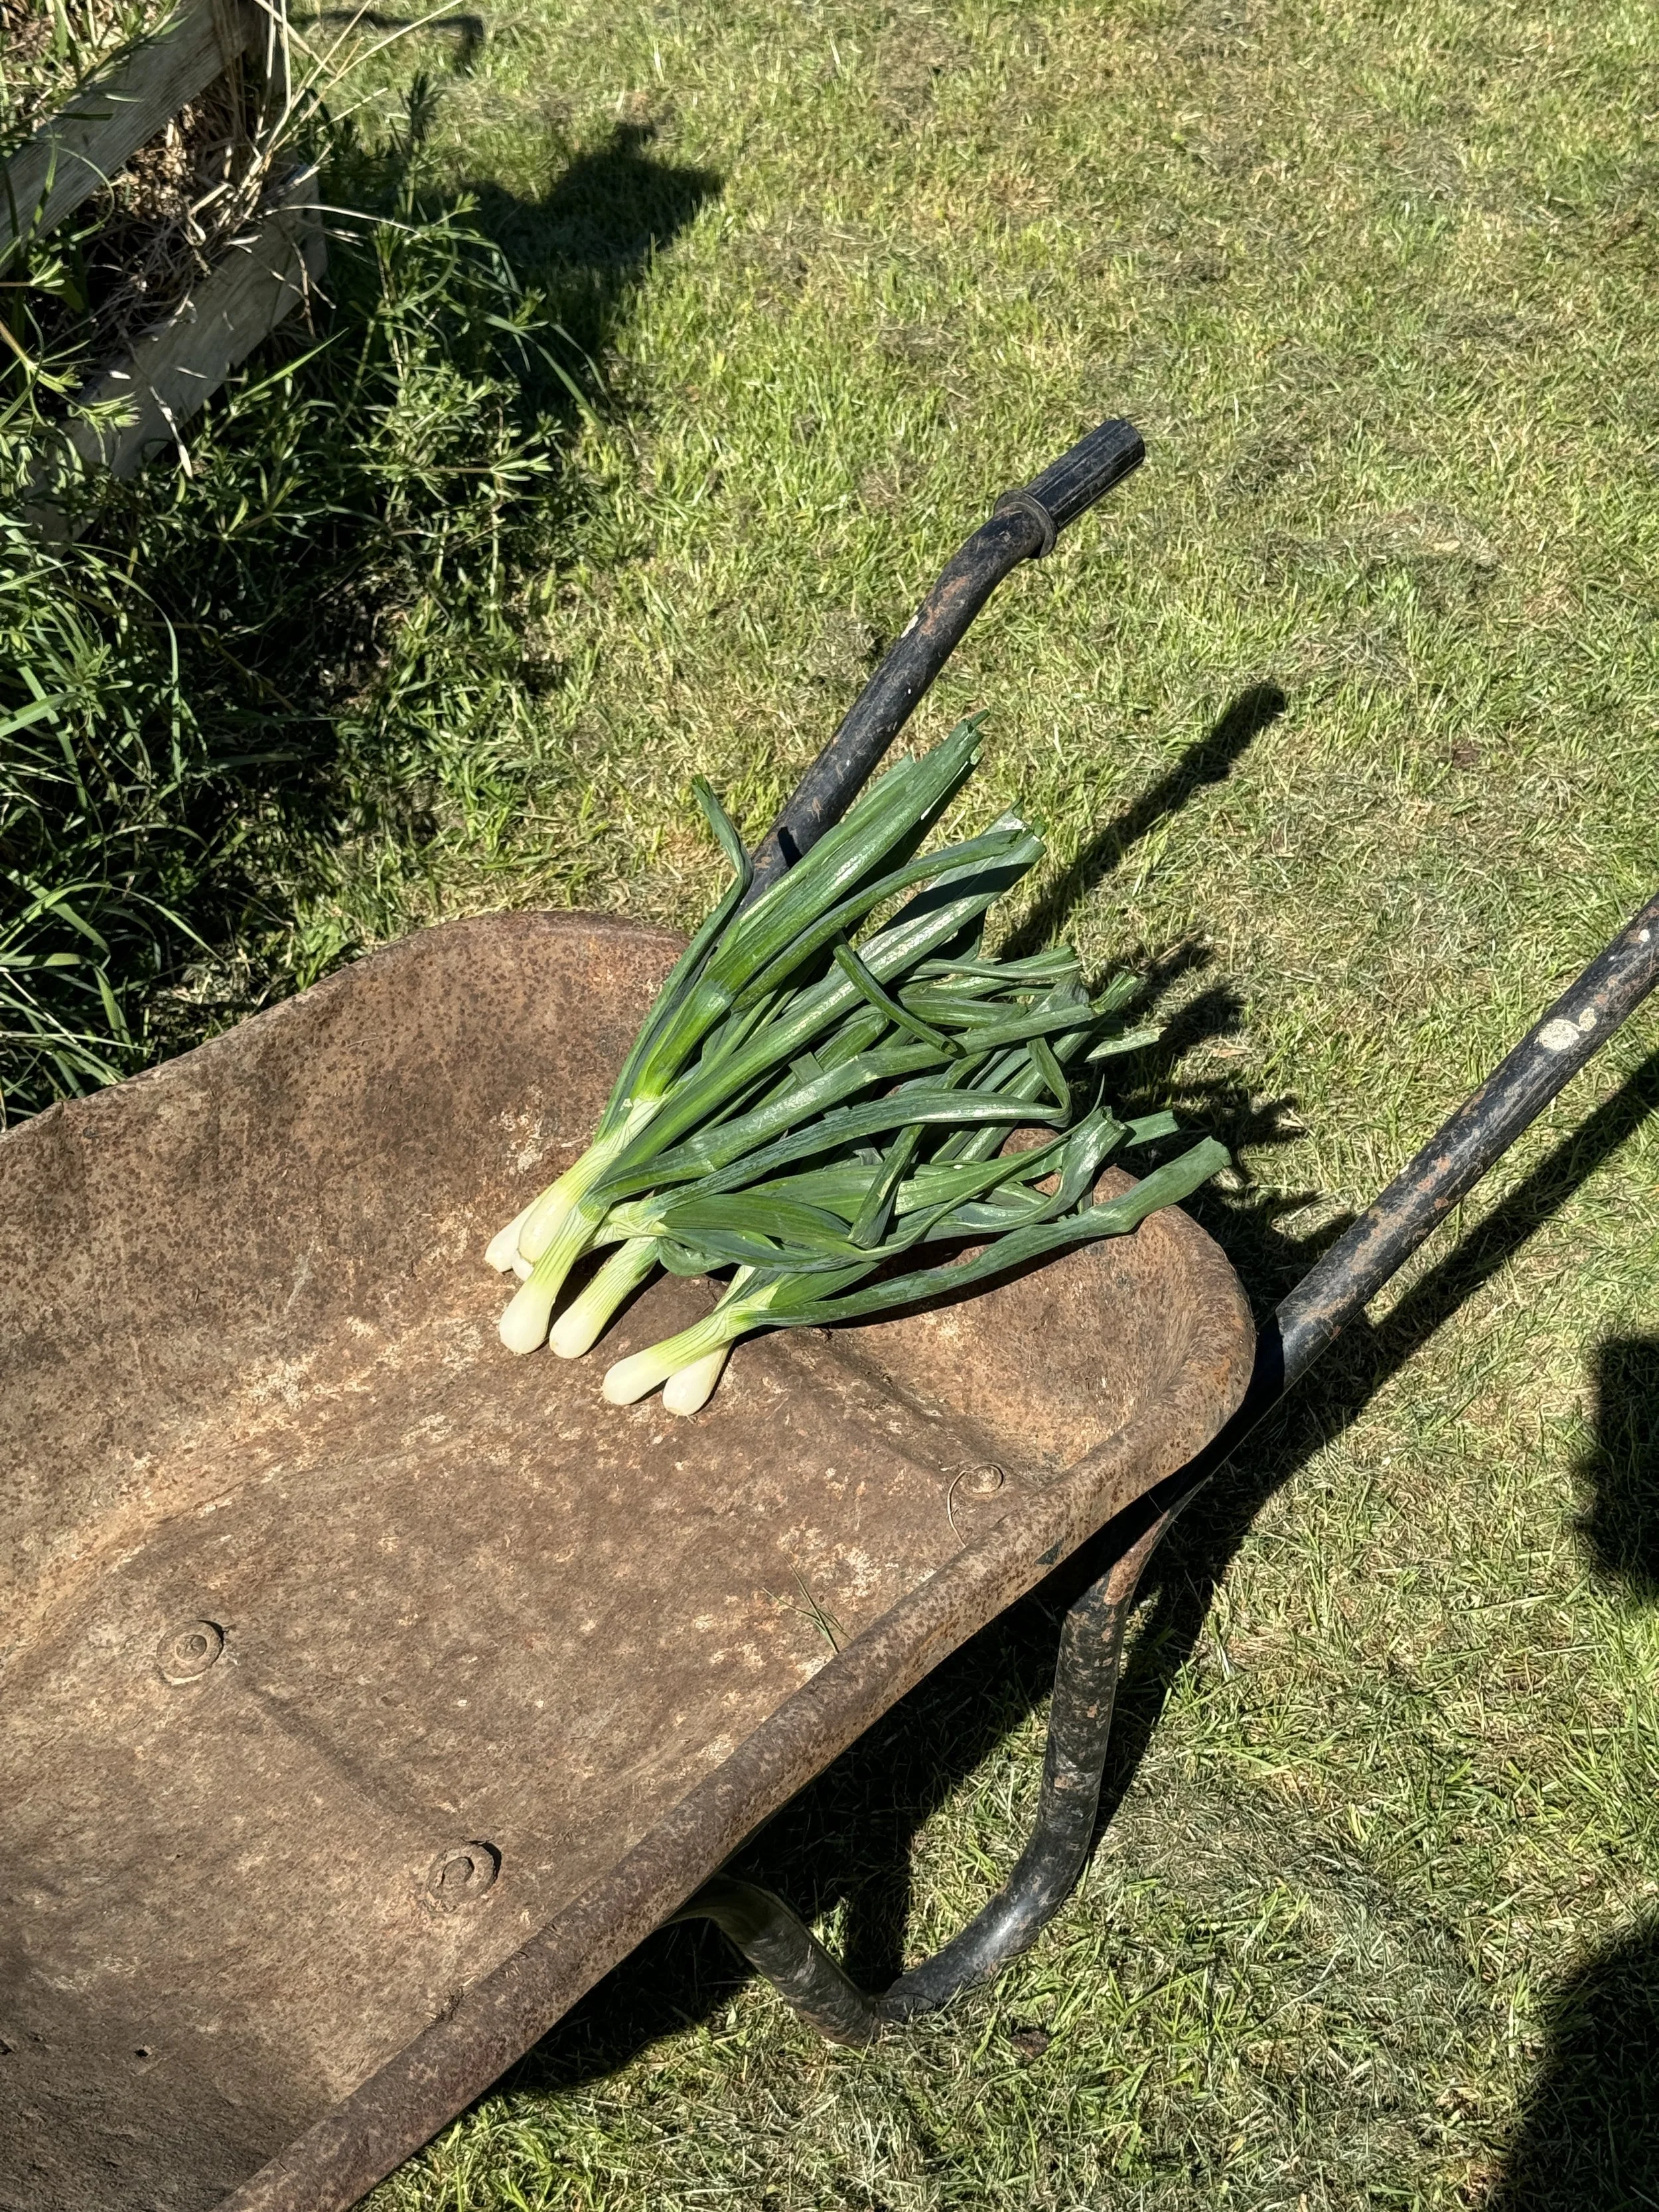
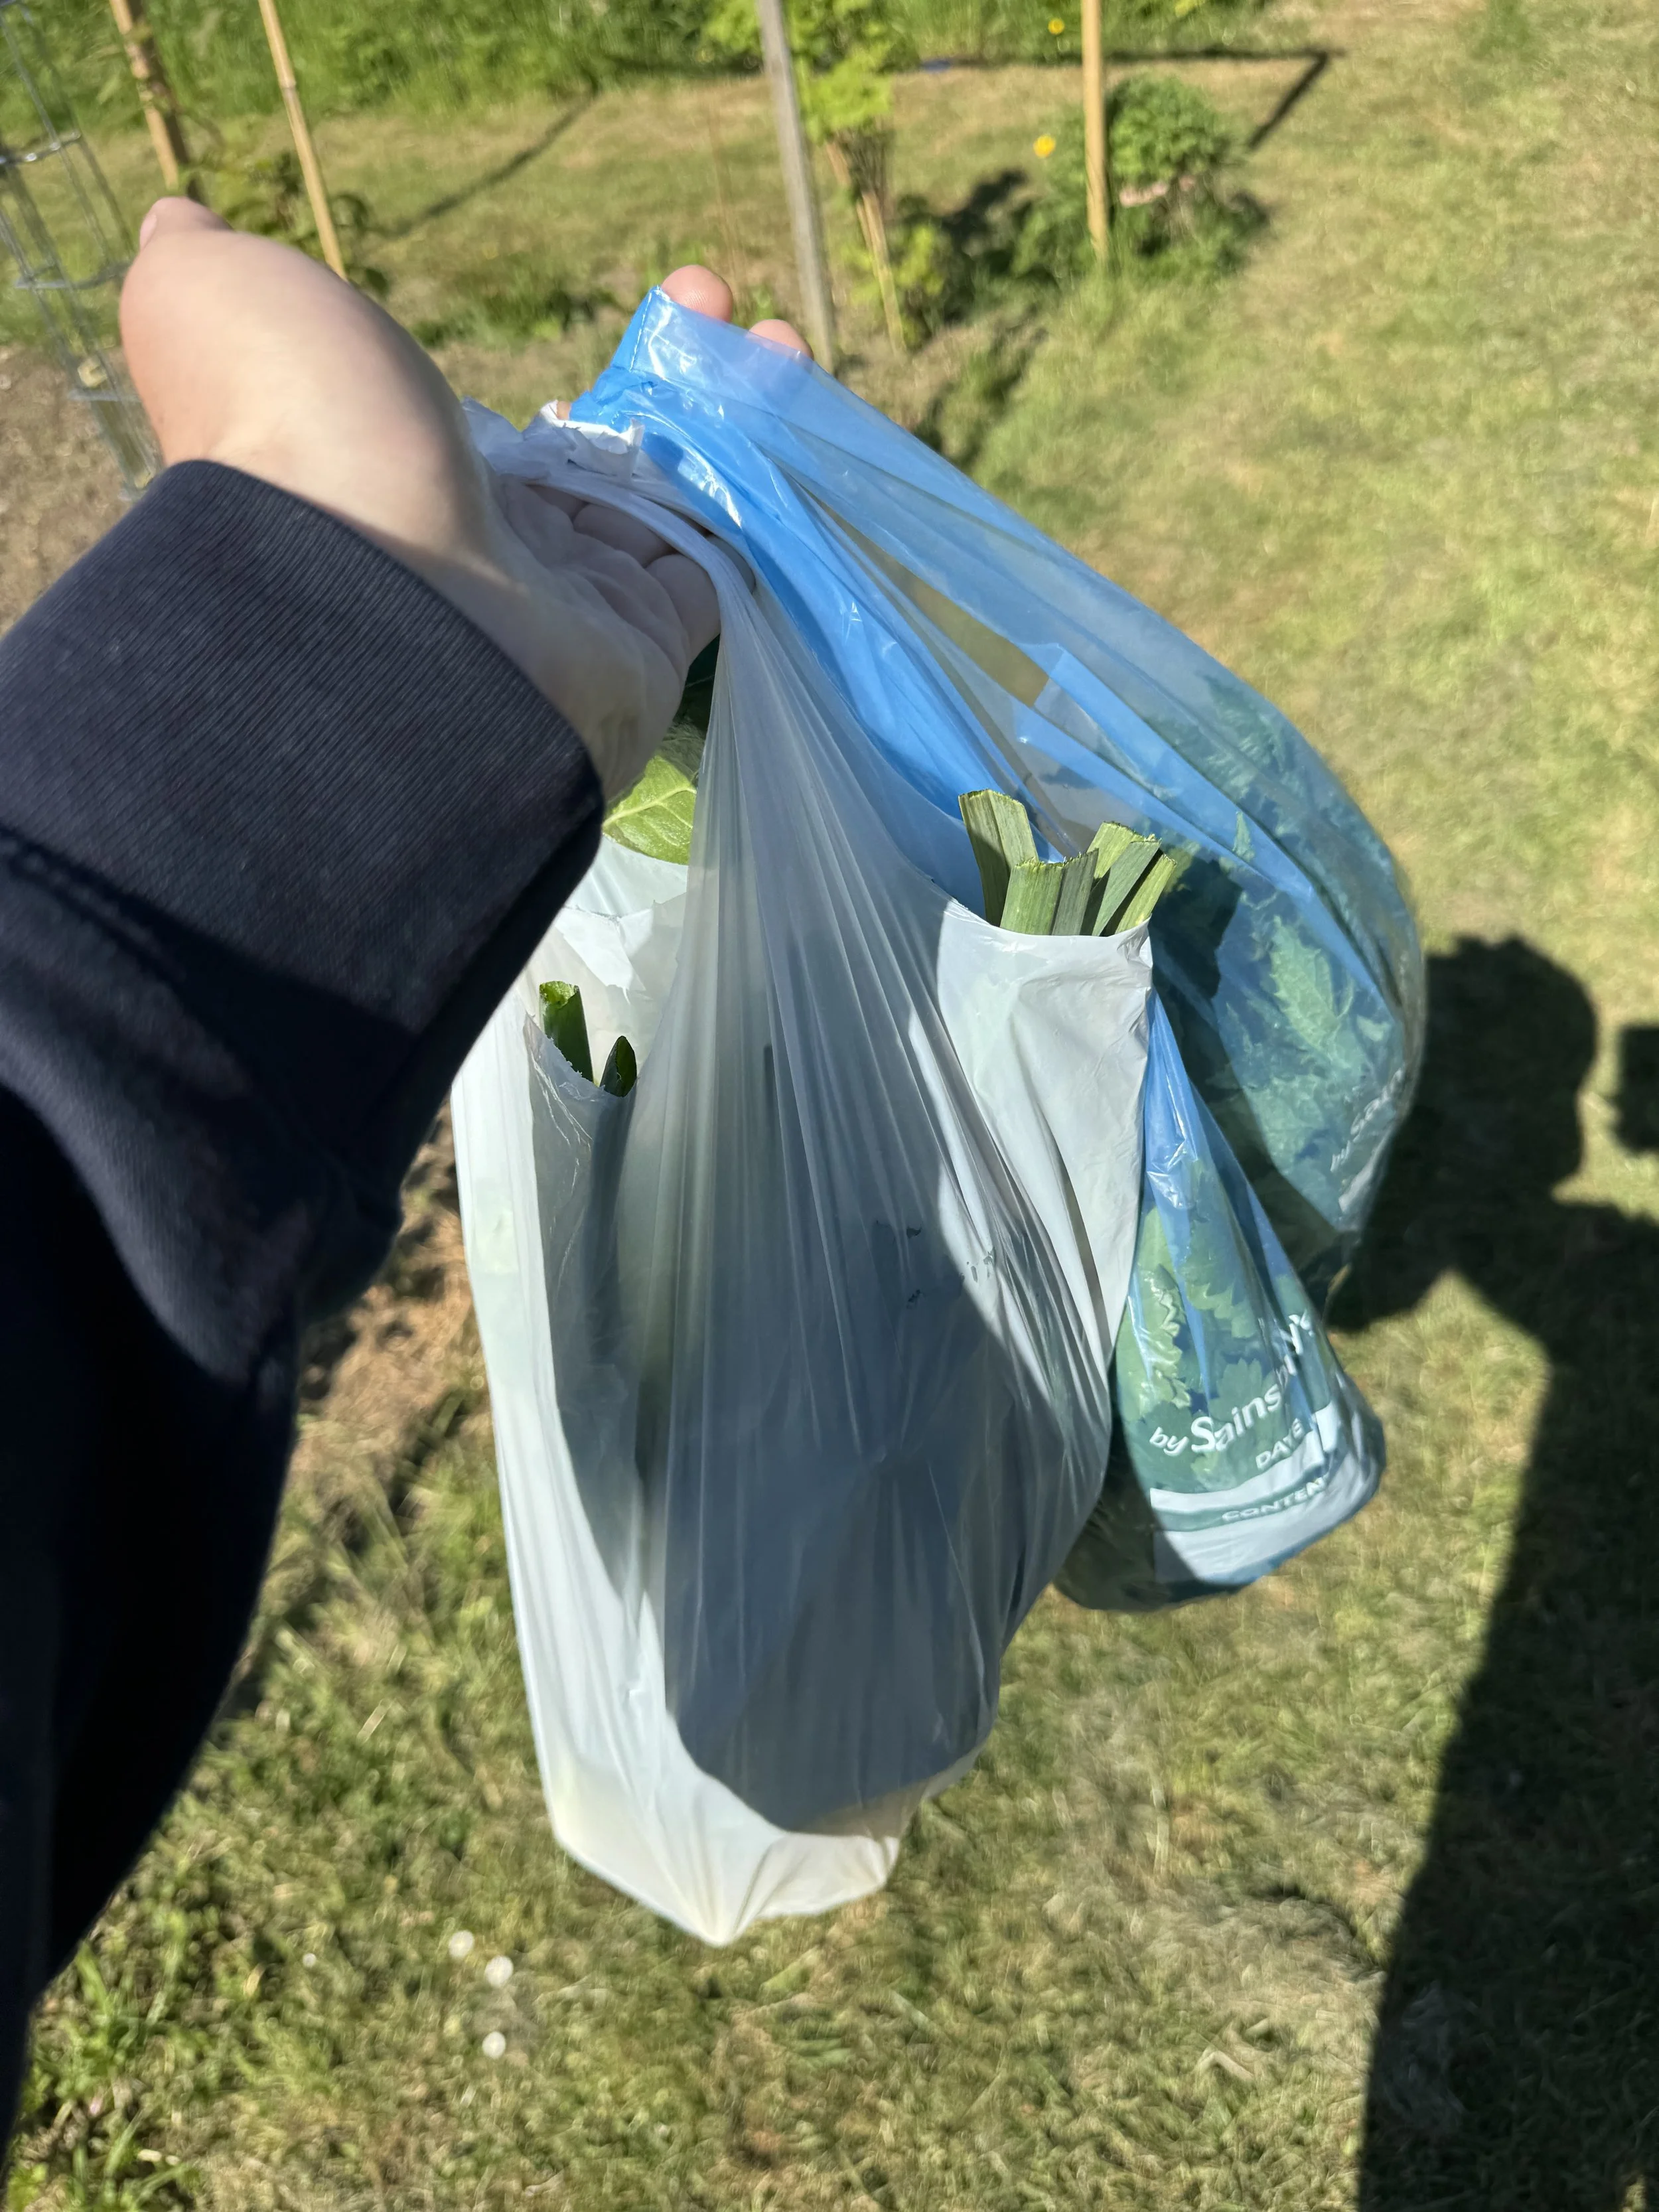
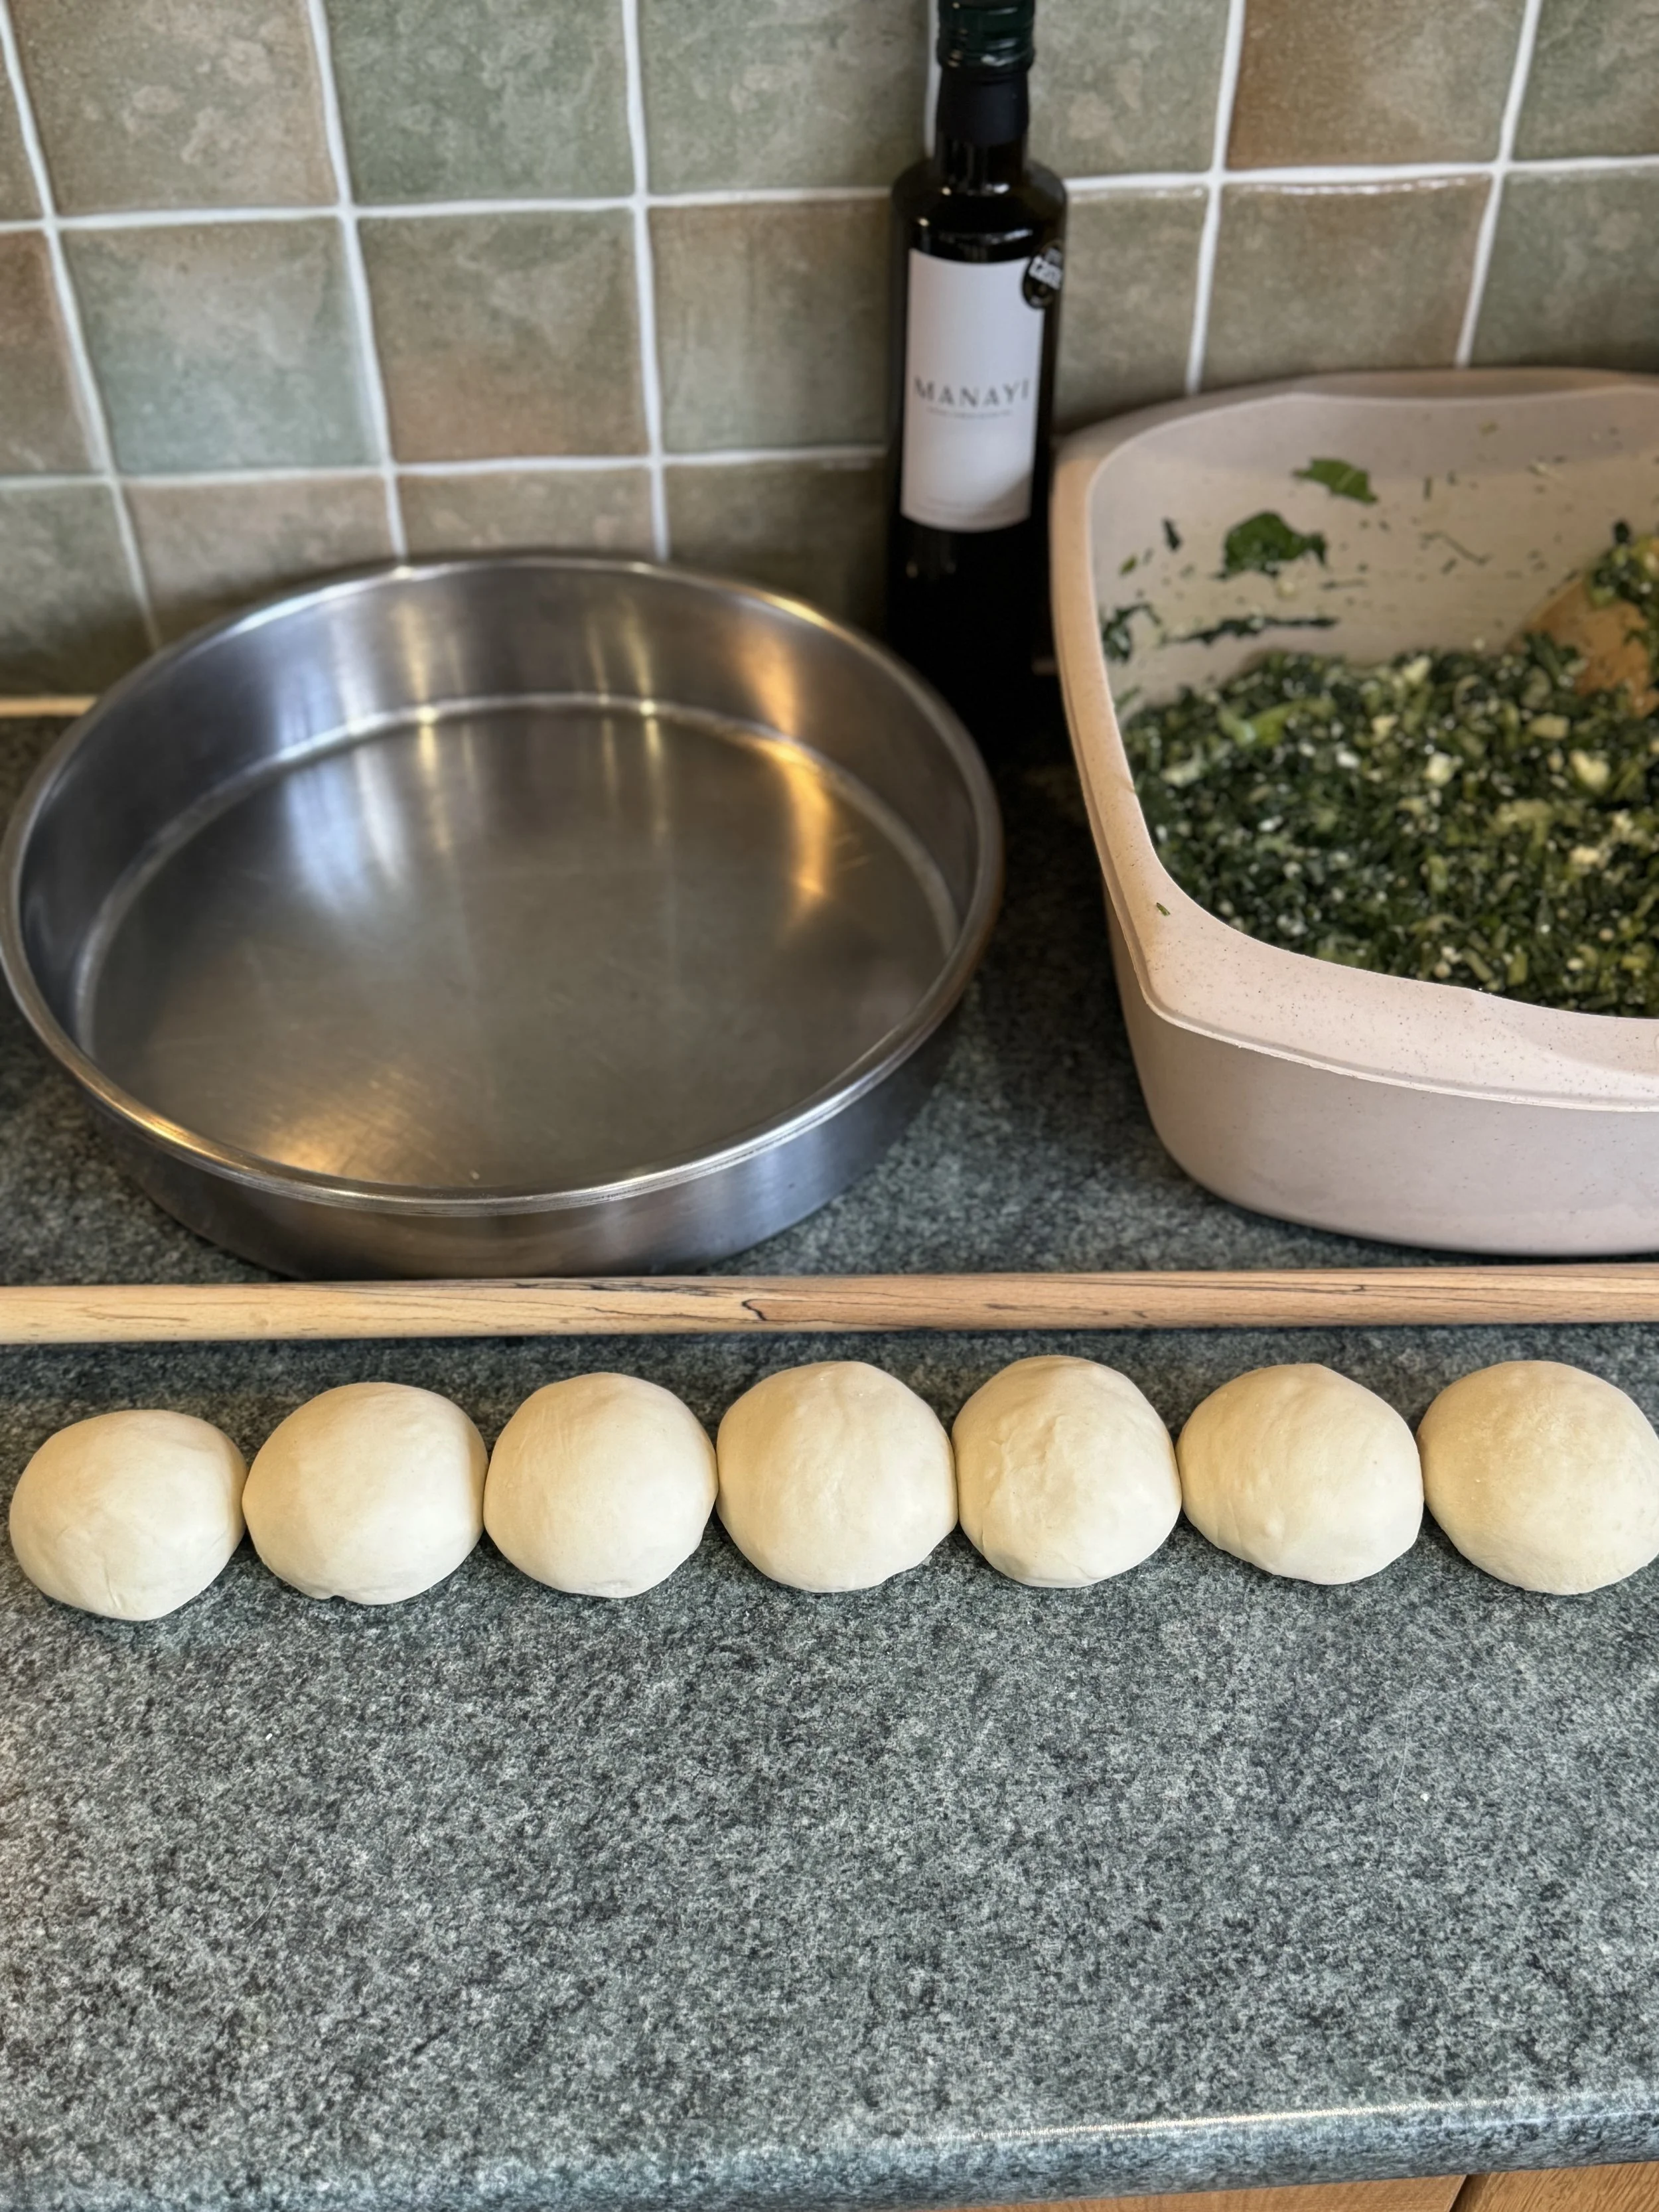
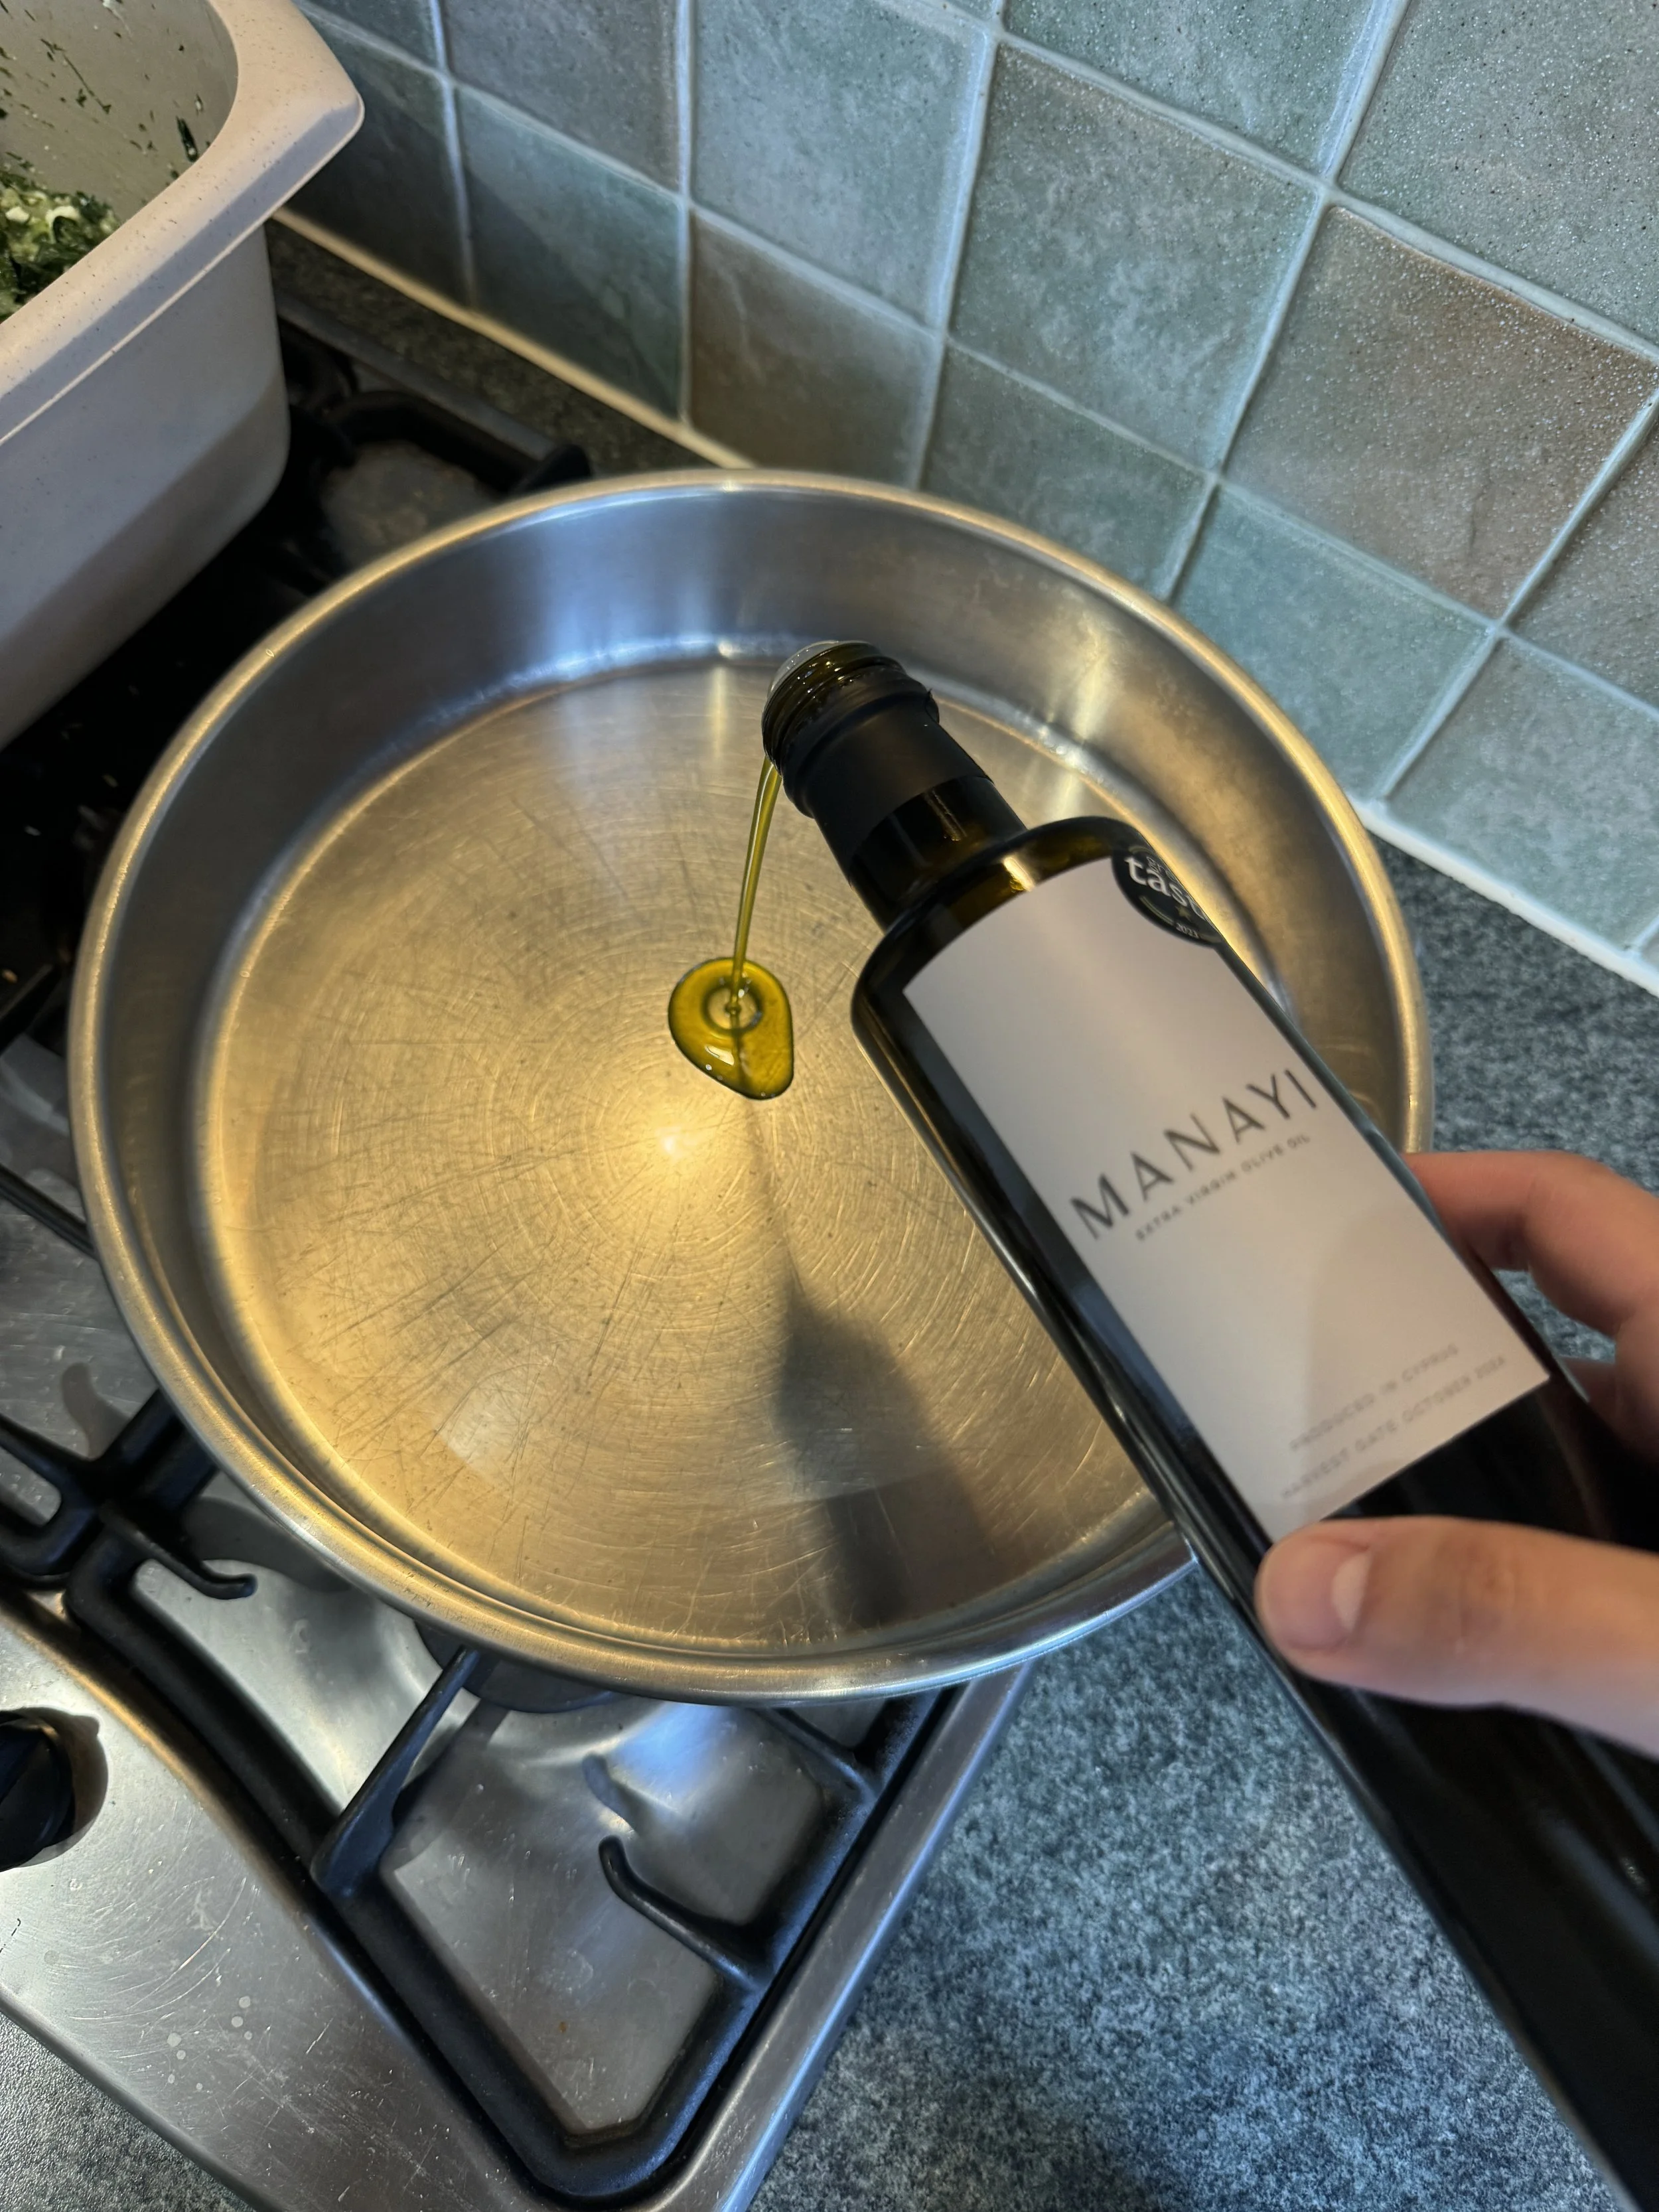
Given their centrality to Greek cuisine, pites come in many forms, shapes and sizes, sweet and savoury. This is just one traditional version of one of them. In keeping with the spirit of a Greek pita, I often try to collect the ingredients straight from my grandfather’s allotment or opt for organic ingredients, from farm shops and farmers’ markets whenever possible, and then used the best of the rest that I can find: PDO feta cheese from Epiros*, Manayi single-origin extra virgin olive oil, and Mitsides flour (both of which are Cypriot and easy to find here in London). I’ve also made the filo from scratch using the traditional technique, with the long, thin rolling pin (πλάστης βέργα), rather than using the popular ready-made filo sheets (filo kroústas in Greek).
*Sidenote: my aunt in Aitoloakarnania supplies milk to Epiros, and I recently discovered that my cousin (her son) makes the exact plastic containers that are used to package Epiros feta in the factory he works in. Choosing real, authentic ingredients doesn’t just benefit us as consumers, it also creates work and benefits the people back at home, sometimes multiple people in one family, sometimes our own family.
Background
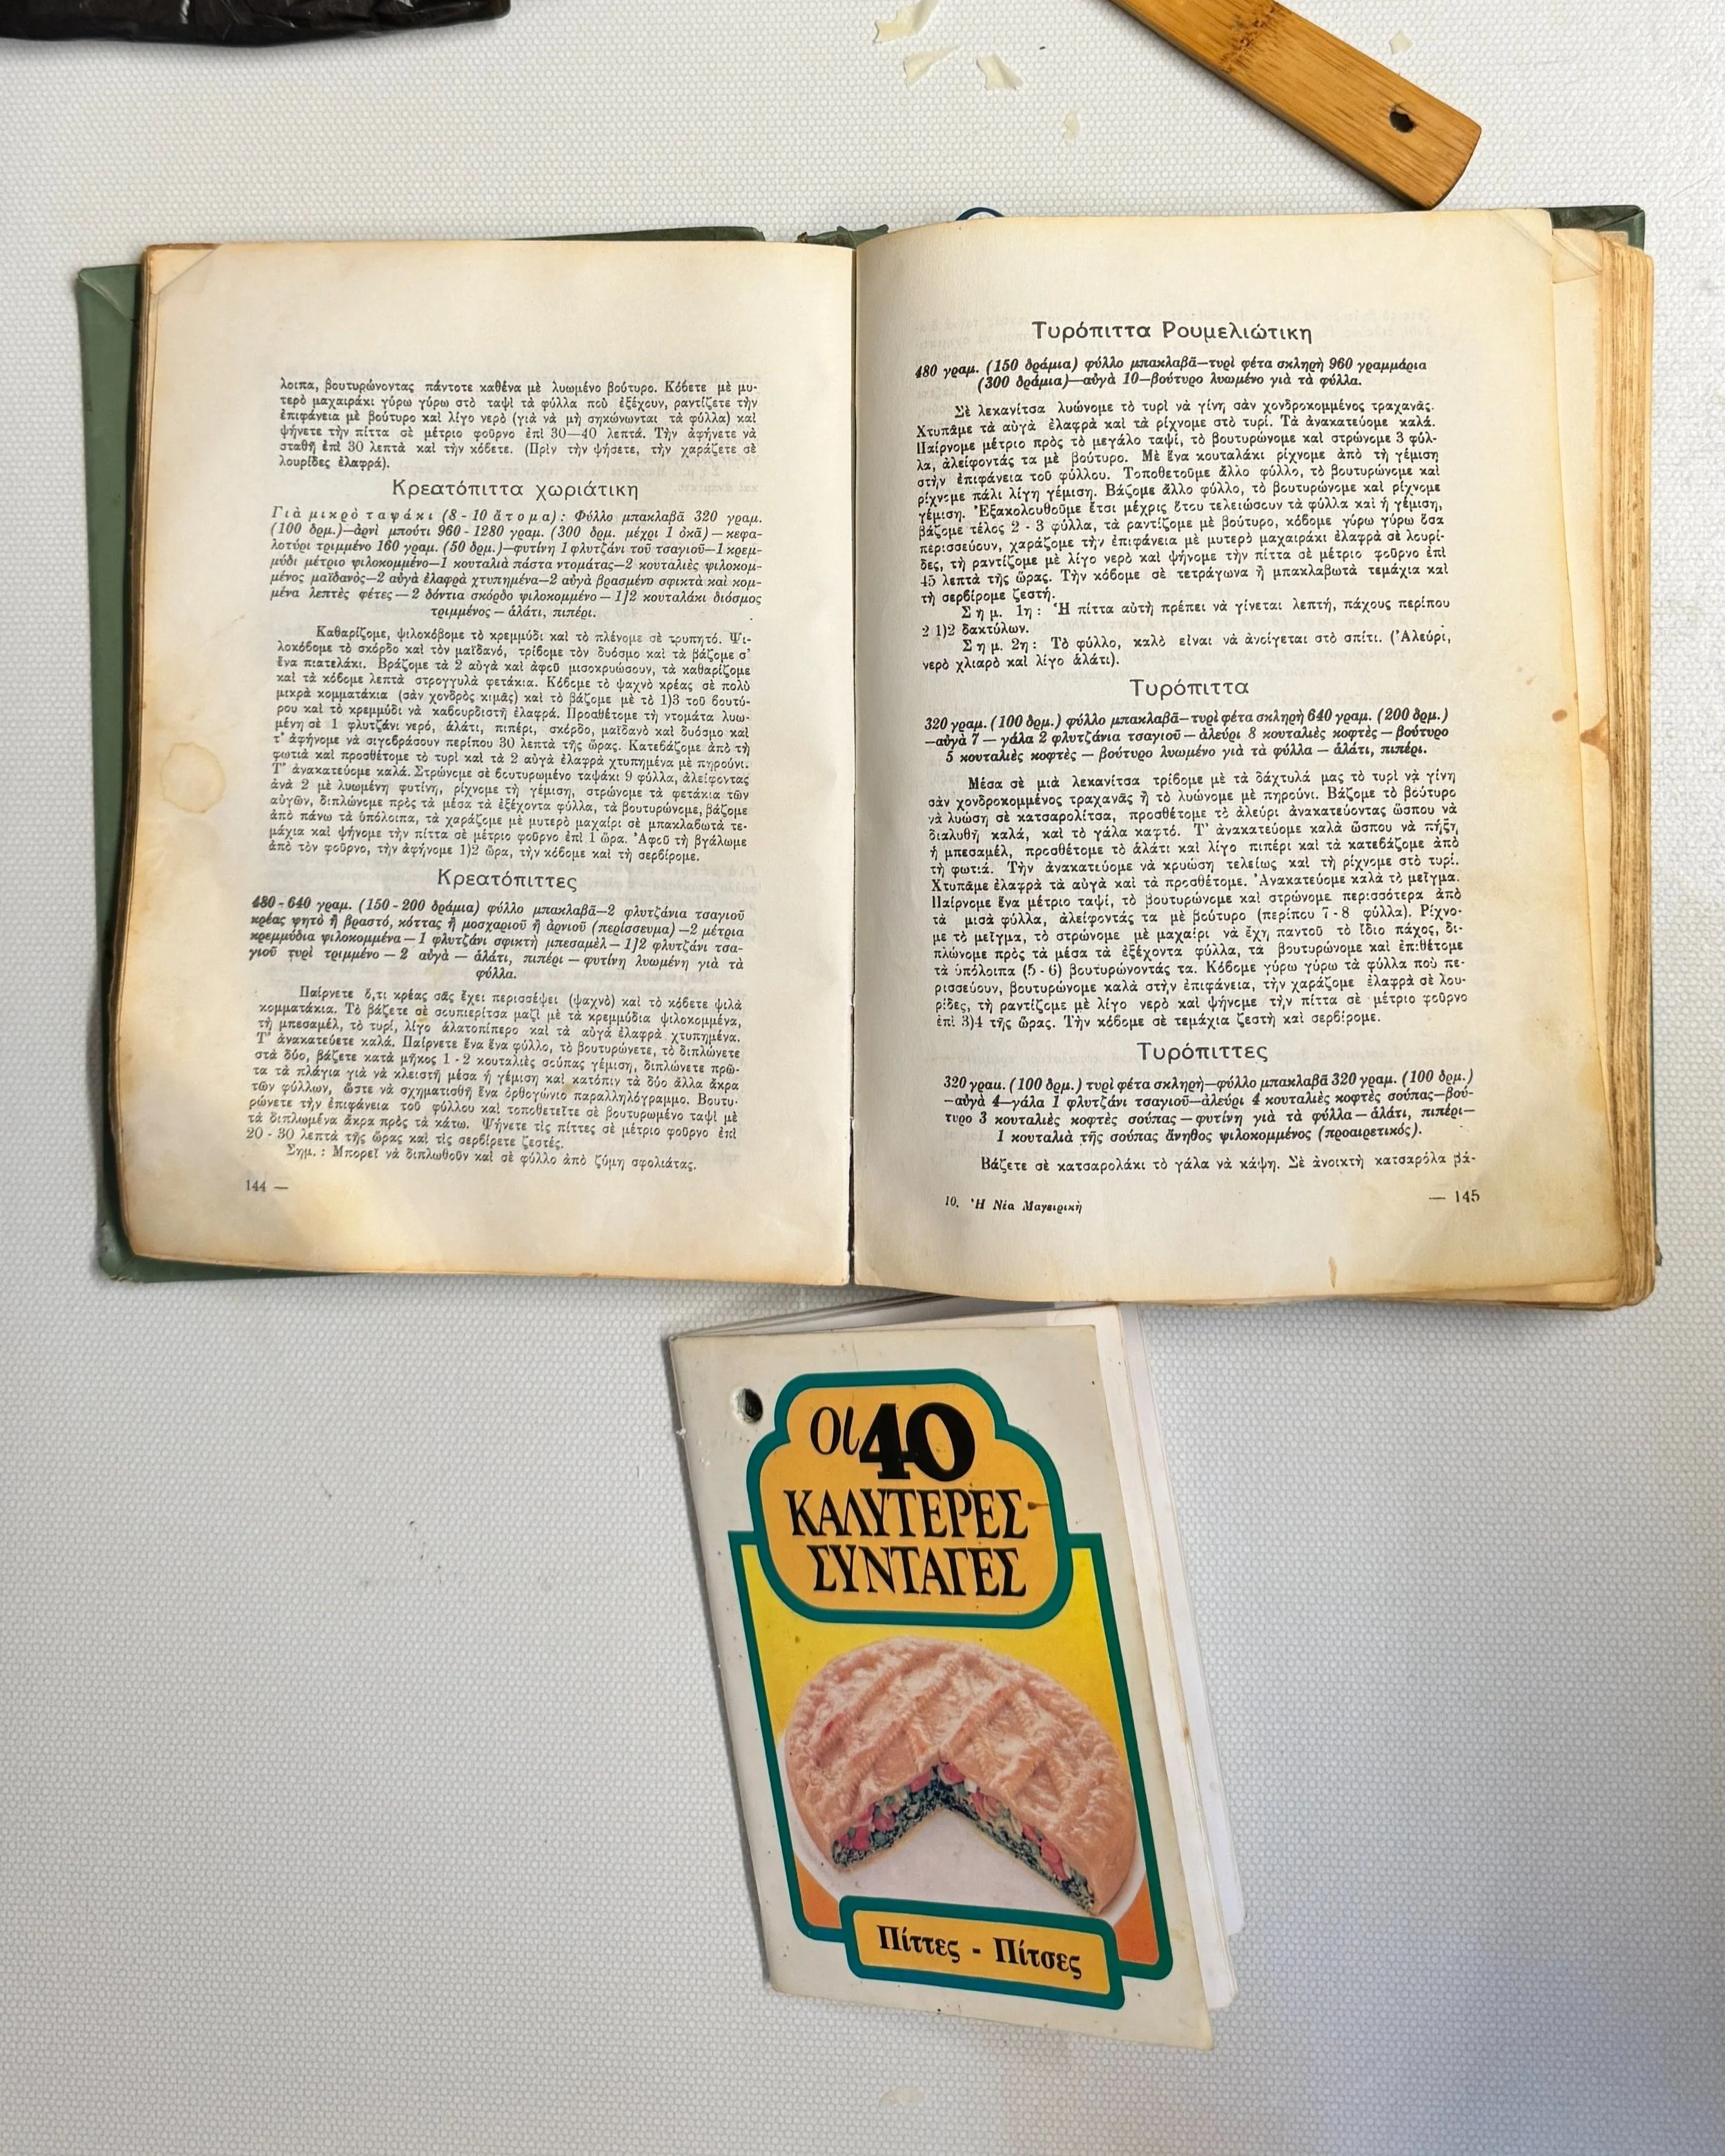
Methodology: this recipe is inspired by Greece and family, specifically my grandfather and family who hail from a village in Aitoloakarnania, plus my grandparents’ crumpled, vintage cookbooks, and my learnings from eating pites across Greece: from Attica, the Ionian, Aitoloakarnania, Epirus, the Peloponnese and Macedonia. Above all, it’s inspired by my aunts who really do make the best pites by hand: Theia Aleka, Theia Maria, Theia Violeta and Theia Popi to name a few. It’s also inspired by the pites at the tavernes in my grandfather’s village, where you feel like you hallucinate for a second when you first bite into the pita that is filled with ingredients sourced from the surrounding farms.
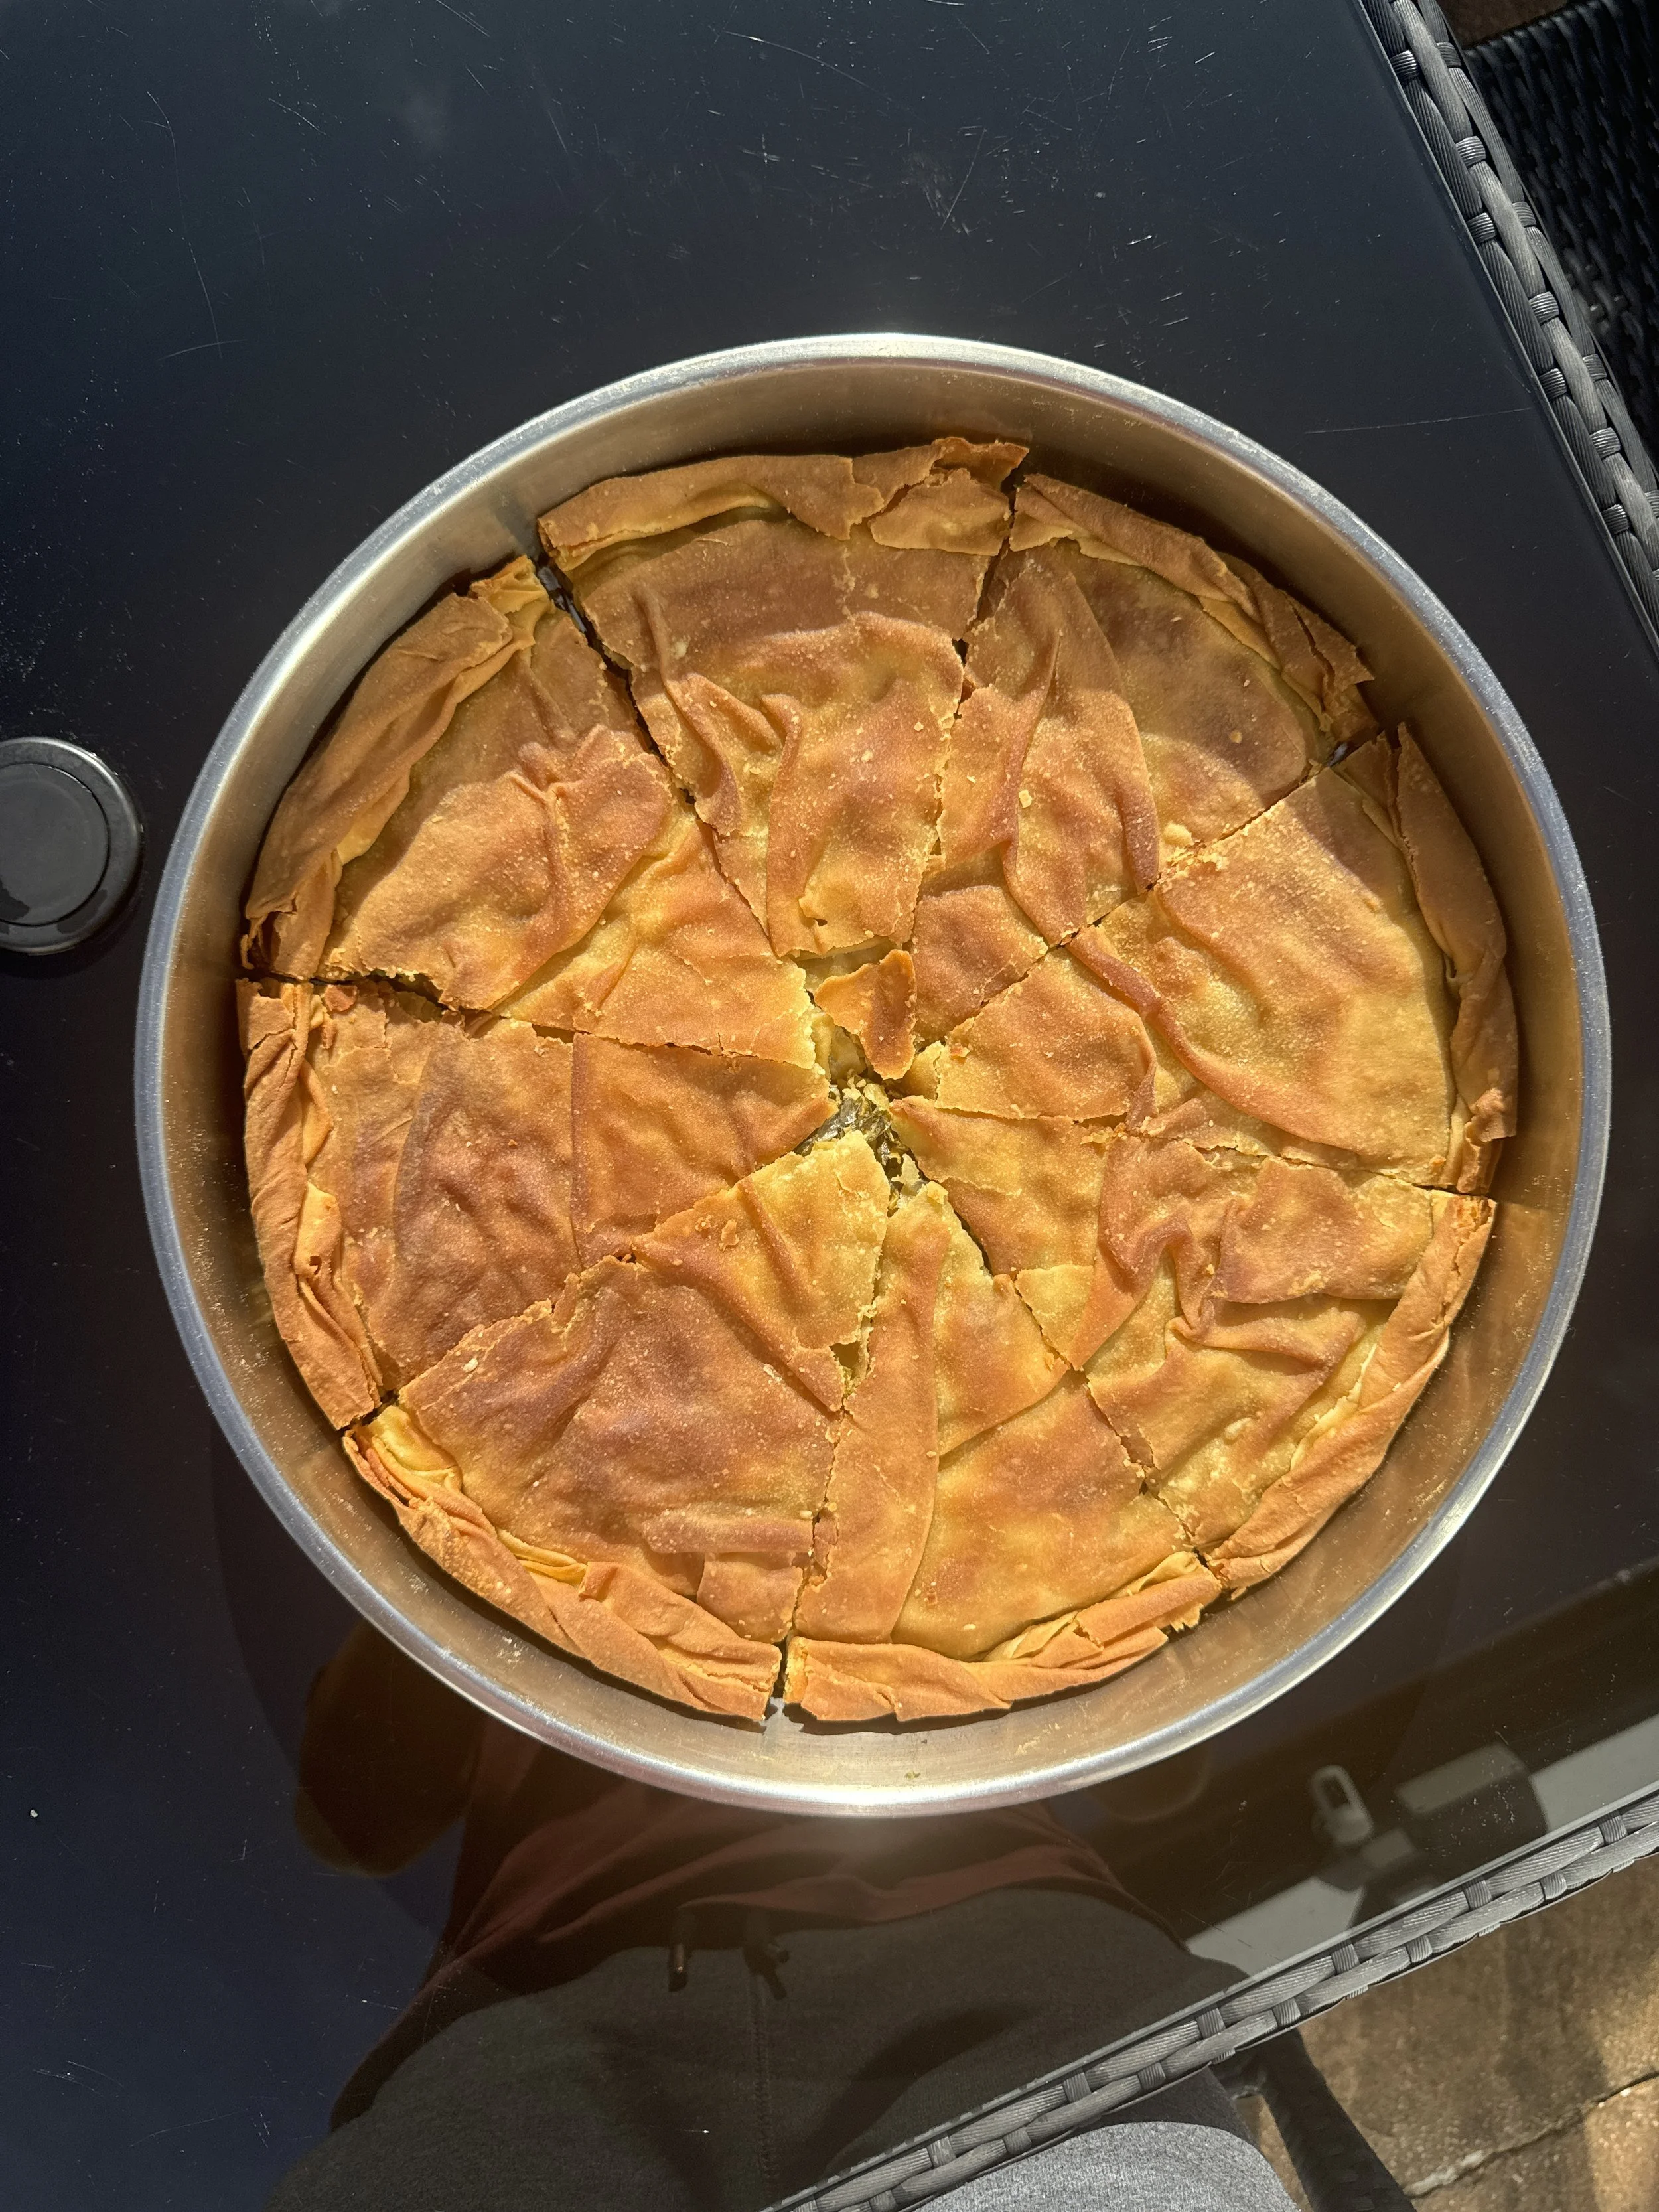
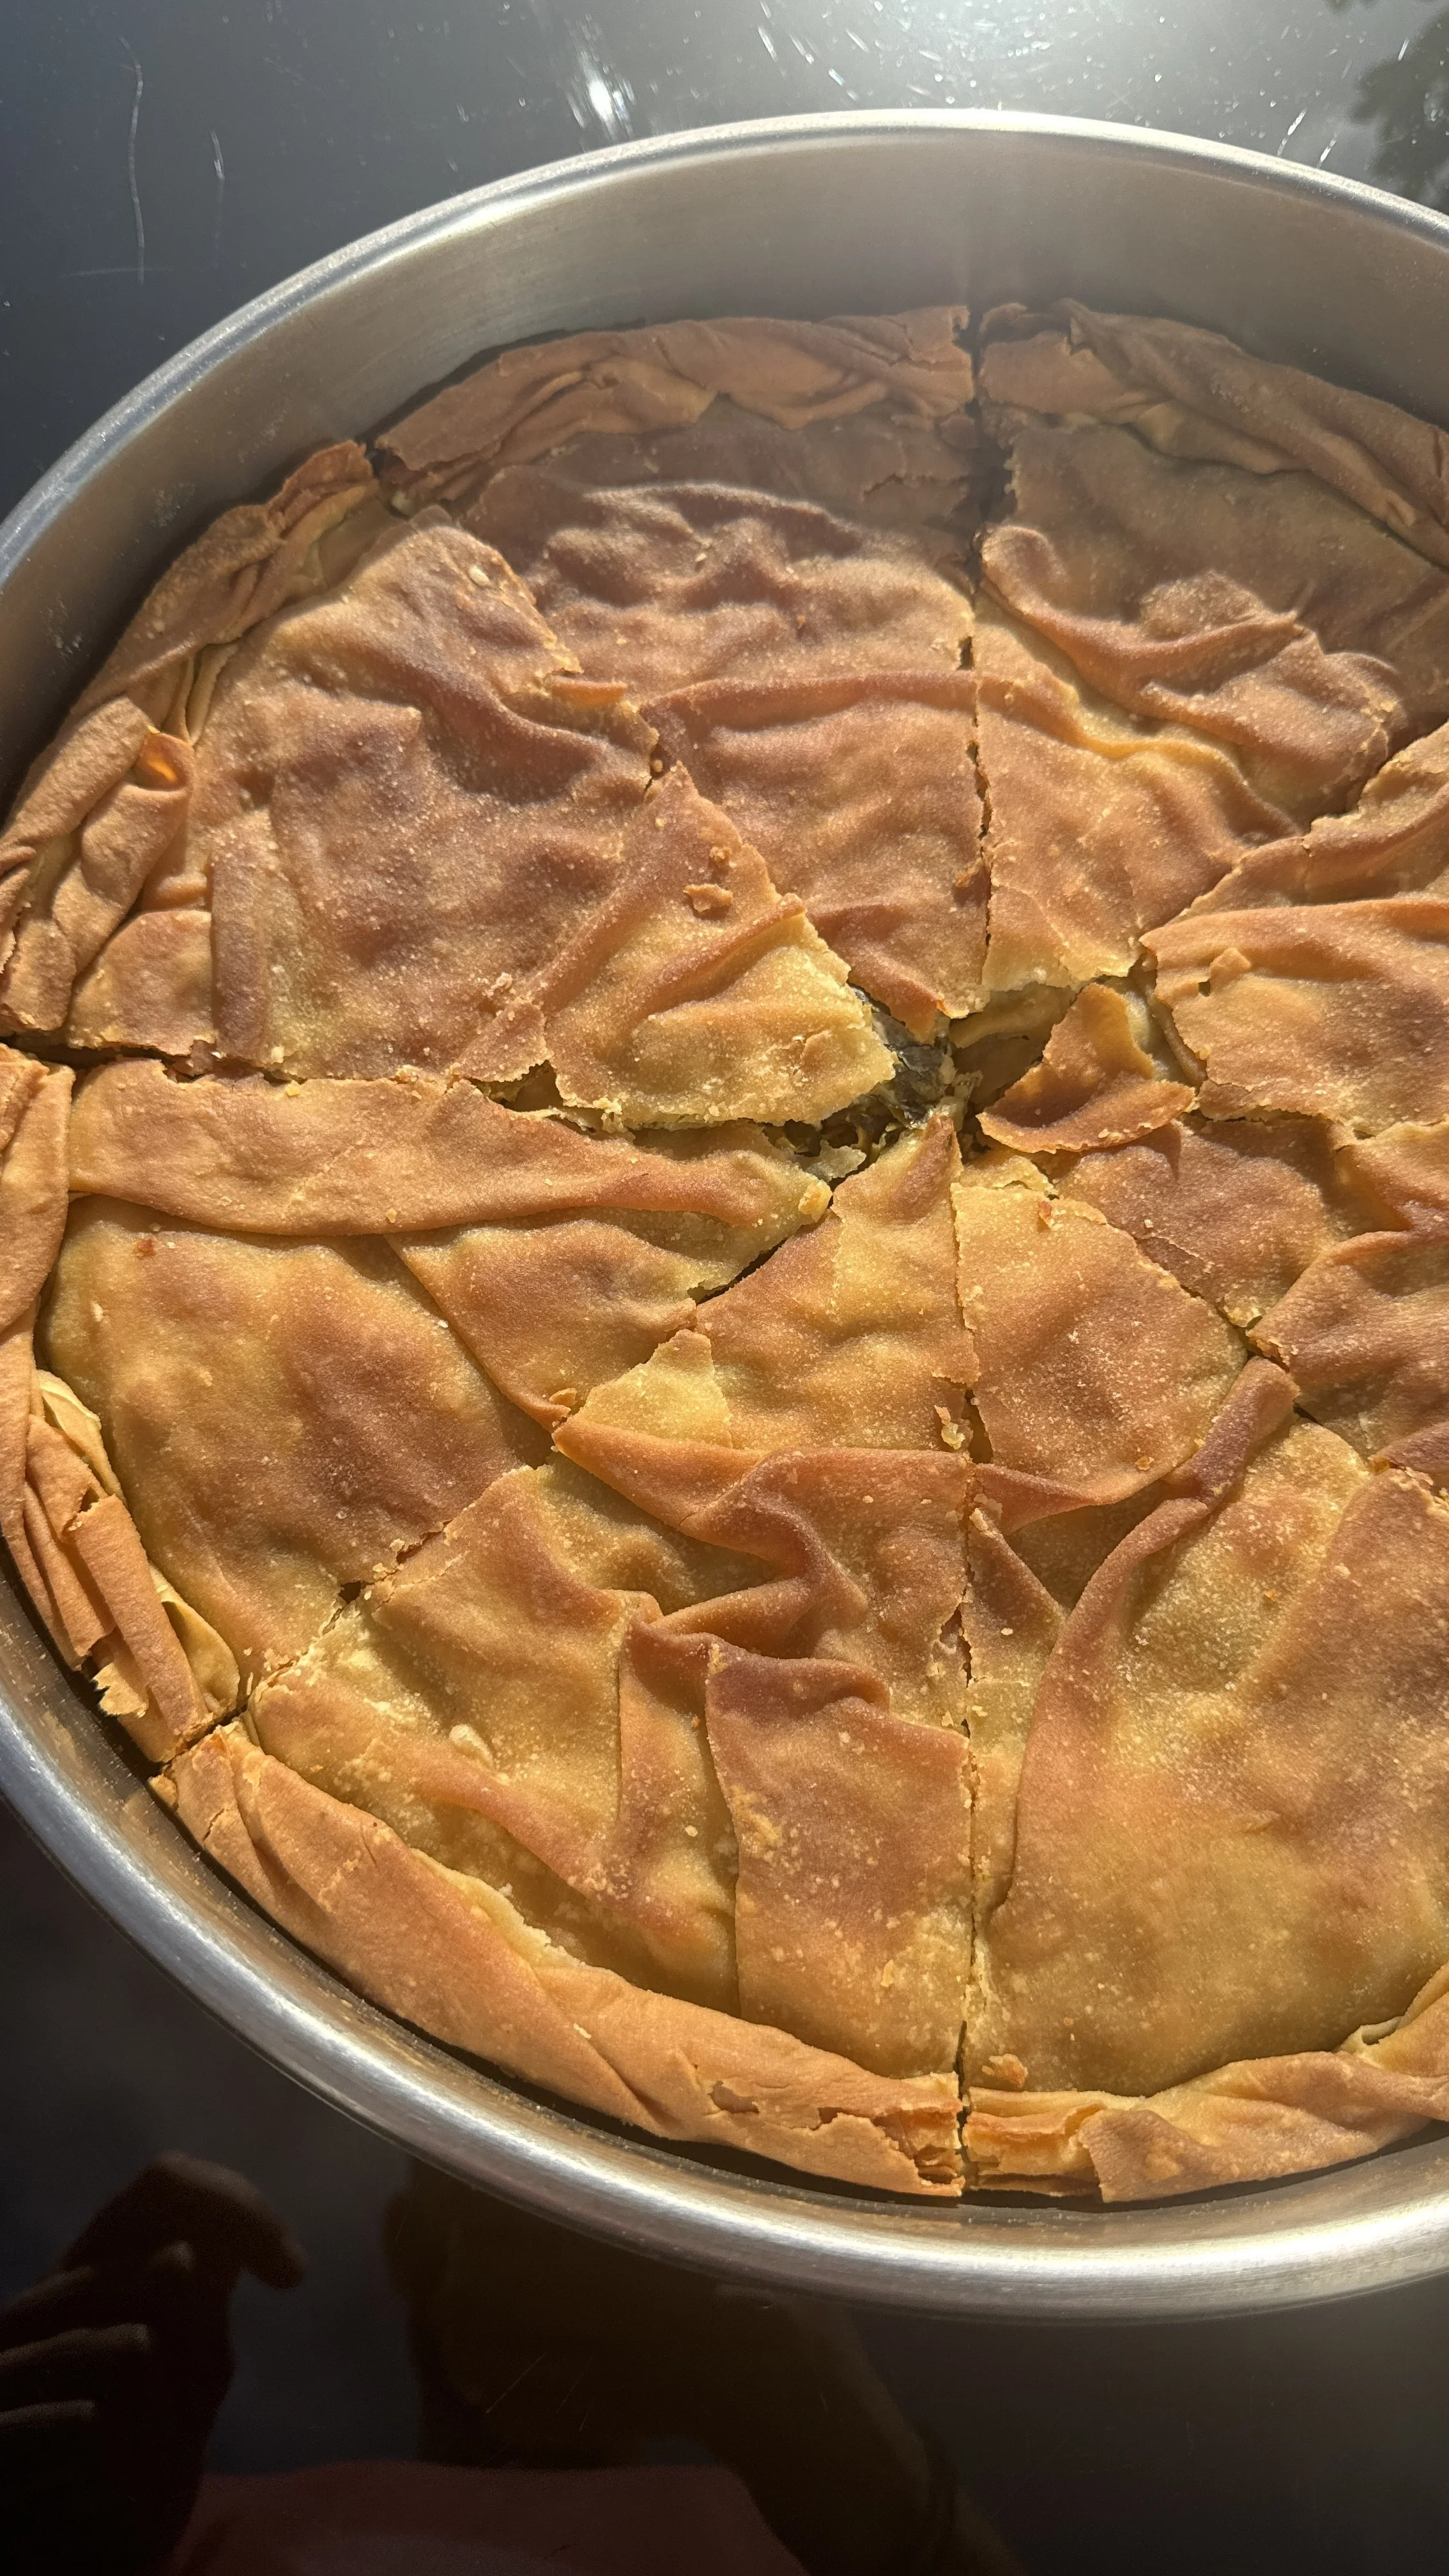
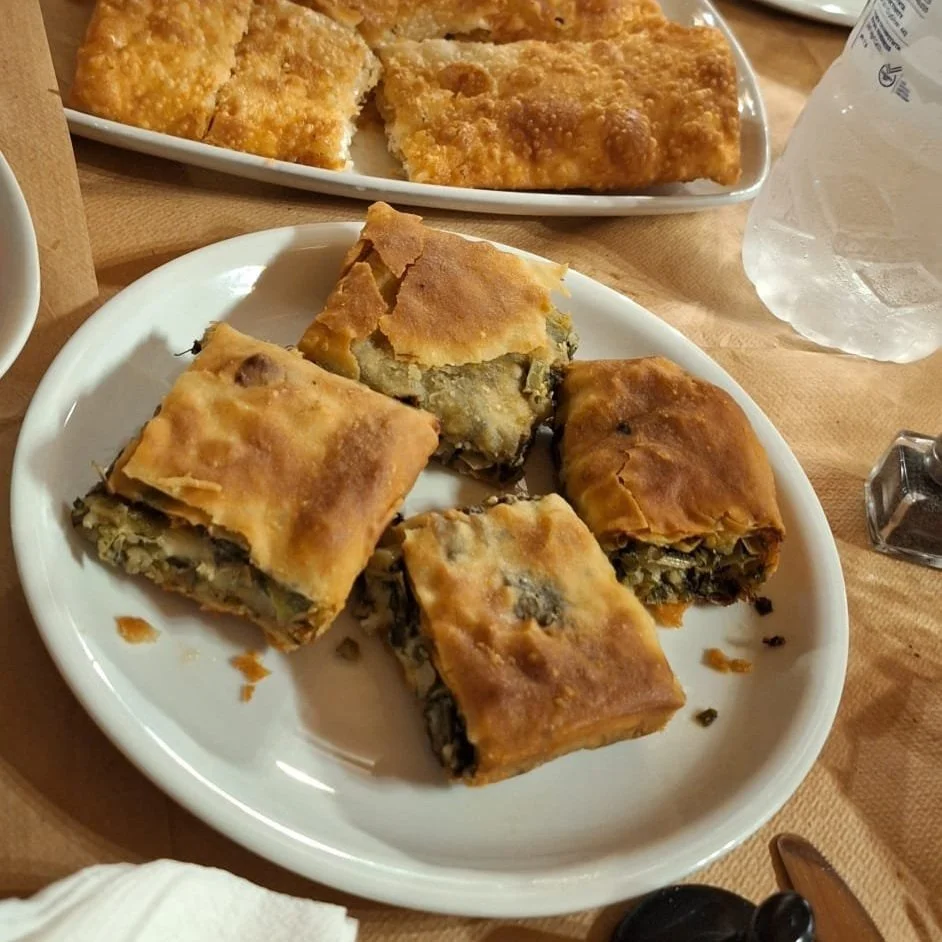
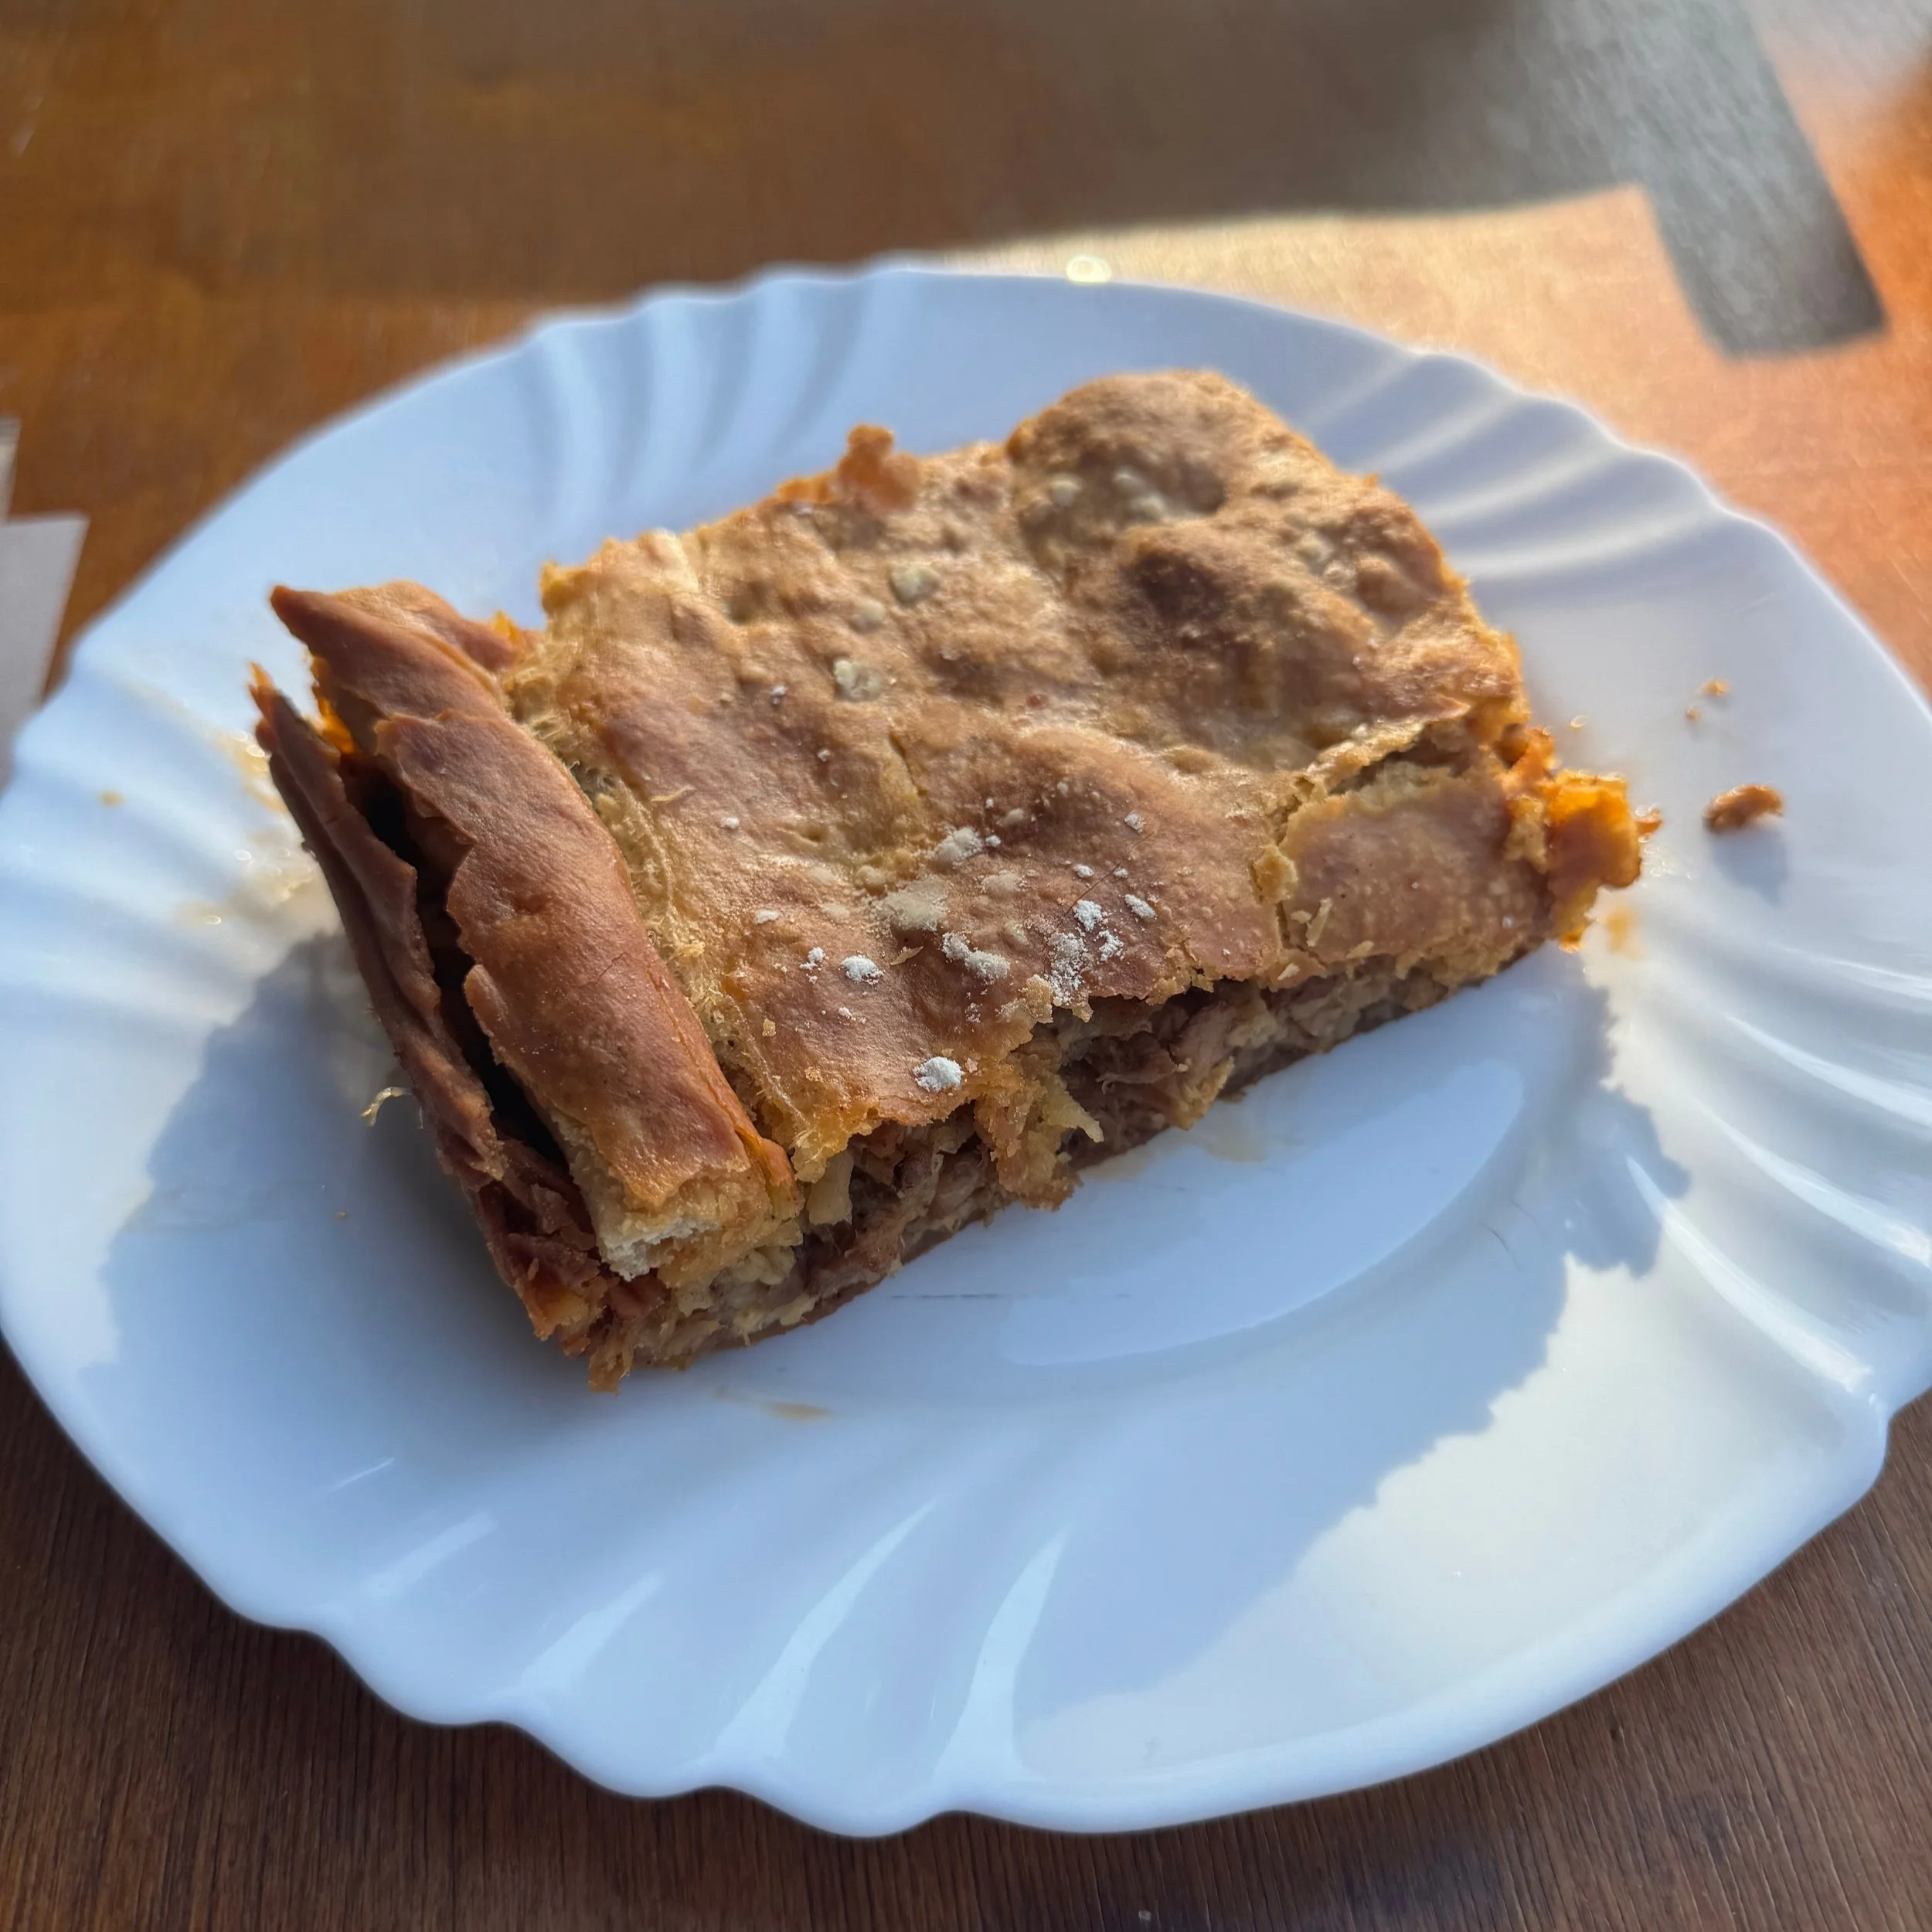
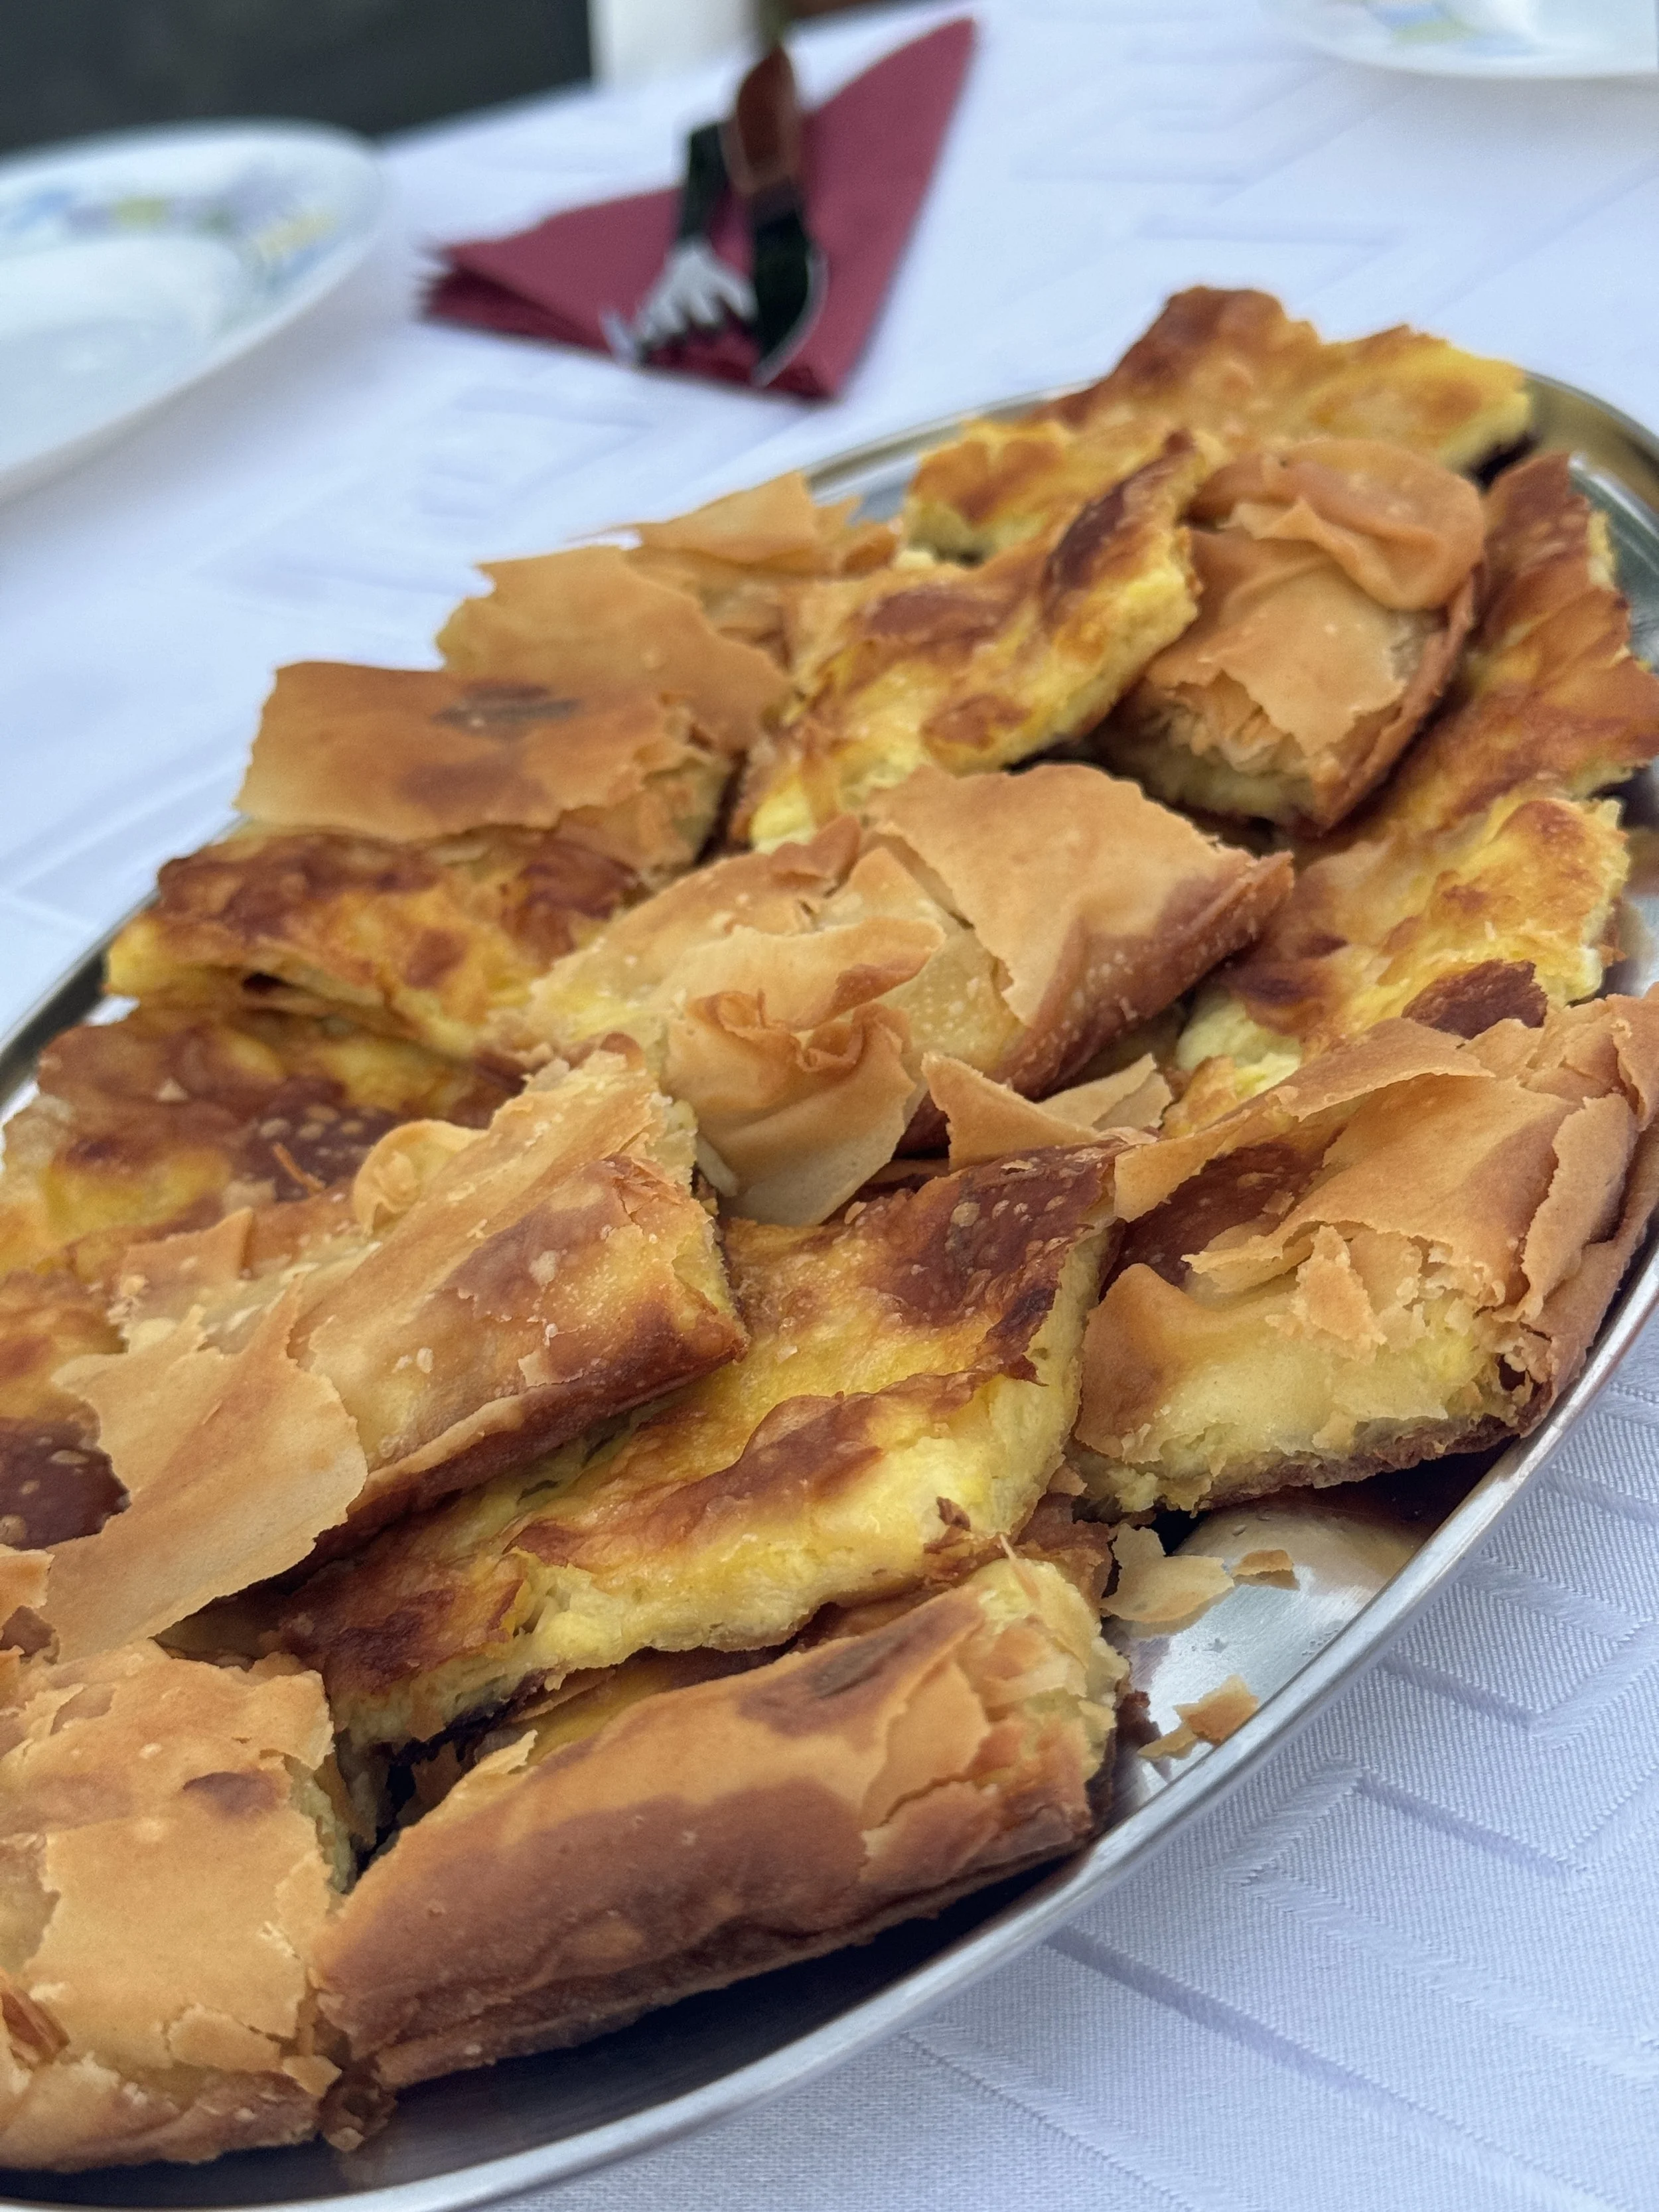
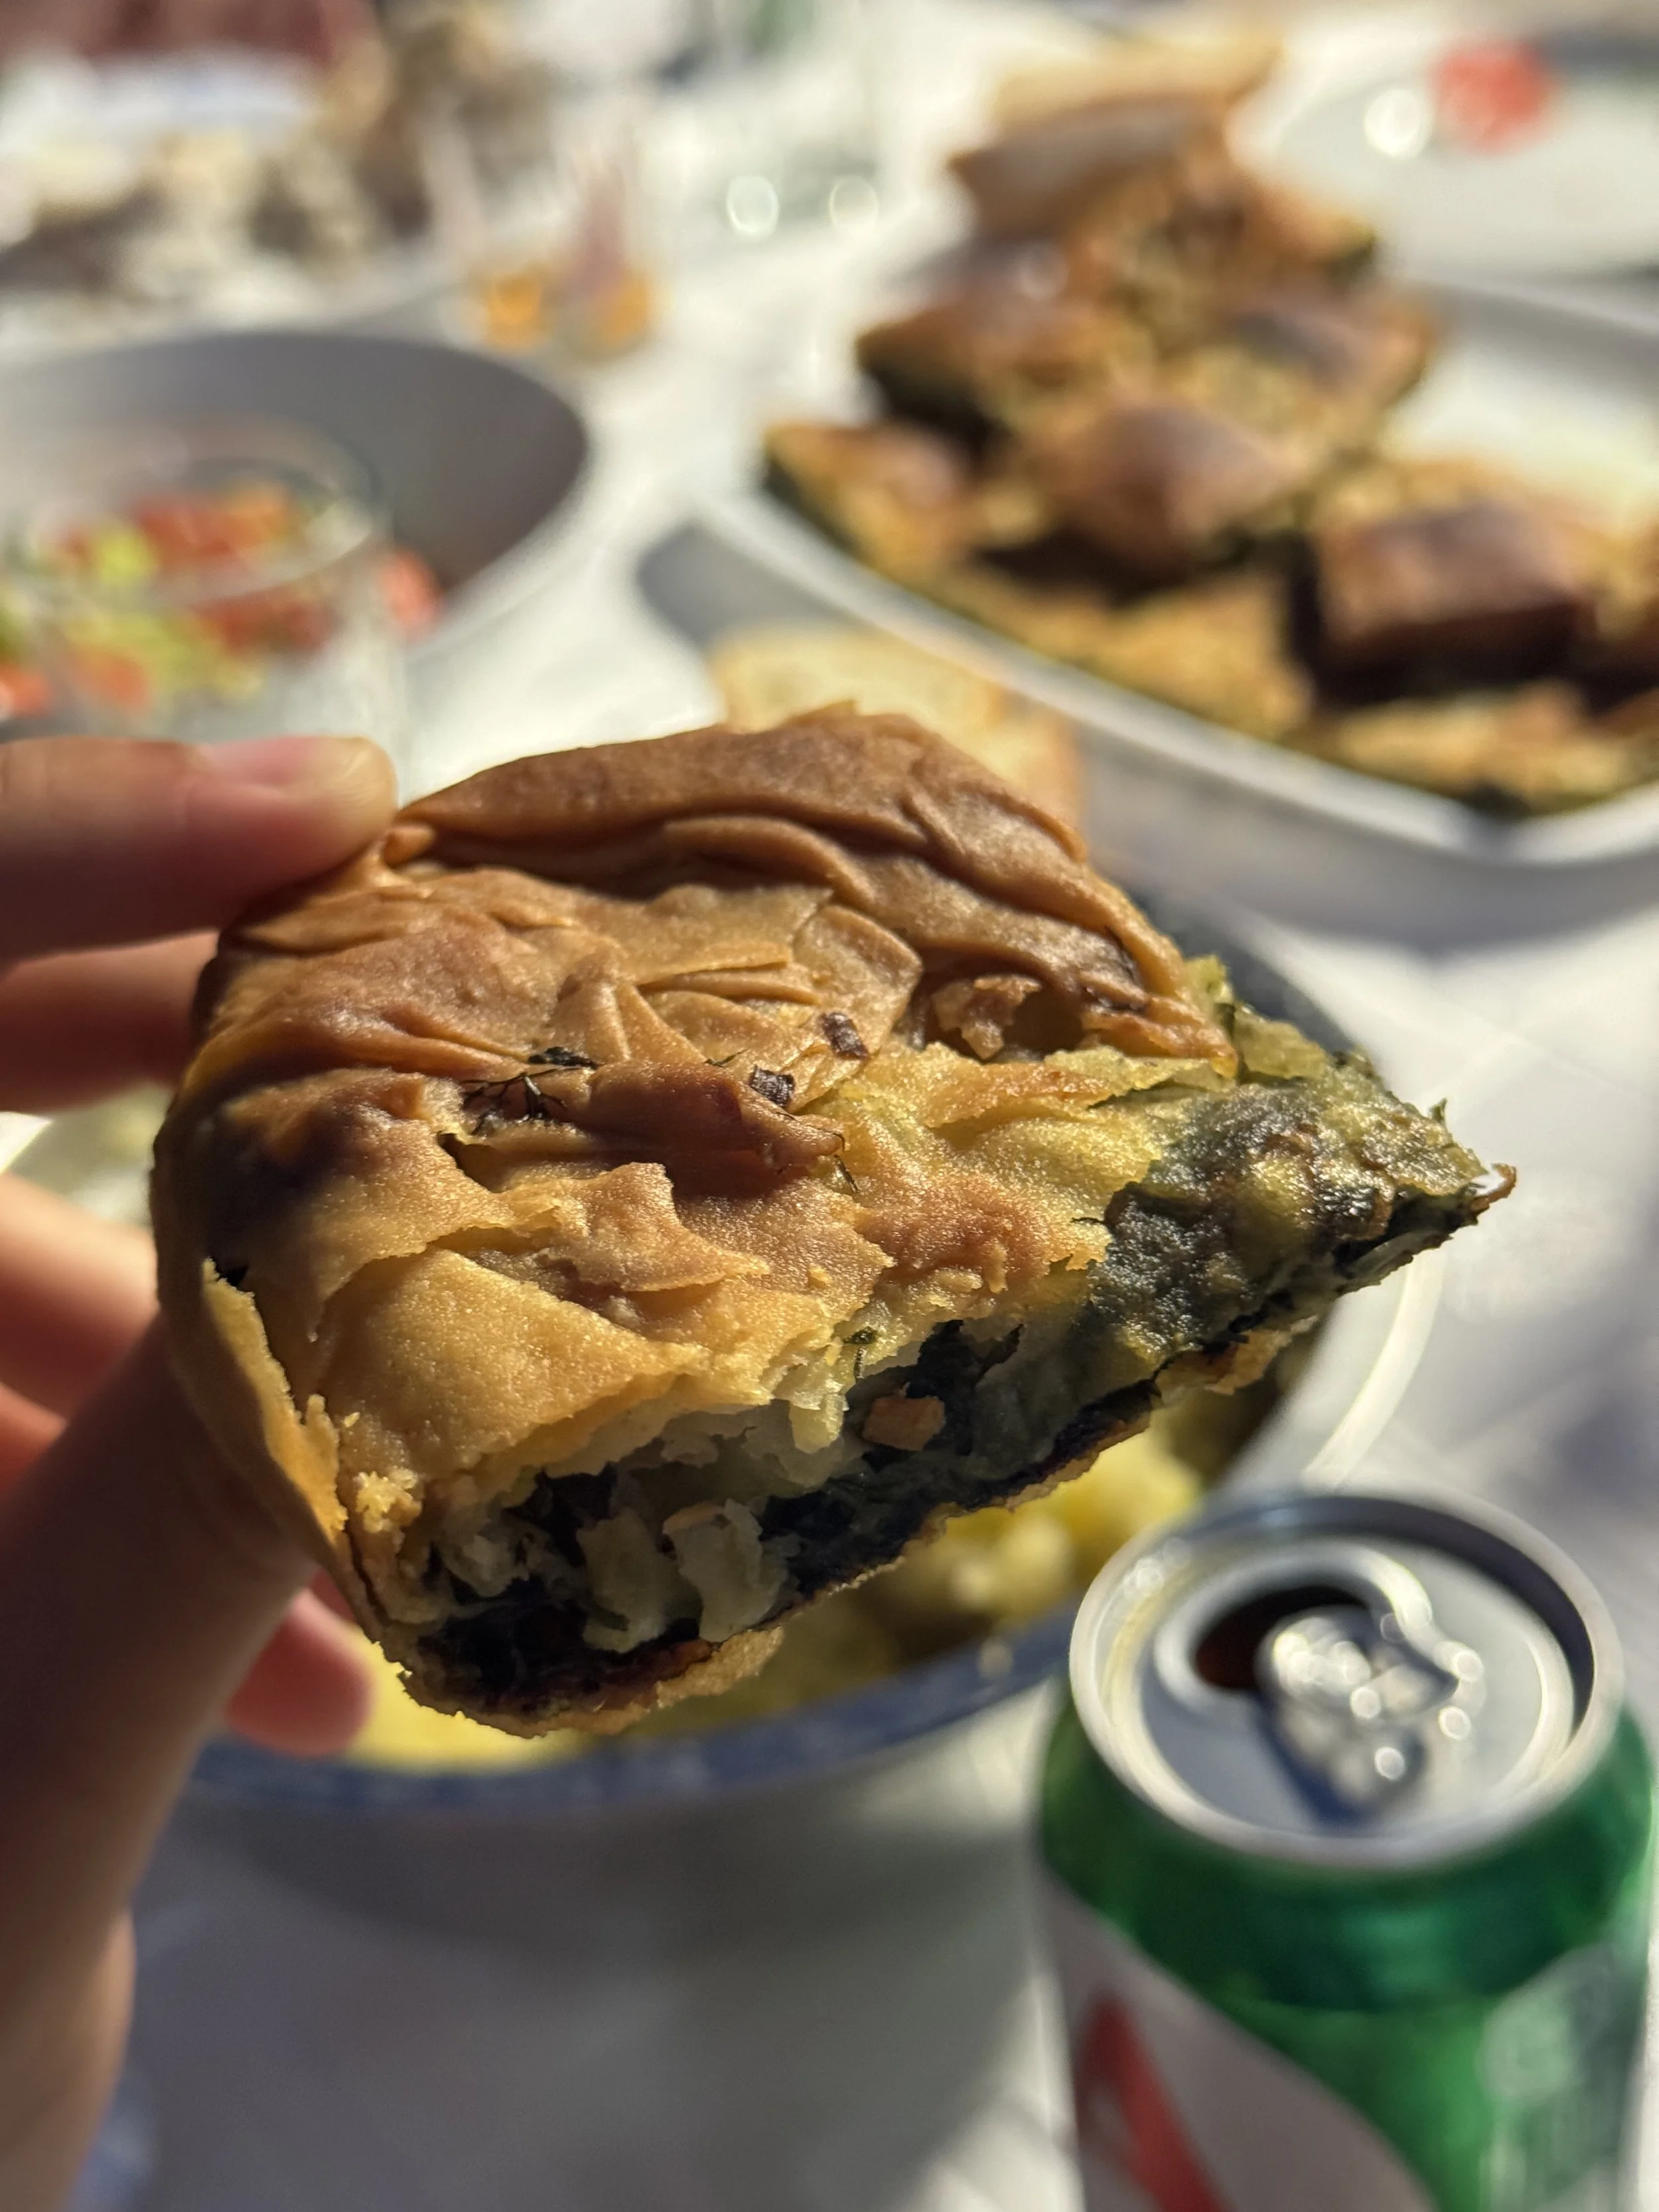
Although all have a similar shape and properties, they are never exactly the same. Likewise, the pita will come out slightly different each time depending on the filling you use, how you make the filo that day, how many layers you use, the amount of oil you add, the type of tray, and whether you flip the pita halfway or pre-cut it. The pites, therefore, look slightly different in the pictures I’ve uploaded, as they will do across Greece.
About the hortopita recipe
To emphasise, this isn’t one, official, archetypal traditional village pita – something which in itself comes in various forms. What does that mean? This recipe doesn’t involve cooking the pita in a woodfire oven or fire place, placing it on a pyrostiá (tripod used to place trays over charcoal), and covering it with a gástra or tserépa (big traditional oven lid placed on top of the dishes as they cook over the fire). It does, however, strive for authenticity. Because it’s amazing to know how the people living to ripe old ages got there, and in times where they say people were happier, closer, and kinder to one another. If you have one, you can use the traditional, round tapsí or siní (tray), but this isn’t the most important factor. It’s also great if you can get your hands on the long, thin rolling pin that you’ll use for the handmade filo/phyllo/fyllo. If you’re in an urban area you might find one at a local ethnic shop, otherwise online.
There are at least 370 traditional Greek pites, which vary across regions that bear different kinds of harvest, and in turn determine the fillings. My uncle Kosta recorded 150 different pites that his mother alone would make. Where people didn’t have wheat for flour, they used corn flour or even made pies without the typical filo pastry. Where/when they had lots of potatoes, they made fillings of the potatoes (patatopita). Where/when they had lots of greens, they used lots of greens (hortopita). Where/when they herded plenty of livestock, they used meat (kreatopita). Where/when they instead kept the livestock to have lots of milk, they used the milk instead (galatopita). Cheese? Tyropita. Trahanopita. Melopita. Kolokithopita. Karpouzopita. Et cetera. You get the idea. Pites are Greece.
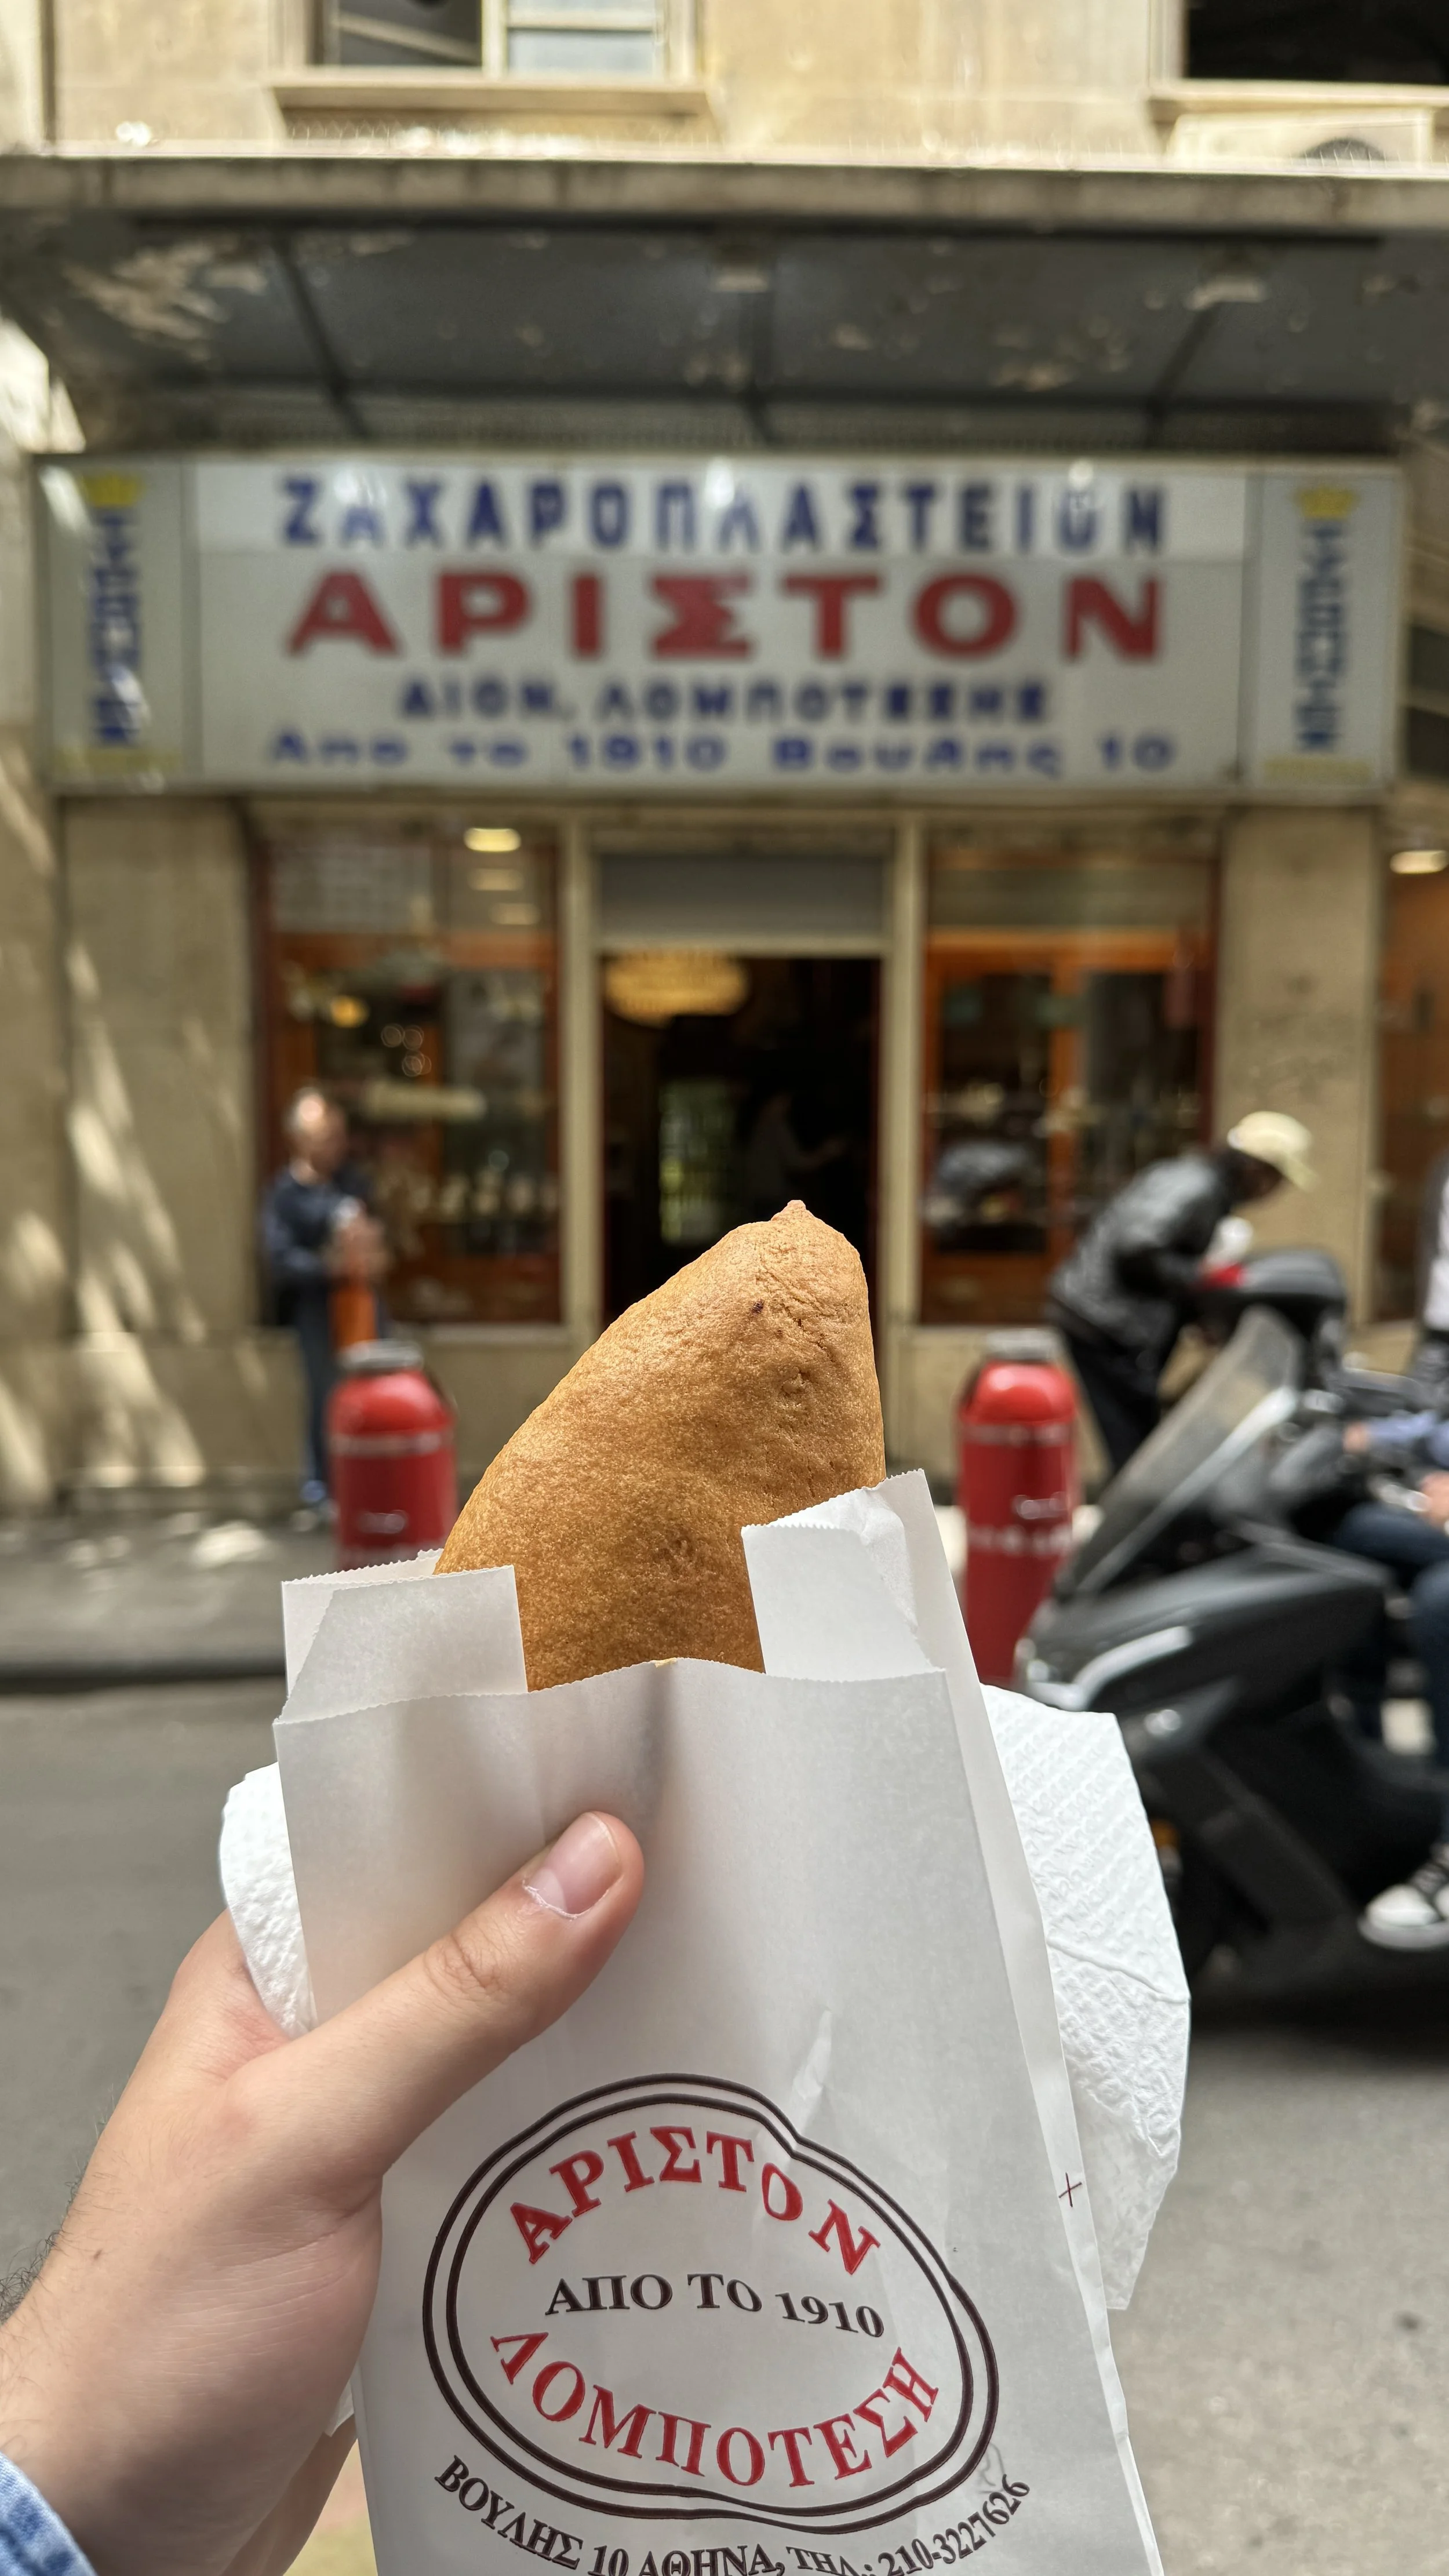
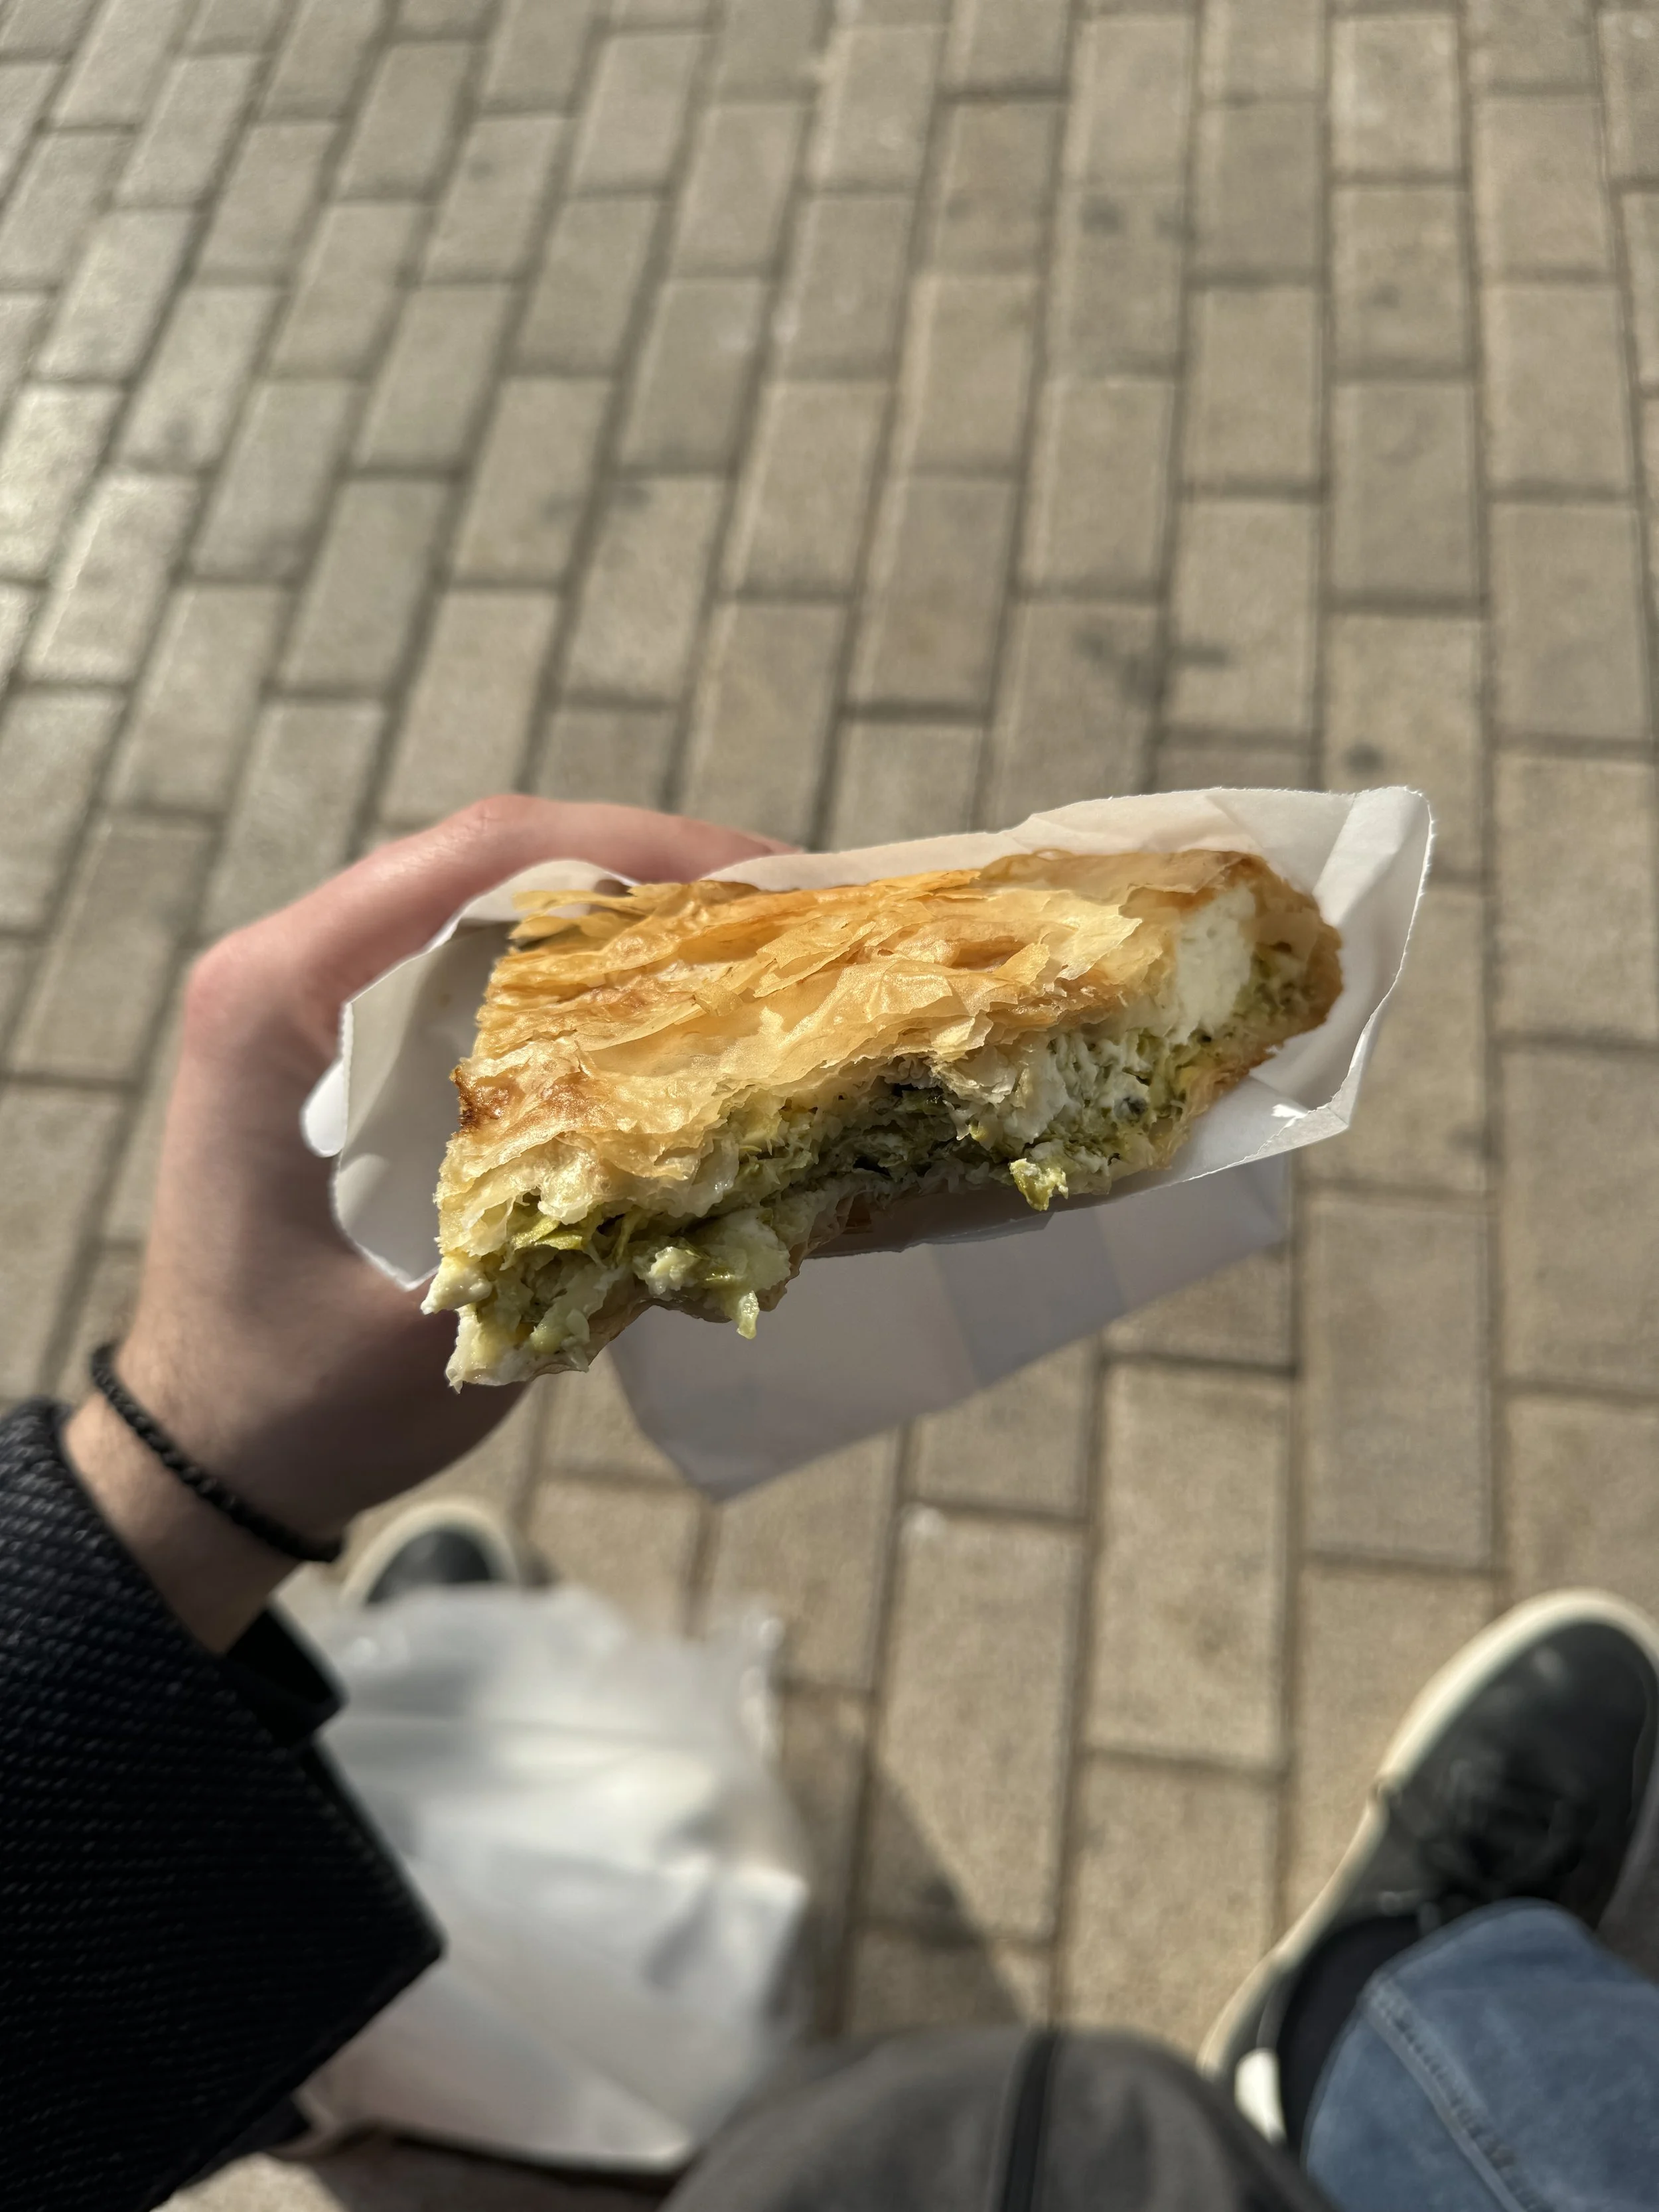
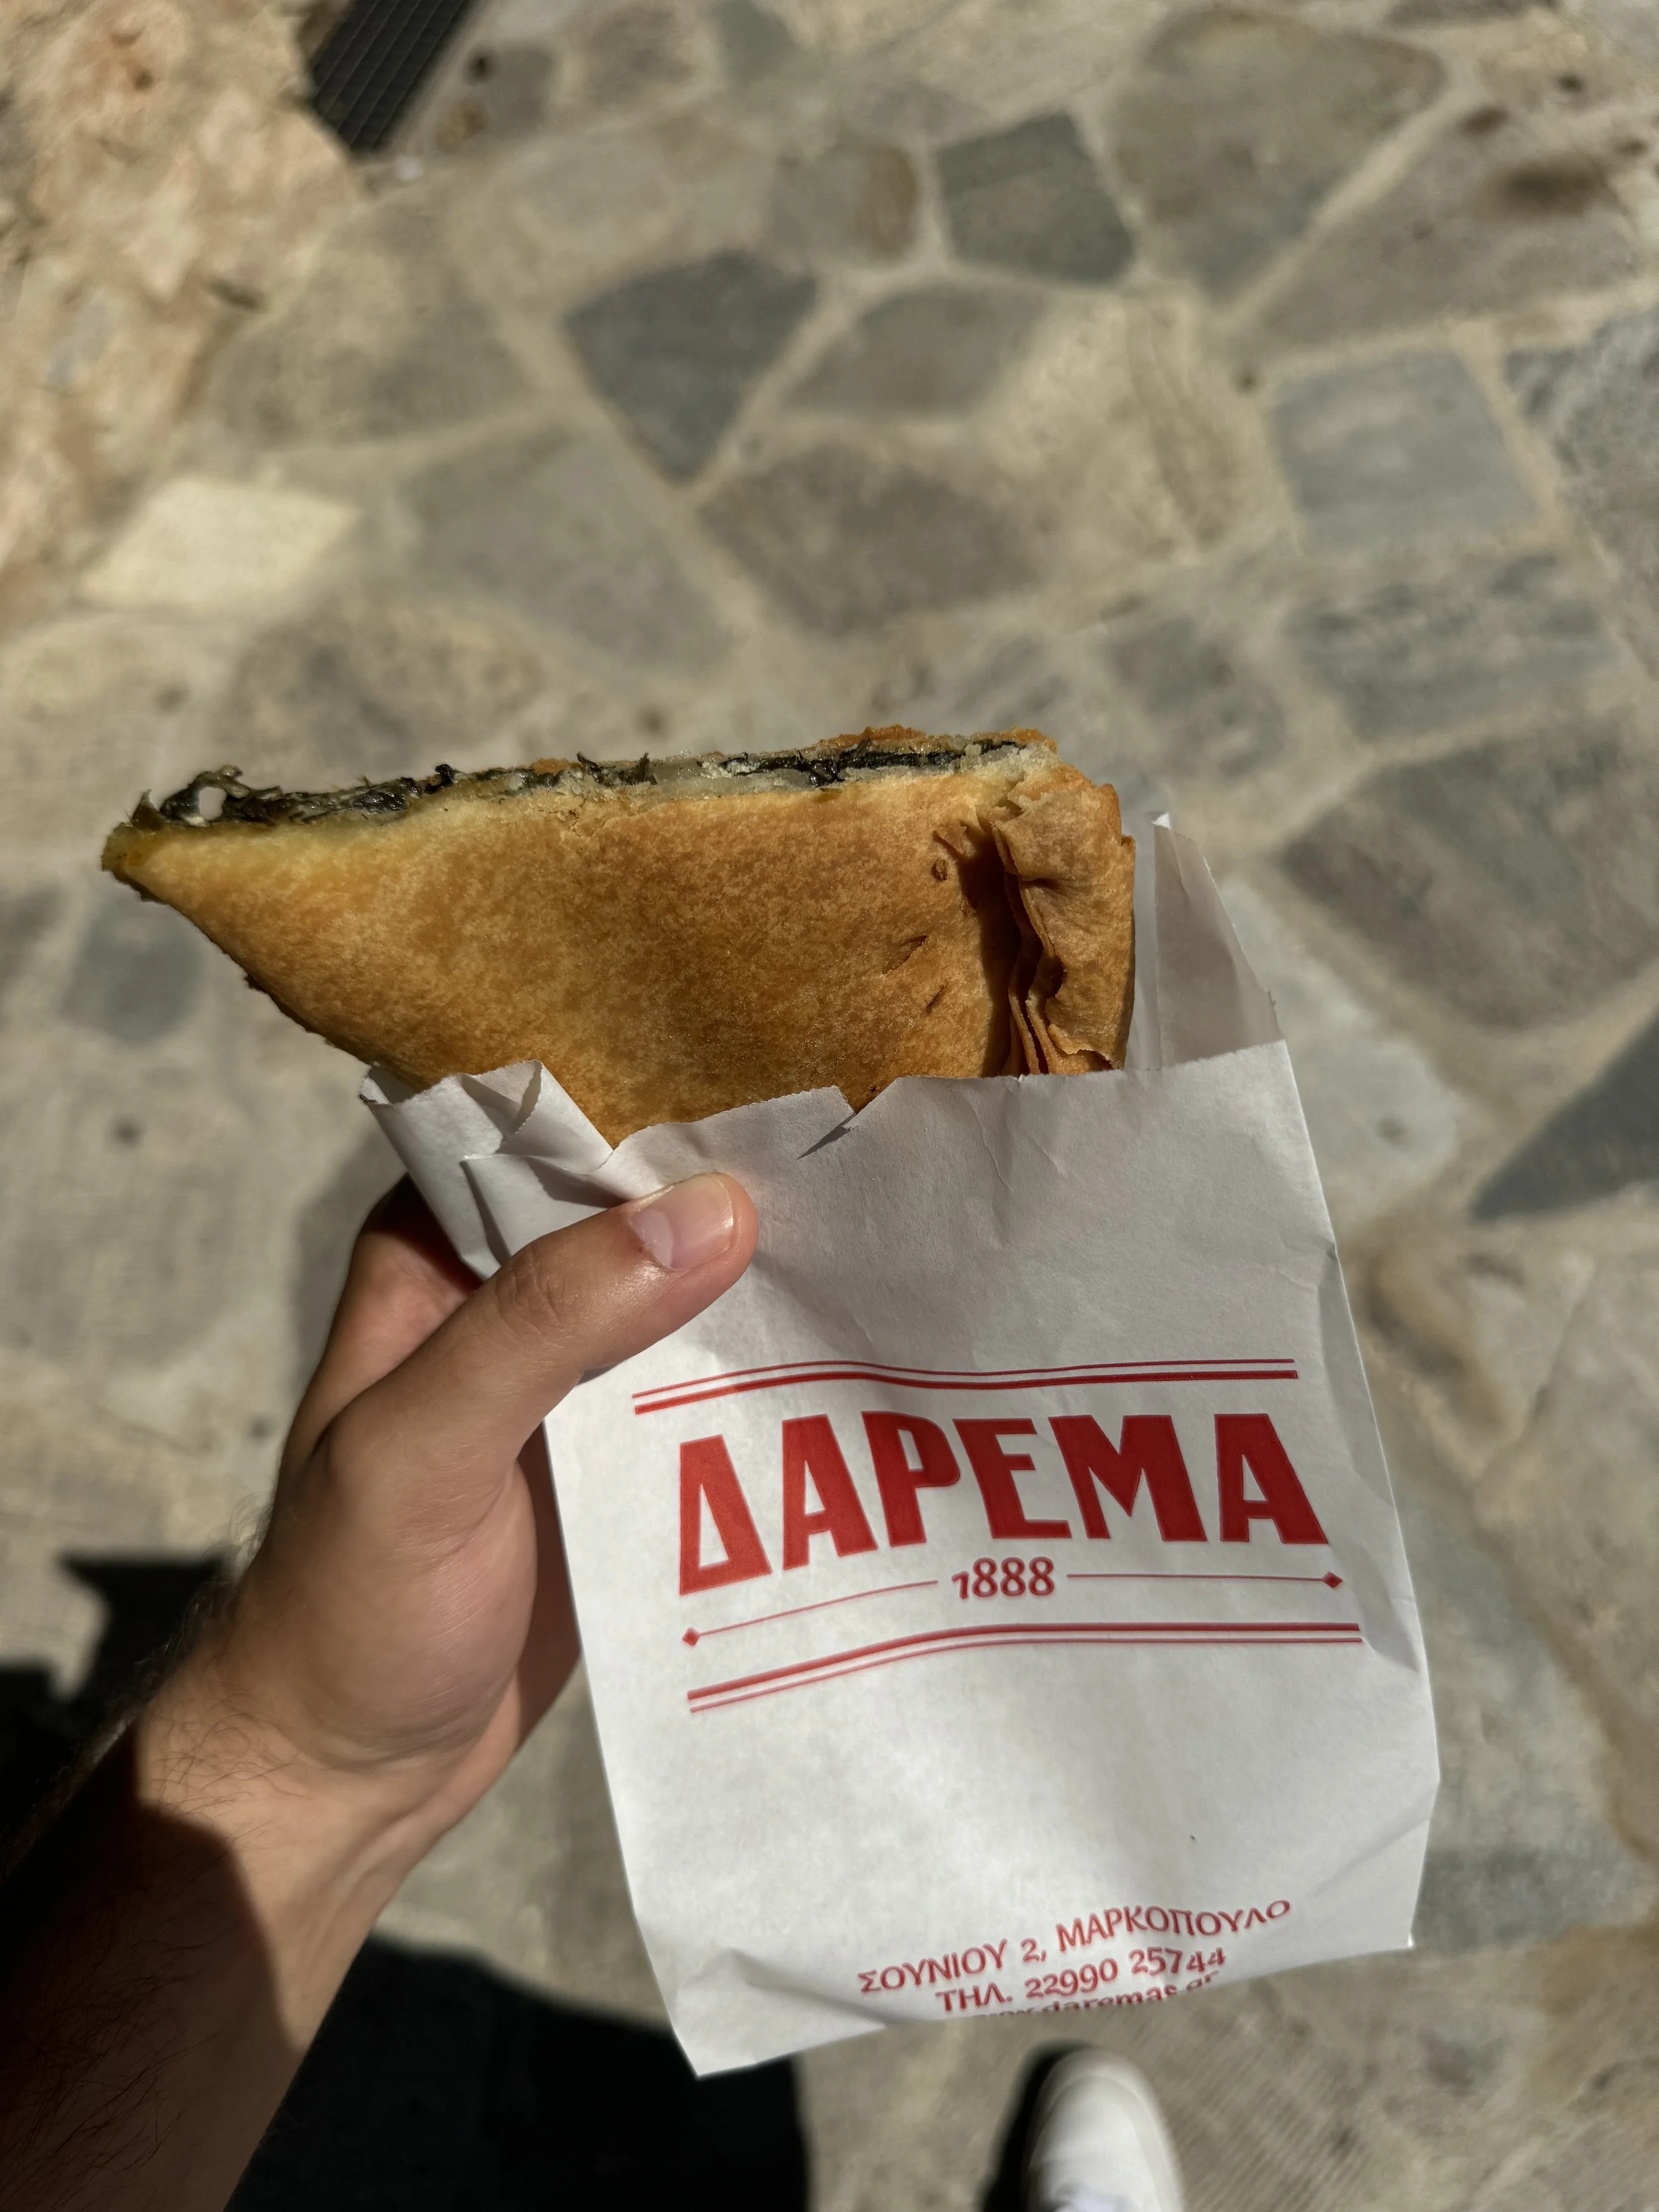
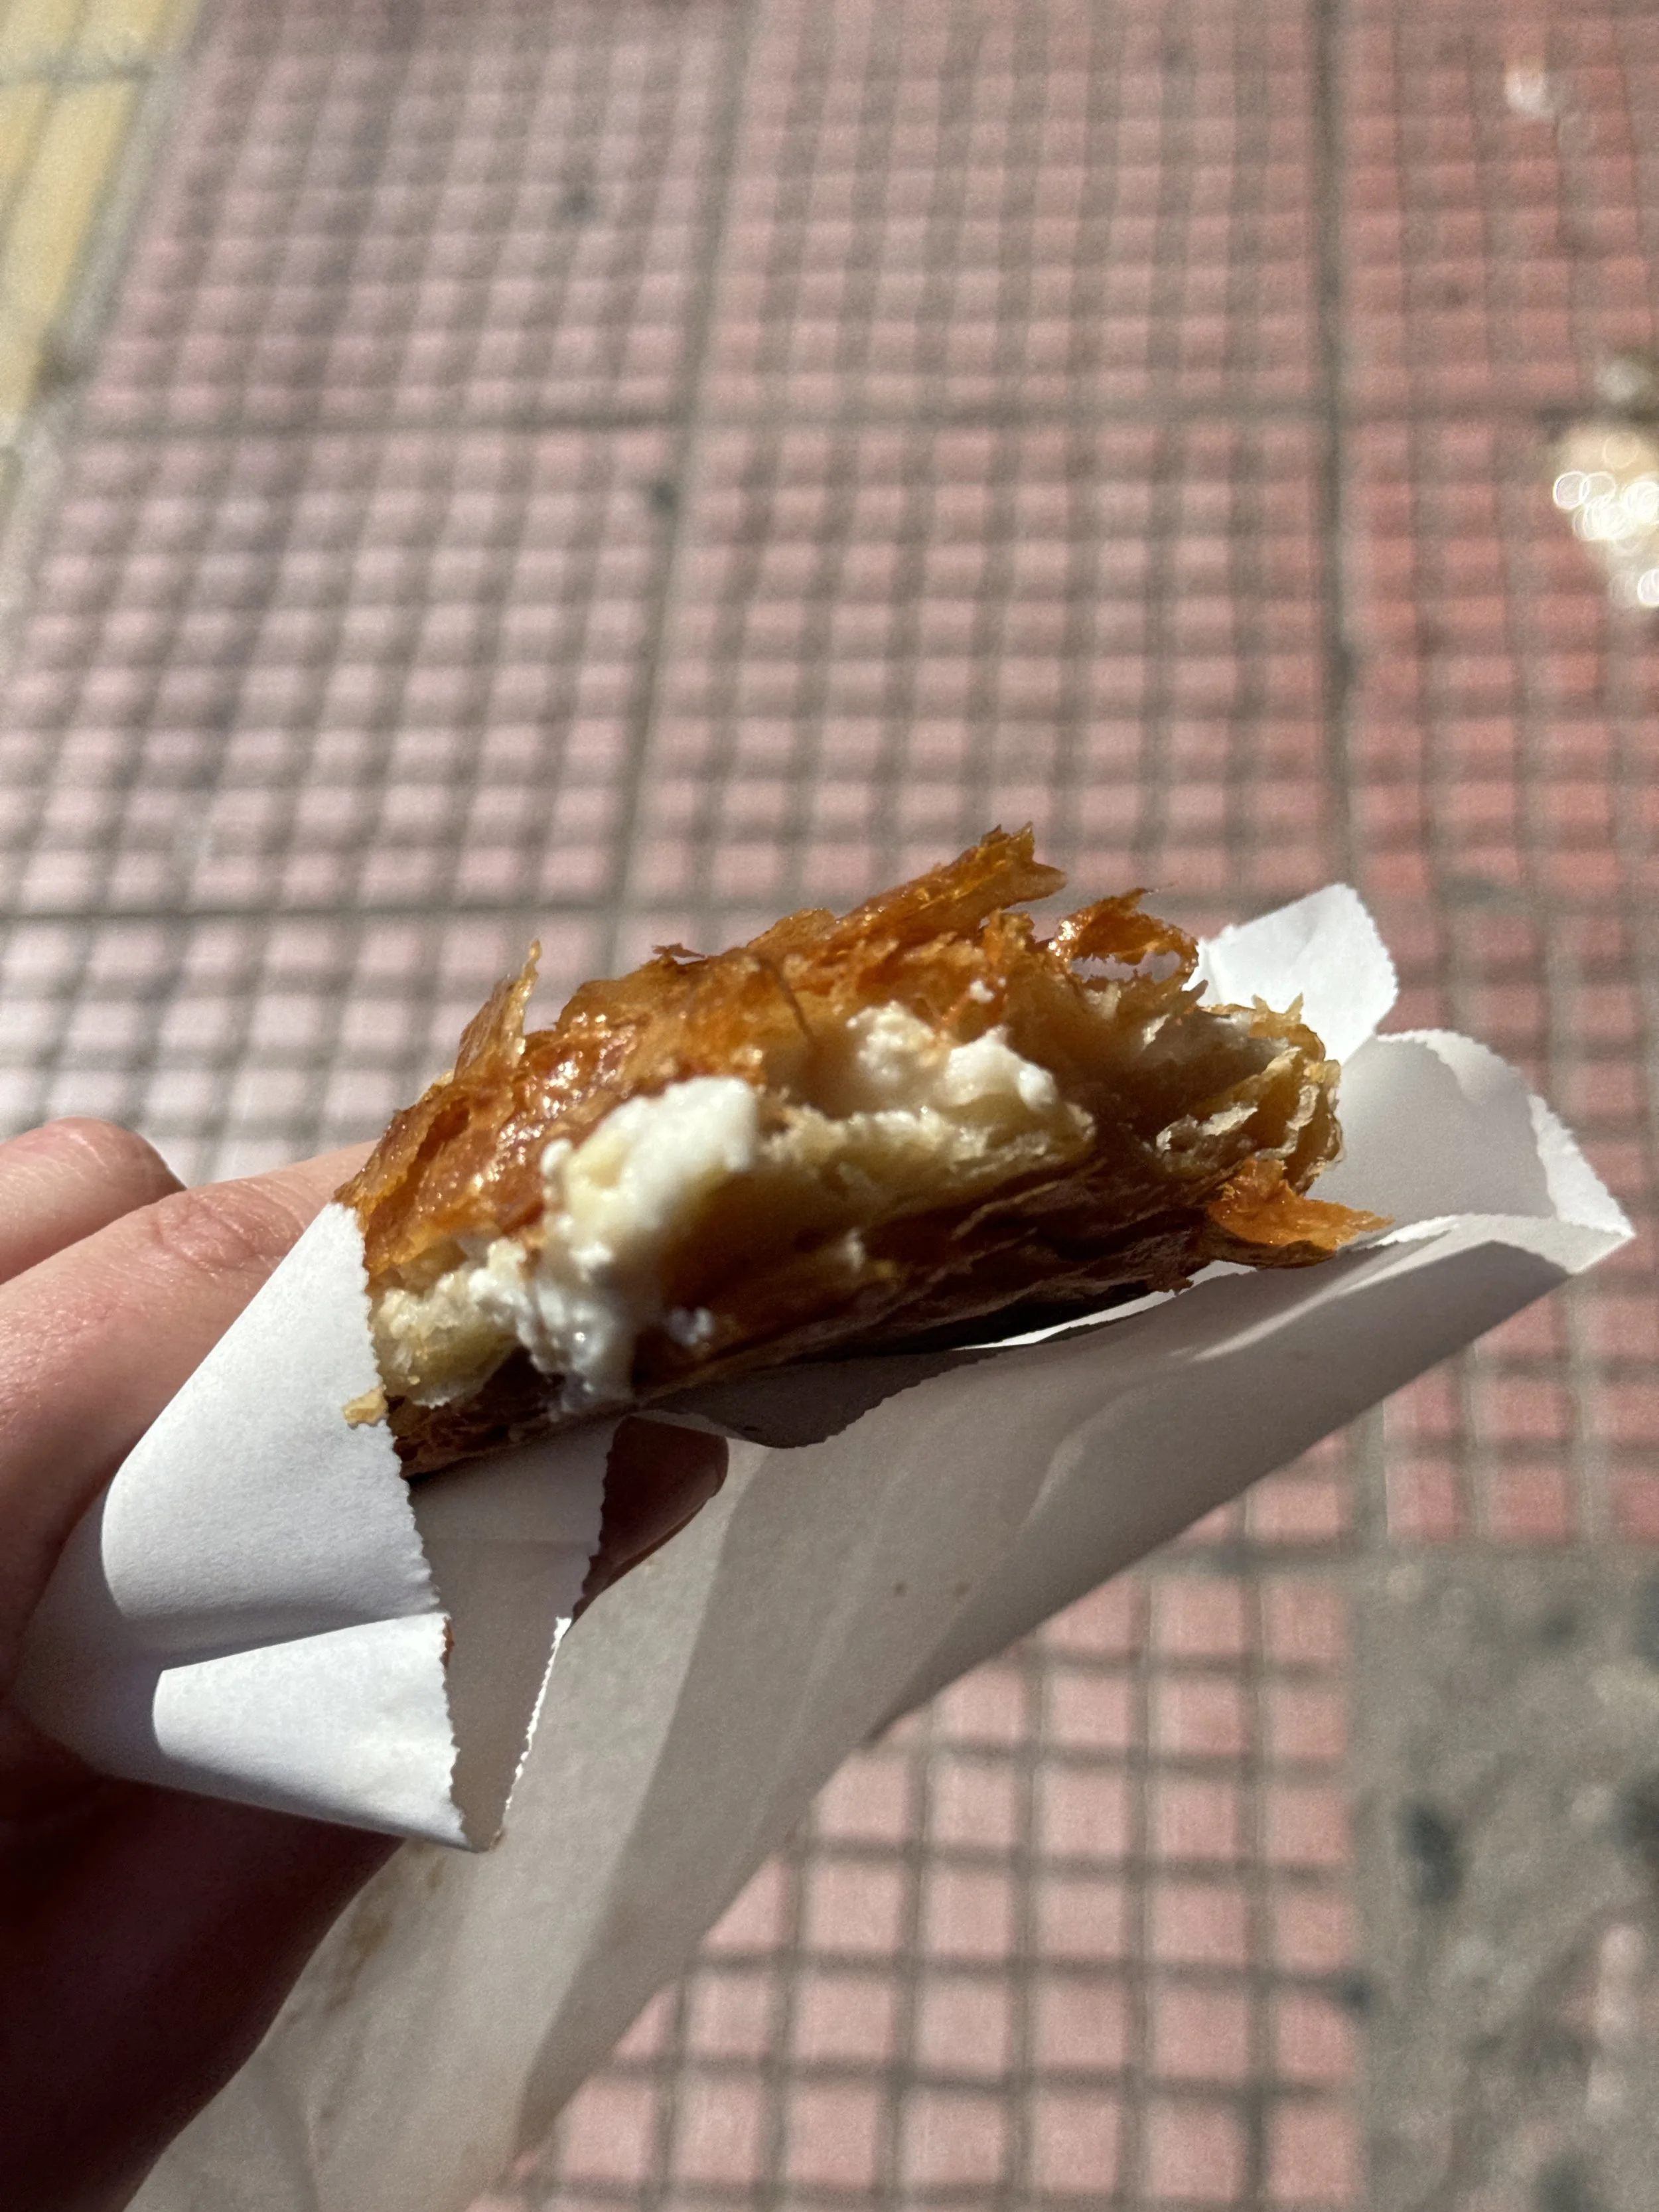
Here’s a random selection of pites I’ve eaten through Greece:
-
Ariston, Voulis 10
Makedonikon, Solonos 73
Darema, Sounio 2, Markopoulo
Mam, Pesmazoglou 3 & El. Venizelou 34
Dodoni, Likourgou 9
Παραδοσιακές πίτες στην Αθήνα | Γαστρονόμος - (σημ. ο «Πλαστός & Κρεμμυδόπιτα» έχει κλείσει οριστικά)
Spanakopita, hortopita or lahanopita?
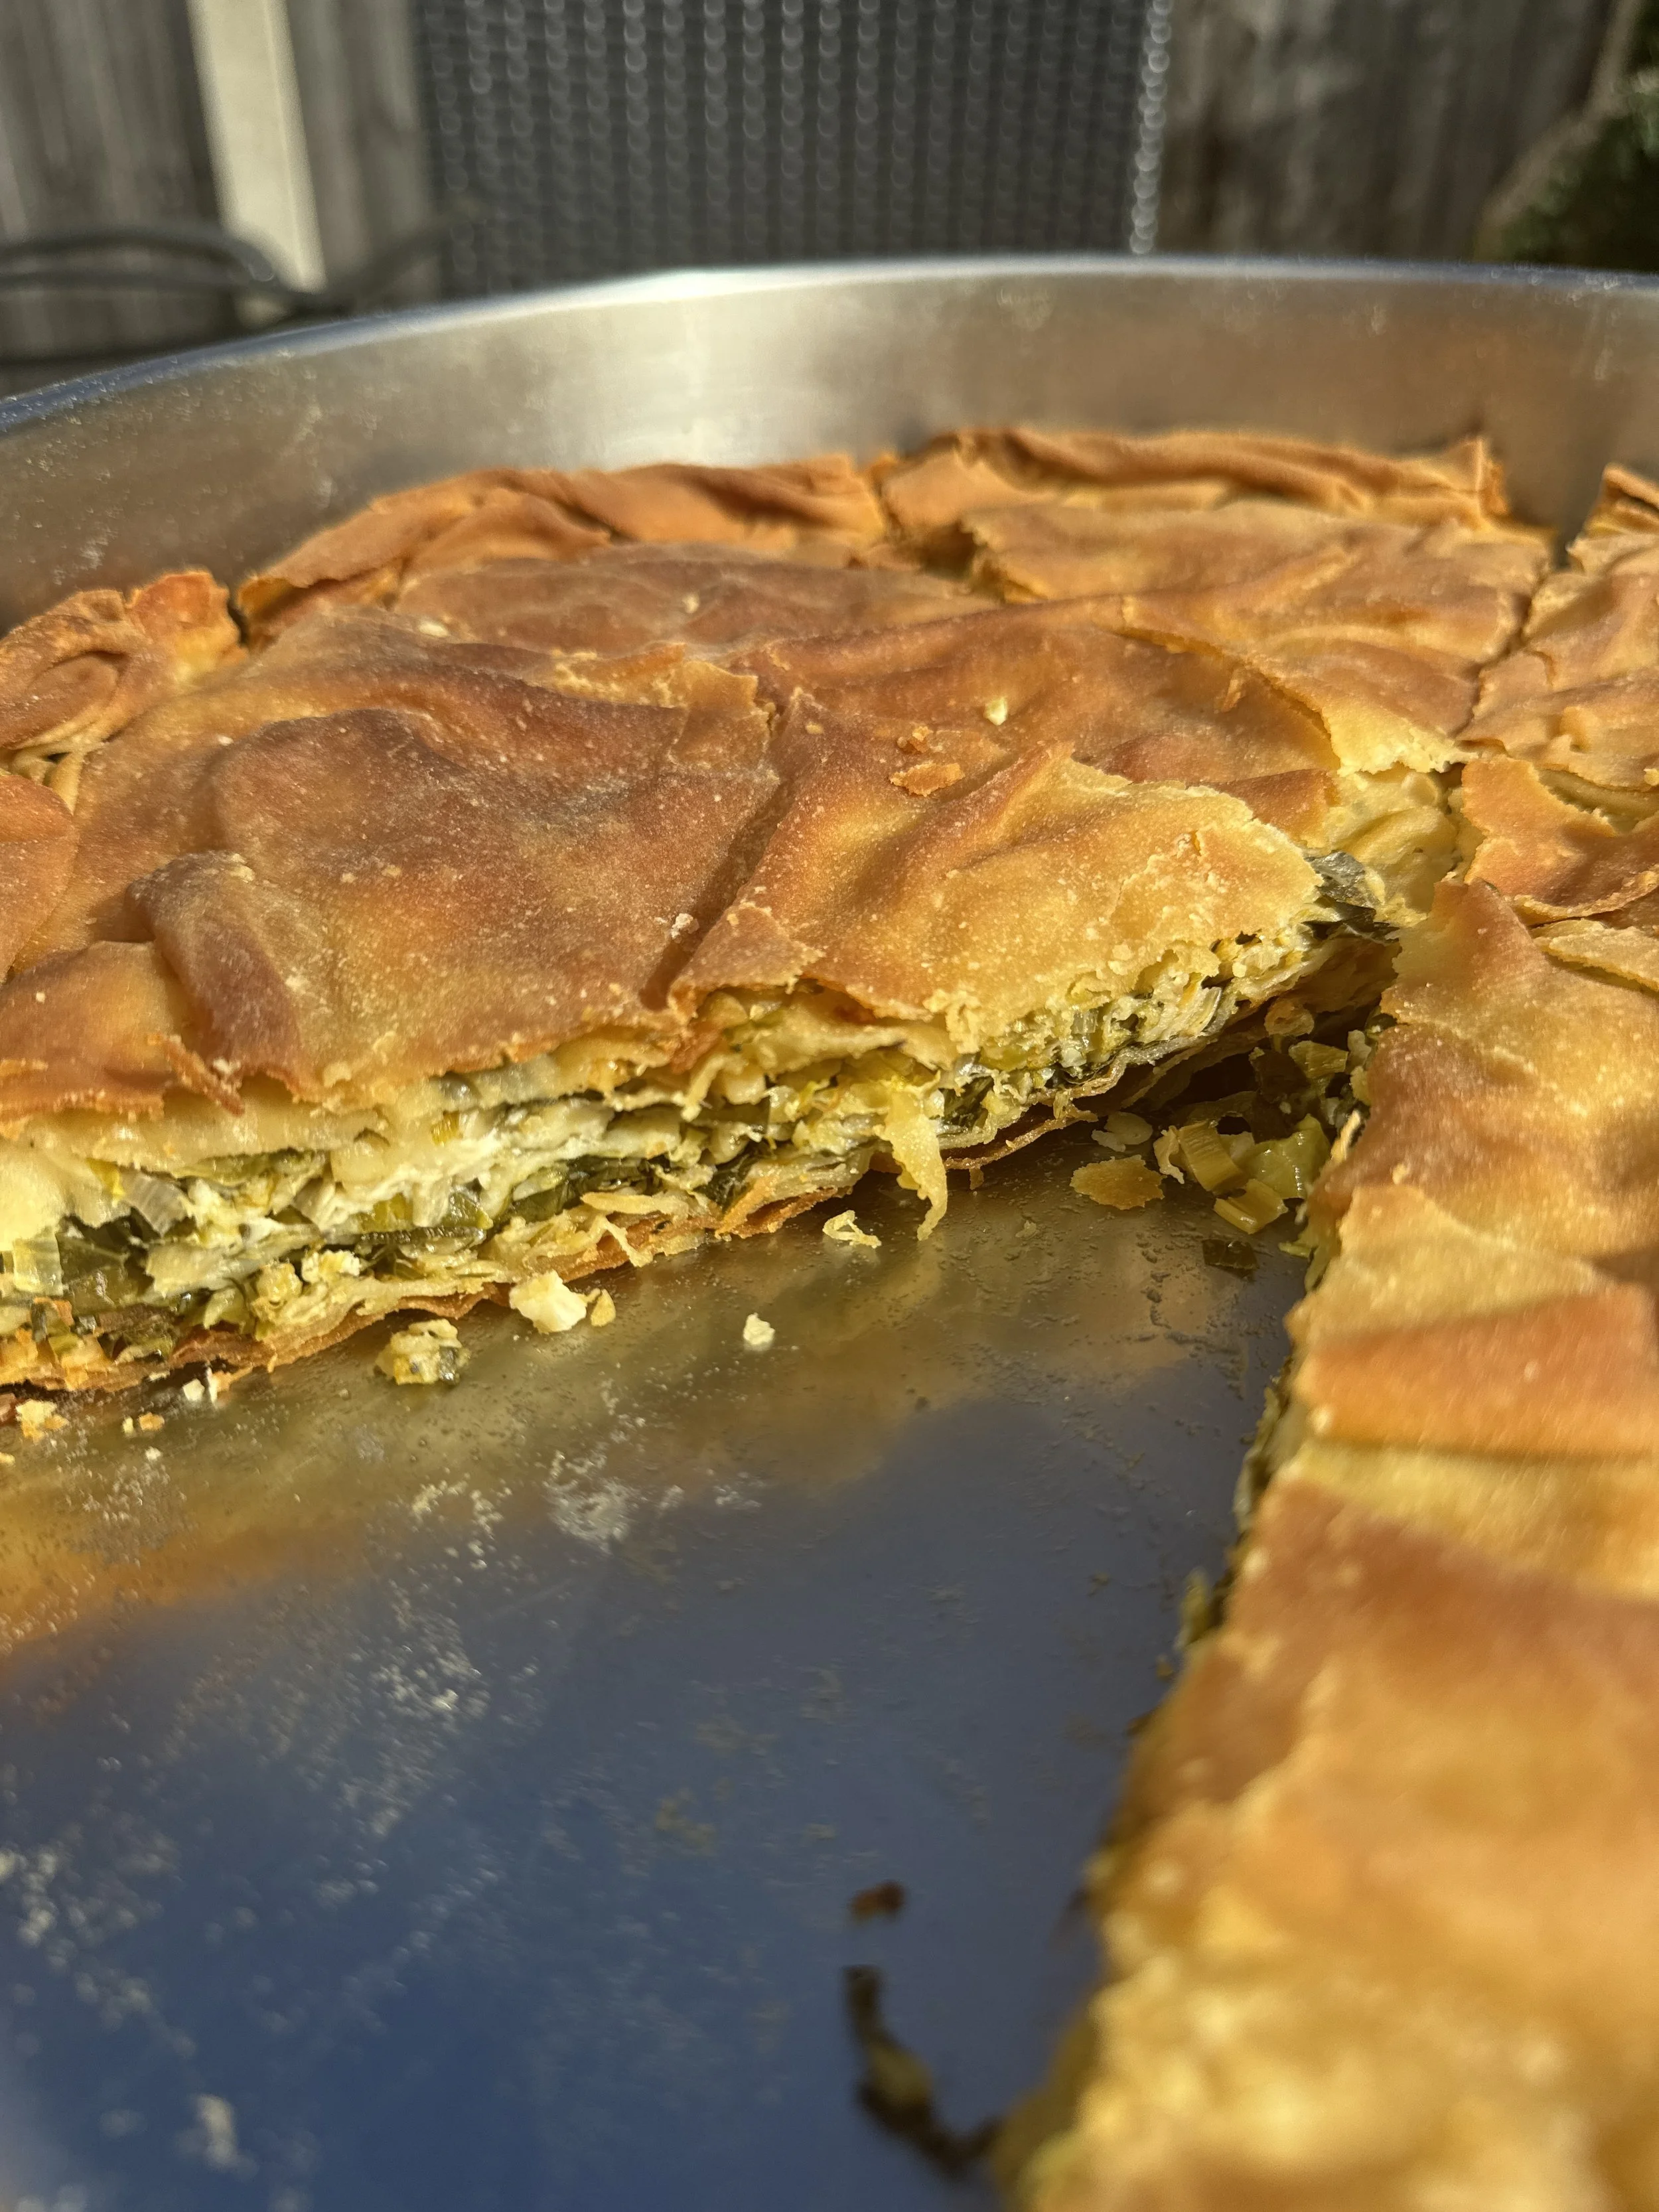
Second disclaimer: this isn’t actually a spanakopita if we’re going to be pedantic, but a hortopita; the difference being that the latter contains a range of greens rather than just spinach, which is the main ingredient of the former, even if the distinction isn’t always strictly adhered to. (Spanaki is spinach, and horta are greens.) Or, actually, a spanakotyropita – spinach and cheese pie. You may also see these words across Greece:
Lahanopita – another name for hortopita, commonly used in Epirus and parts of the Aegean
Spanakotyropita – spinach-cheese pie
Batsaria/blatsaria – pie with greens but without filo from Epirus
Strifti – meaning rolled, when the pita is rolled into a spiral shape
Tsaïti – thin pie with greens and aromatics like mint from Lakonia in the Peloponnese
The list goes on so don’t be surprised if you encounter different words describing similar things.
The measurements aren’t too precise because people in the villages always made the pies with whatever greens and cheeses they had available from their land or that of their neighbours. You might also want to add in some mizithra cheese, for example, or make use of some cabbage or lettuce you have. That’s fine. There are some suggestions in the ingredients for what kinds of greens you can use, but Greek culture is so much closer to nature, agriculture and good food, and the vernacular pertaining to greens and vegetables so broad, that many of the greens that Greeks would use in pites do not translate to words that the vast majority of English speakers will recognise, and are often considered to be weeds abroad.
You should make the filo too. If you don’t skip this step and follow the entire recipe, you will come to appreciate just how easy and easily fulfilling making the filo from scratch actually is. If humans have been making this for at least thousands of years, so can we. It also makes the pita 10x better. Let’s do it.
Traditional Greek Hortopita / Spanakopita Recipe
For a 33cm/12inch round baking dish or 40cm/16inch x 30cm/12inch rectangular baking dish (roughly).
Ingredients
For the filo:
500g plain flour
1 tbsp of salt
3 tbsp extra virgin olive oil
1 tbsp vinegar
300ml lukewarm water
This is the classic recipe for the village filo. The vinegar is there to help make it crispy. Some may add tsipouro instead.
For the filling:
Many of the greens that might feature in Greek pites simply aren’t widespread enough that you can find (nor identify) them in countries like the UK, so work with what you can find of the greens below or similar, subject to seasonality. You can also add in extra cheeses (e.g. grate kaseri or graviera, or crumble in some anari or mizithra).
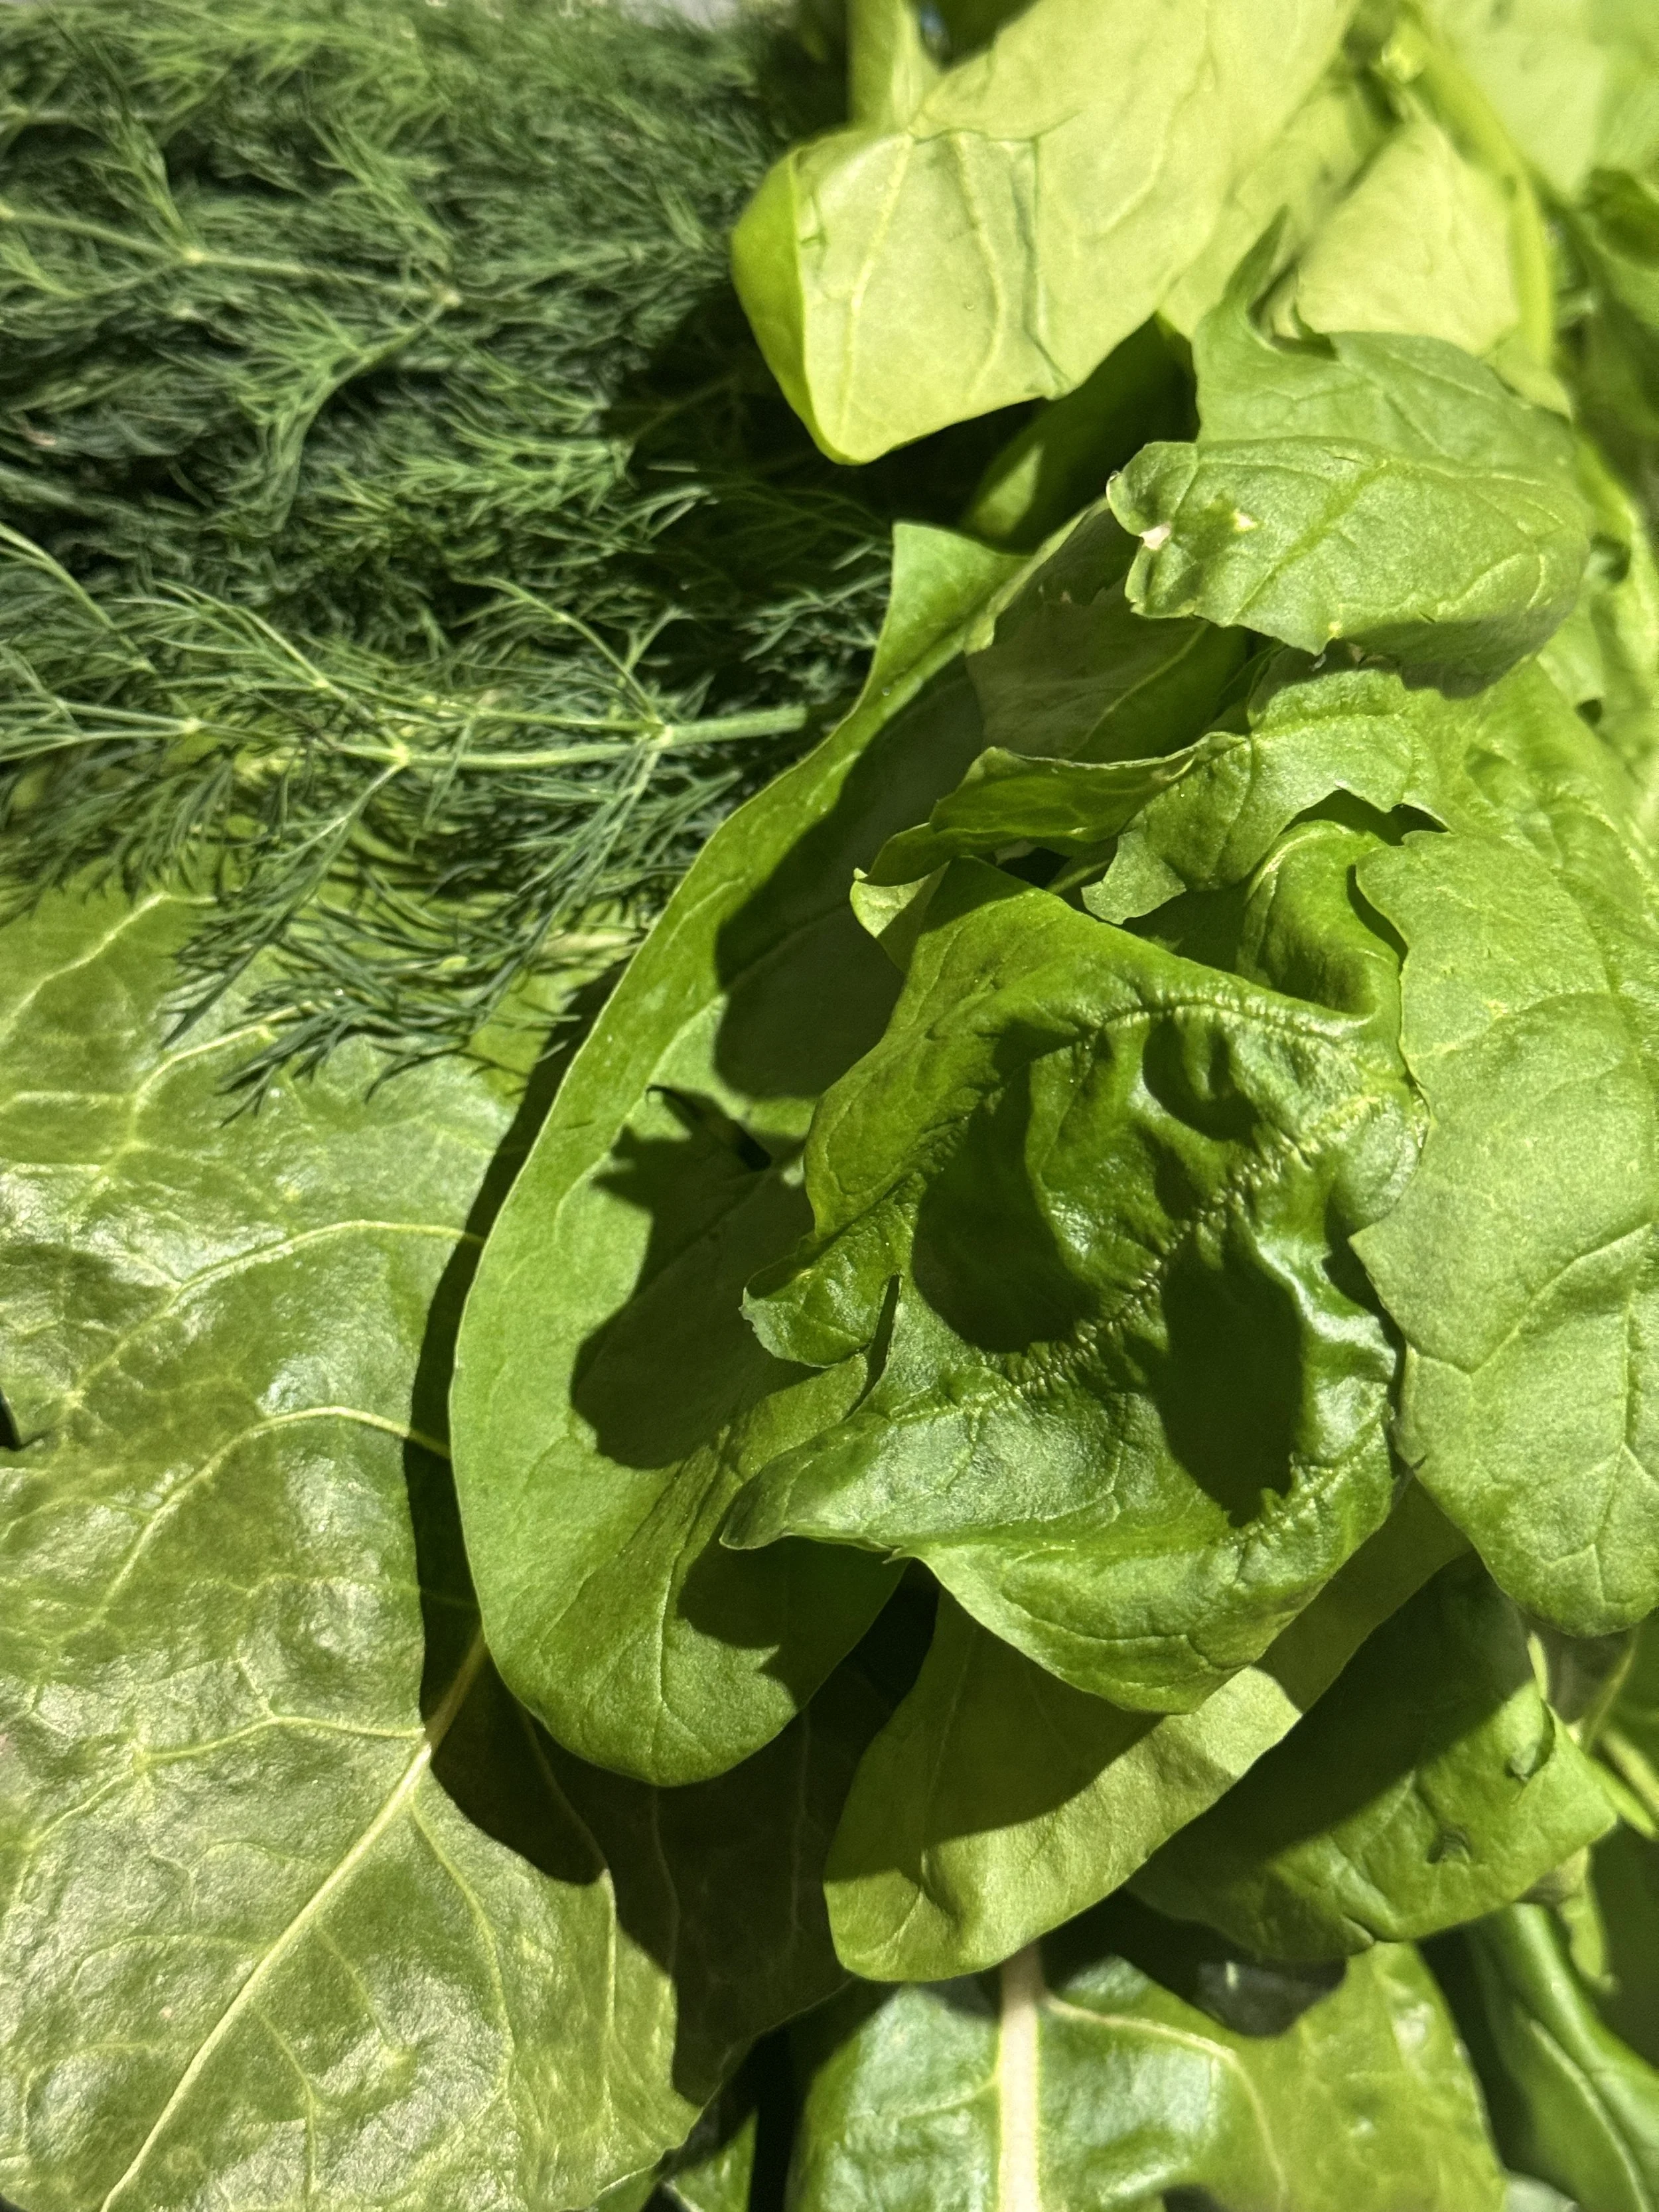
500-700g of greens, e.g.
2 large bunches of spinach
Optional: one smaller bunch of swiss chard (σέσκουλα), chervil (μυρώνια), sowthistle (ζοχούς), or similar if you can find
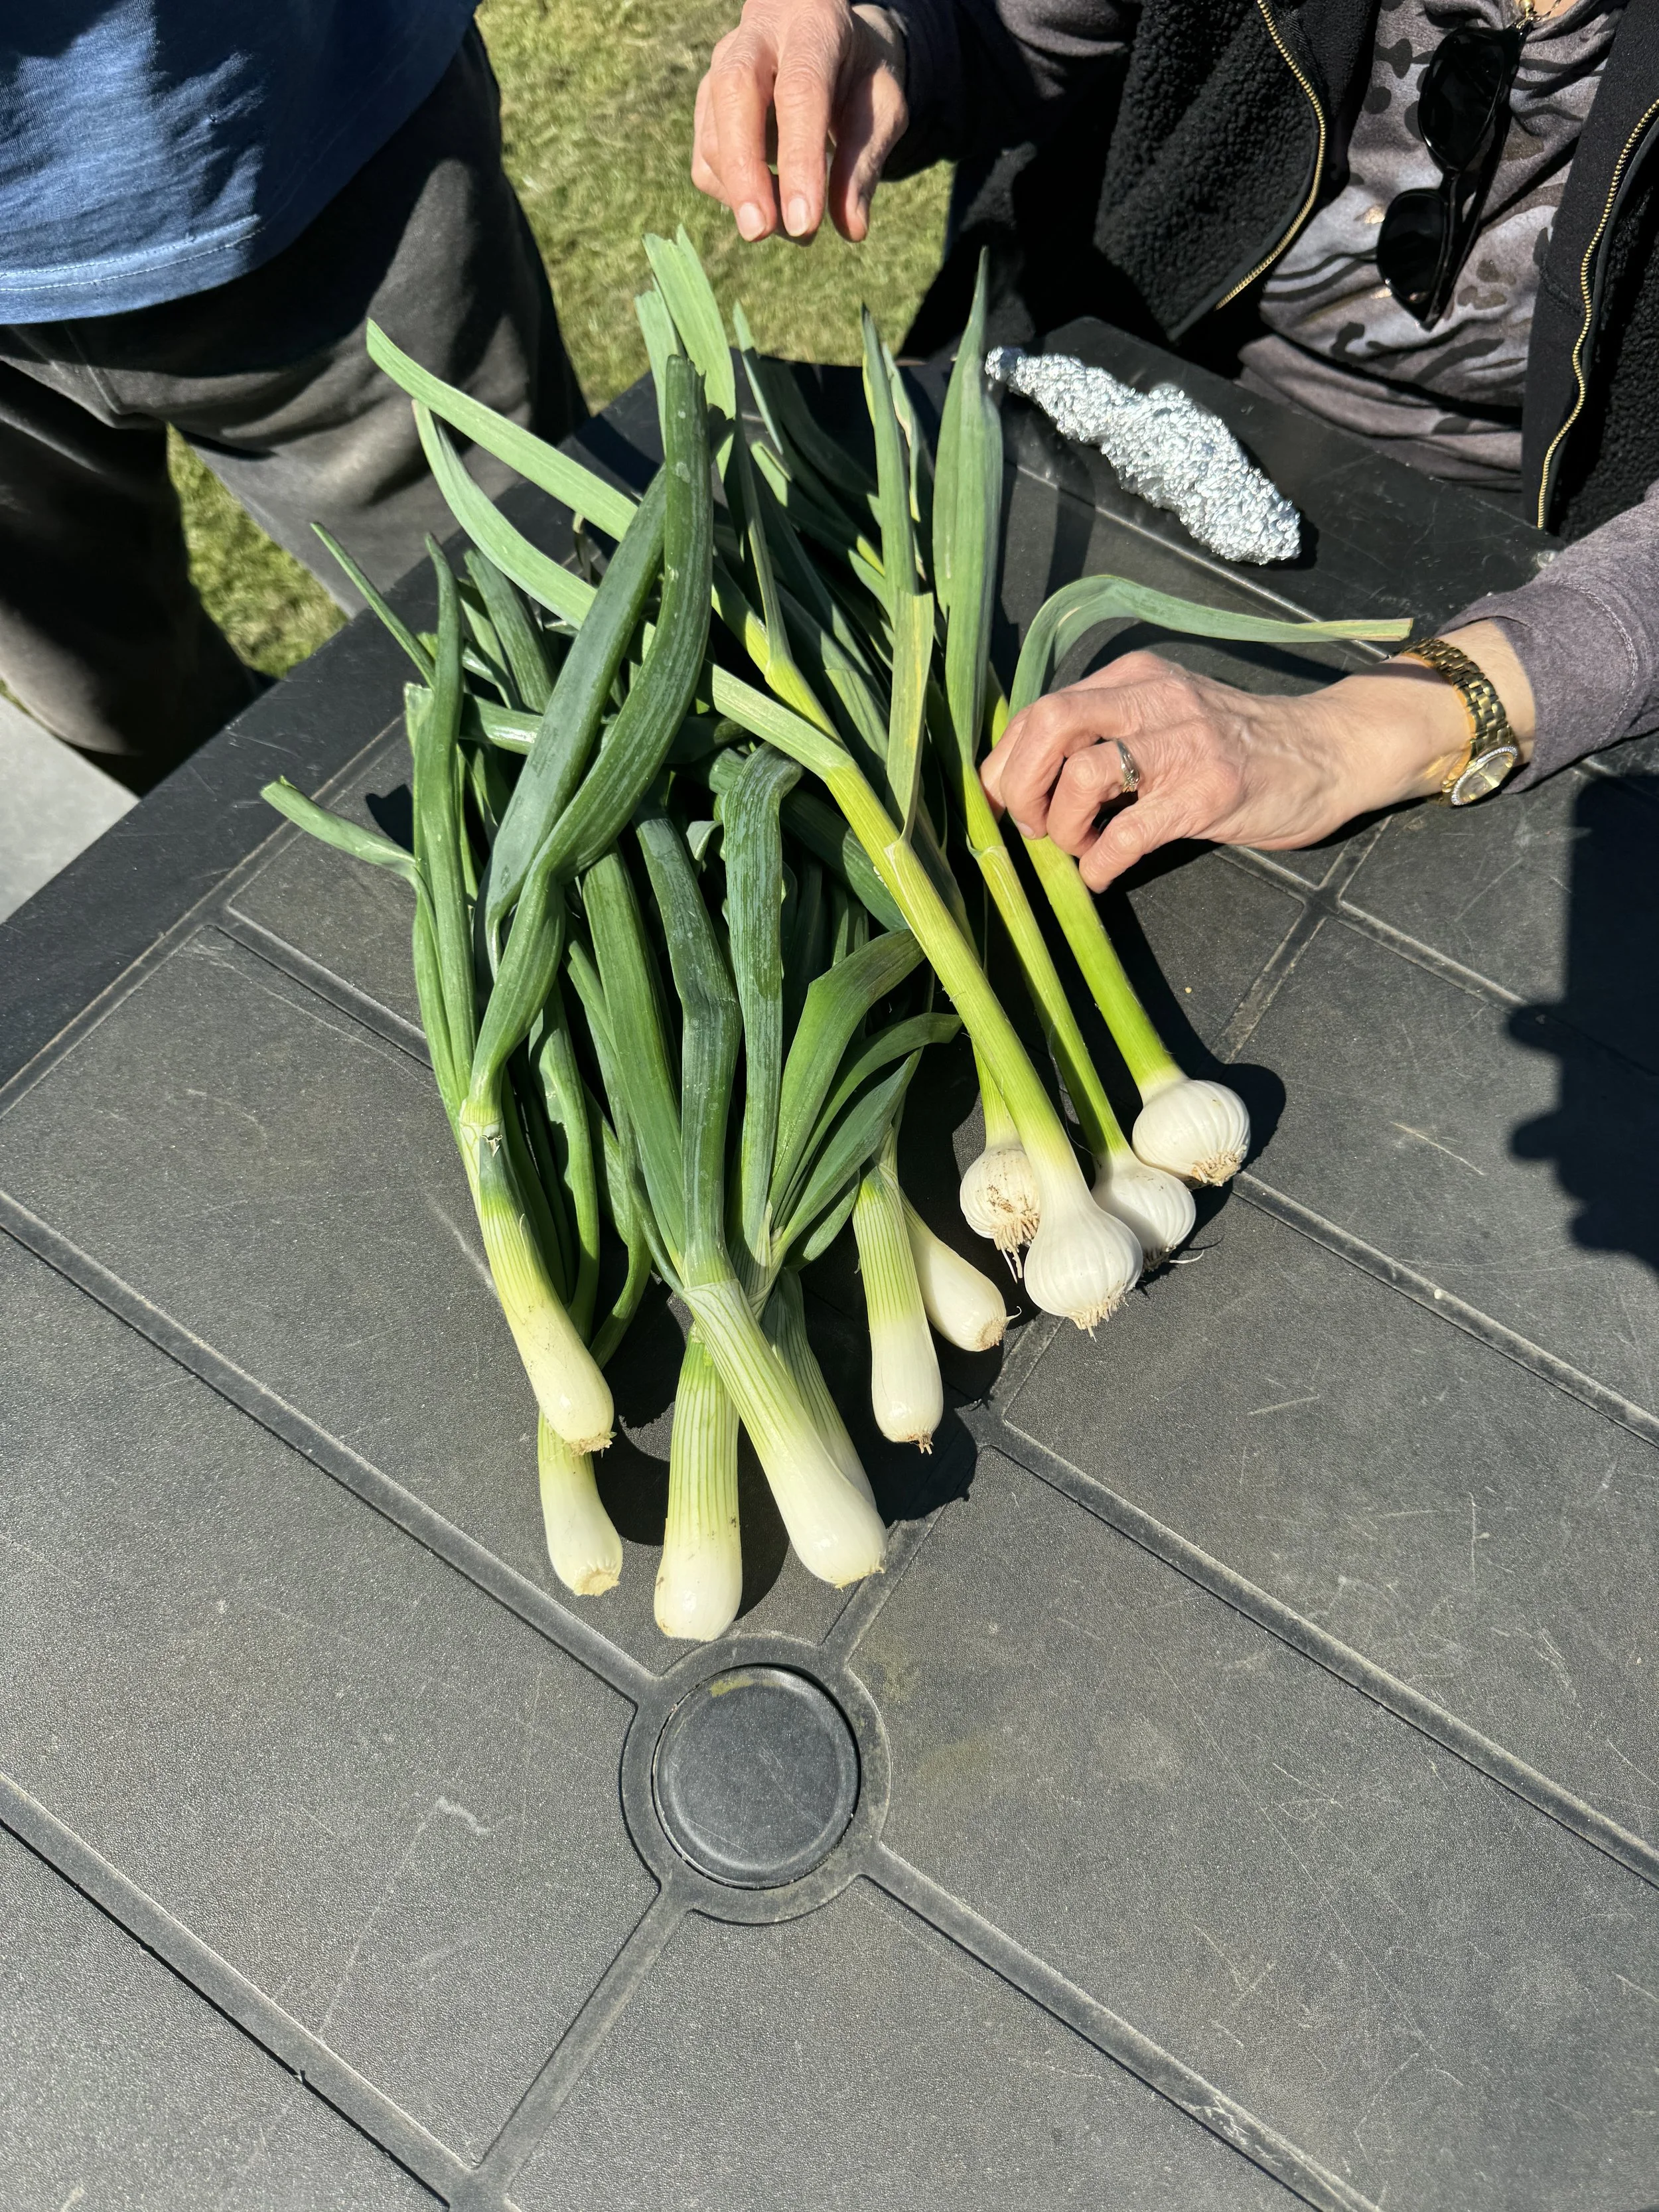
1 large leek
3-4 spring onions
A few sprigs of dill
Optional: 1-2 fresh garlic stalks
2 eggs
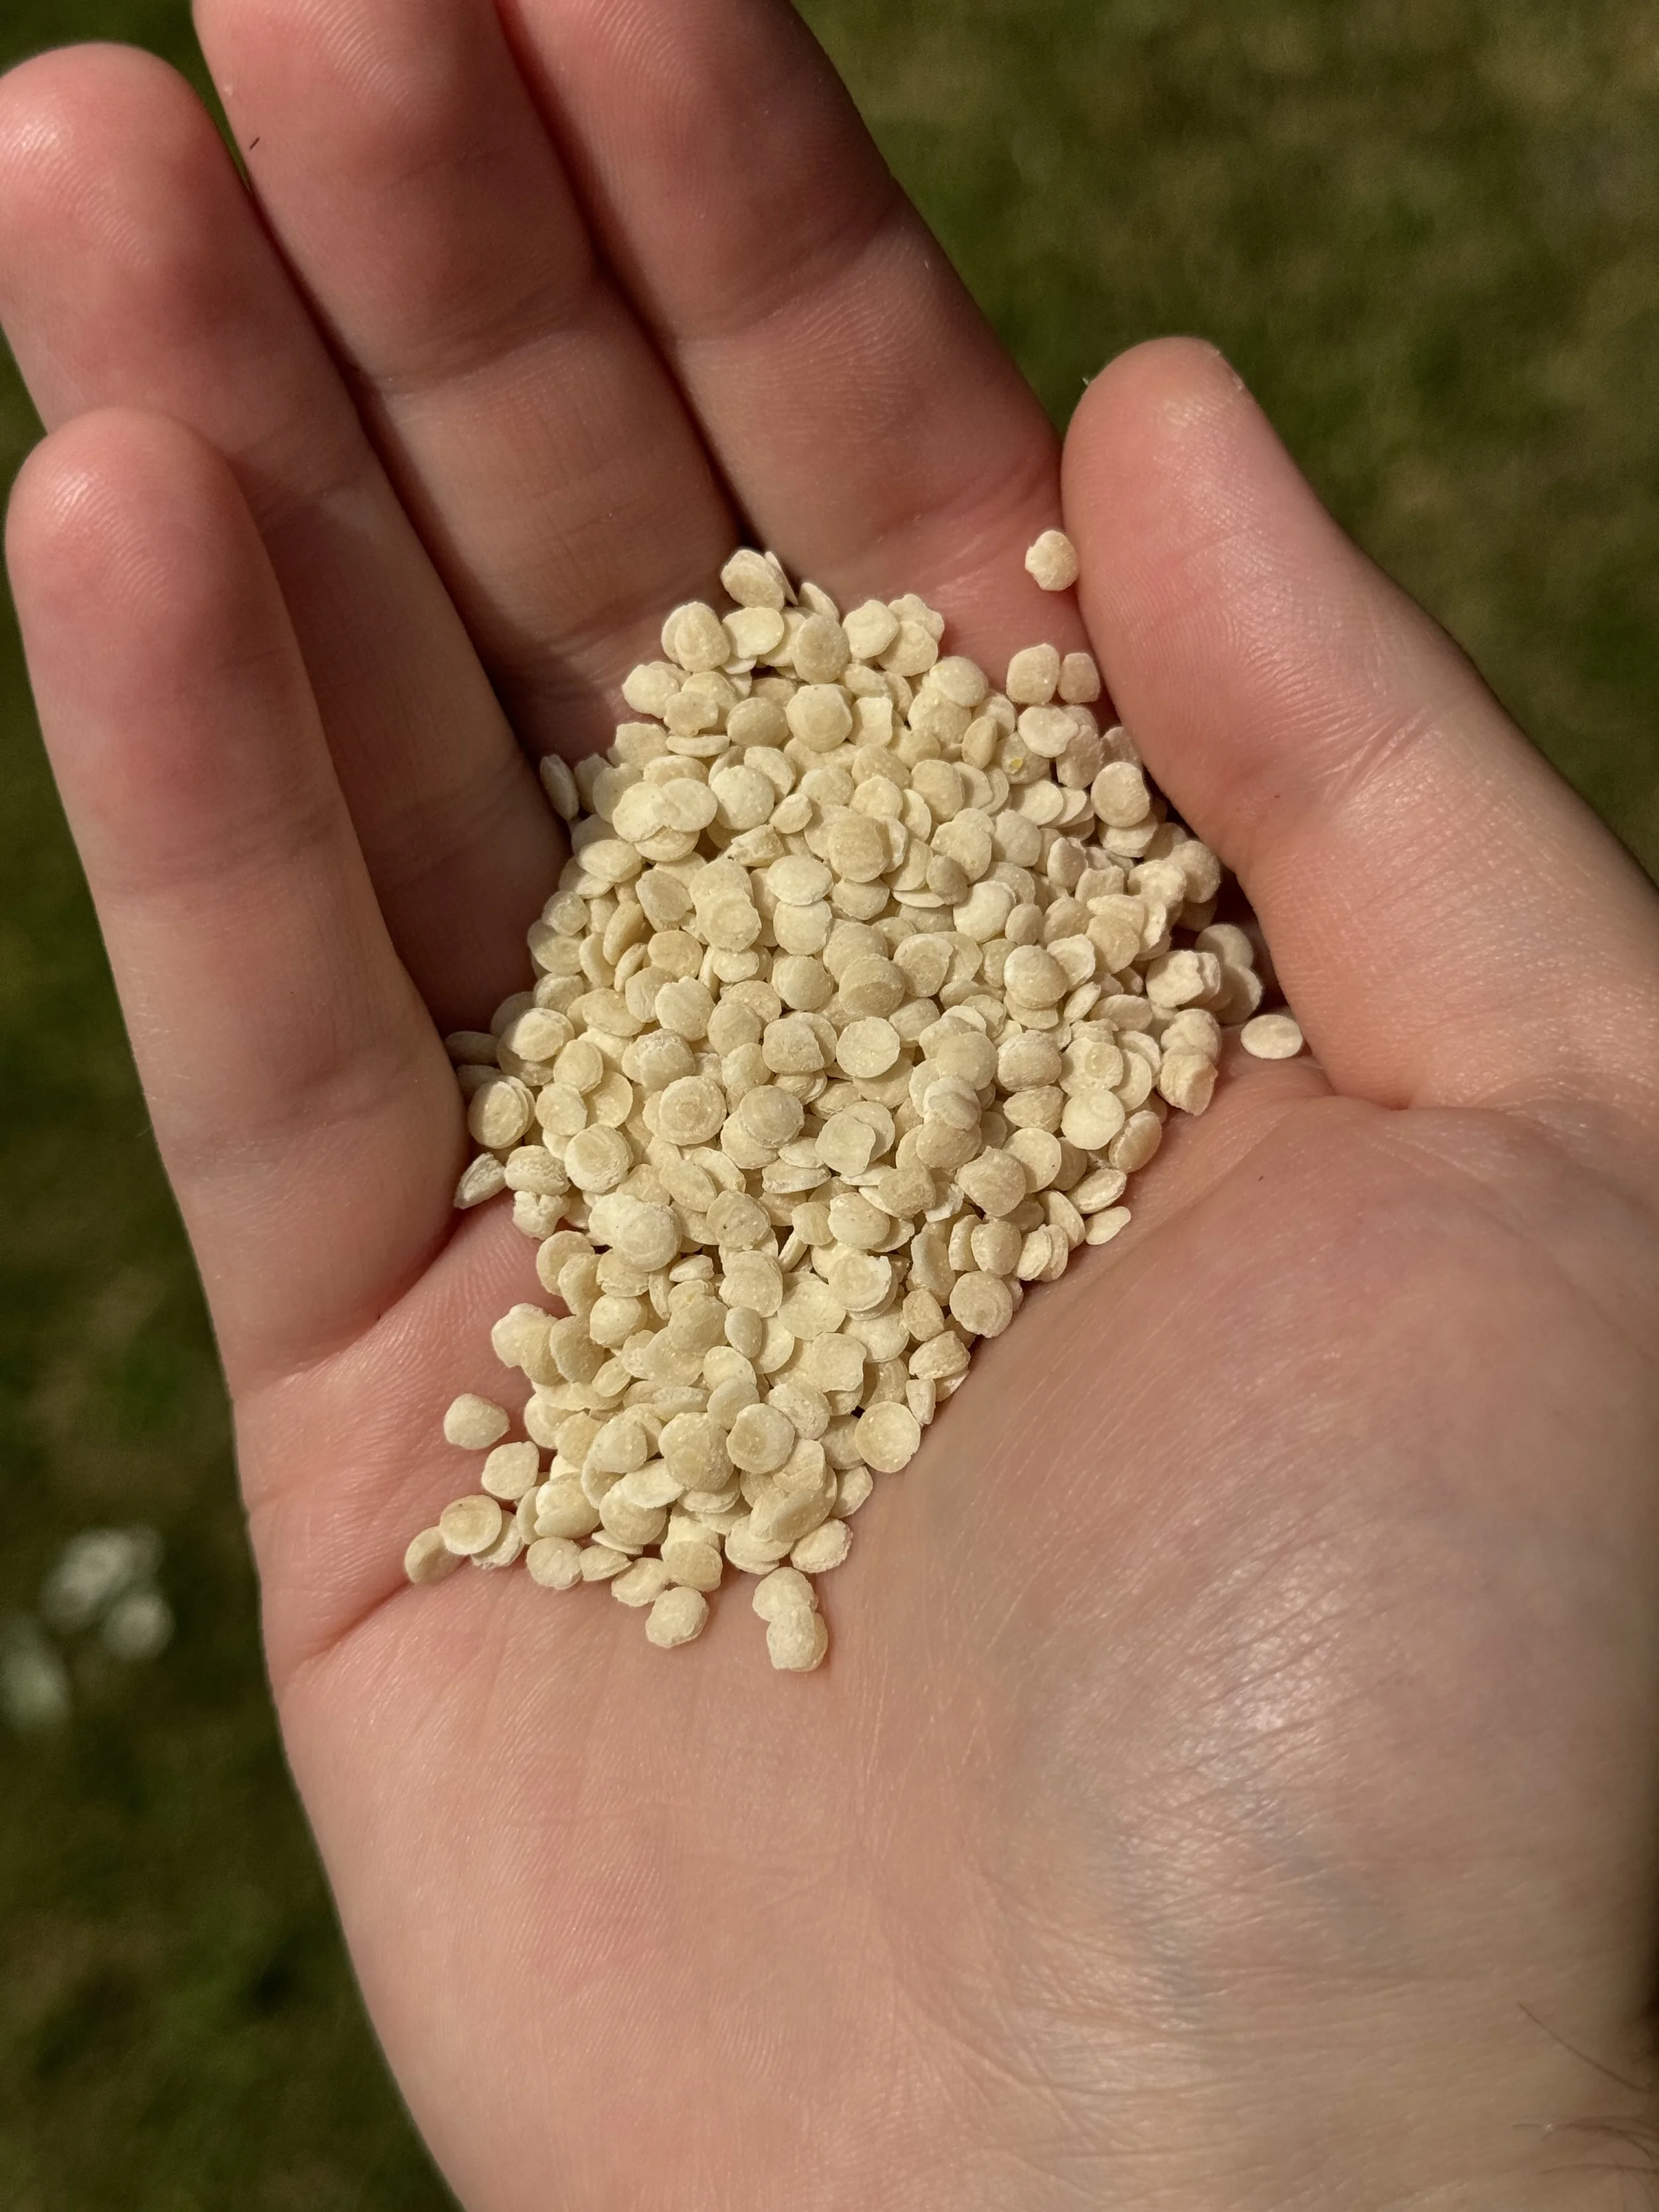
A generous handful of trahanas
200-400g of PDO feta cheese or a combination of different cheeses (to your liking)
Extra virgin olive oil
Salt
Method
Preparation
3-4 hours before you begin, thoroughly wash the greens and leave out to dry. We’re not going to strain or cook them, so allow enough time for them to dry.
Make sure you have
a large baking tray,
a long, thin rolling pin,
a large bowl to mix the greens,
a regular bowl for the dough,
weighing scales,
a measuring jug,
a knife and chopping board.
Making the filo dough
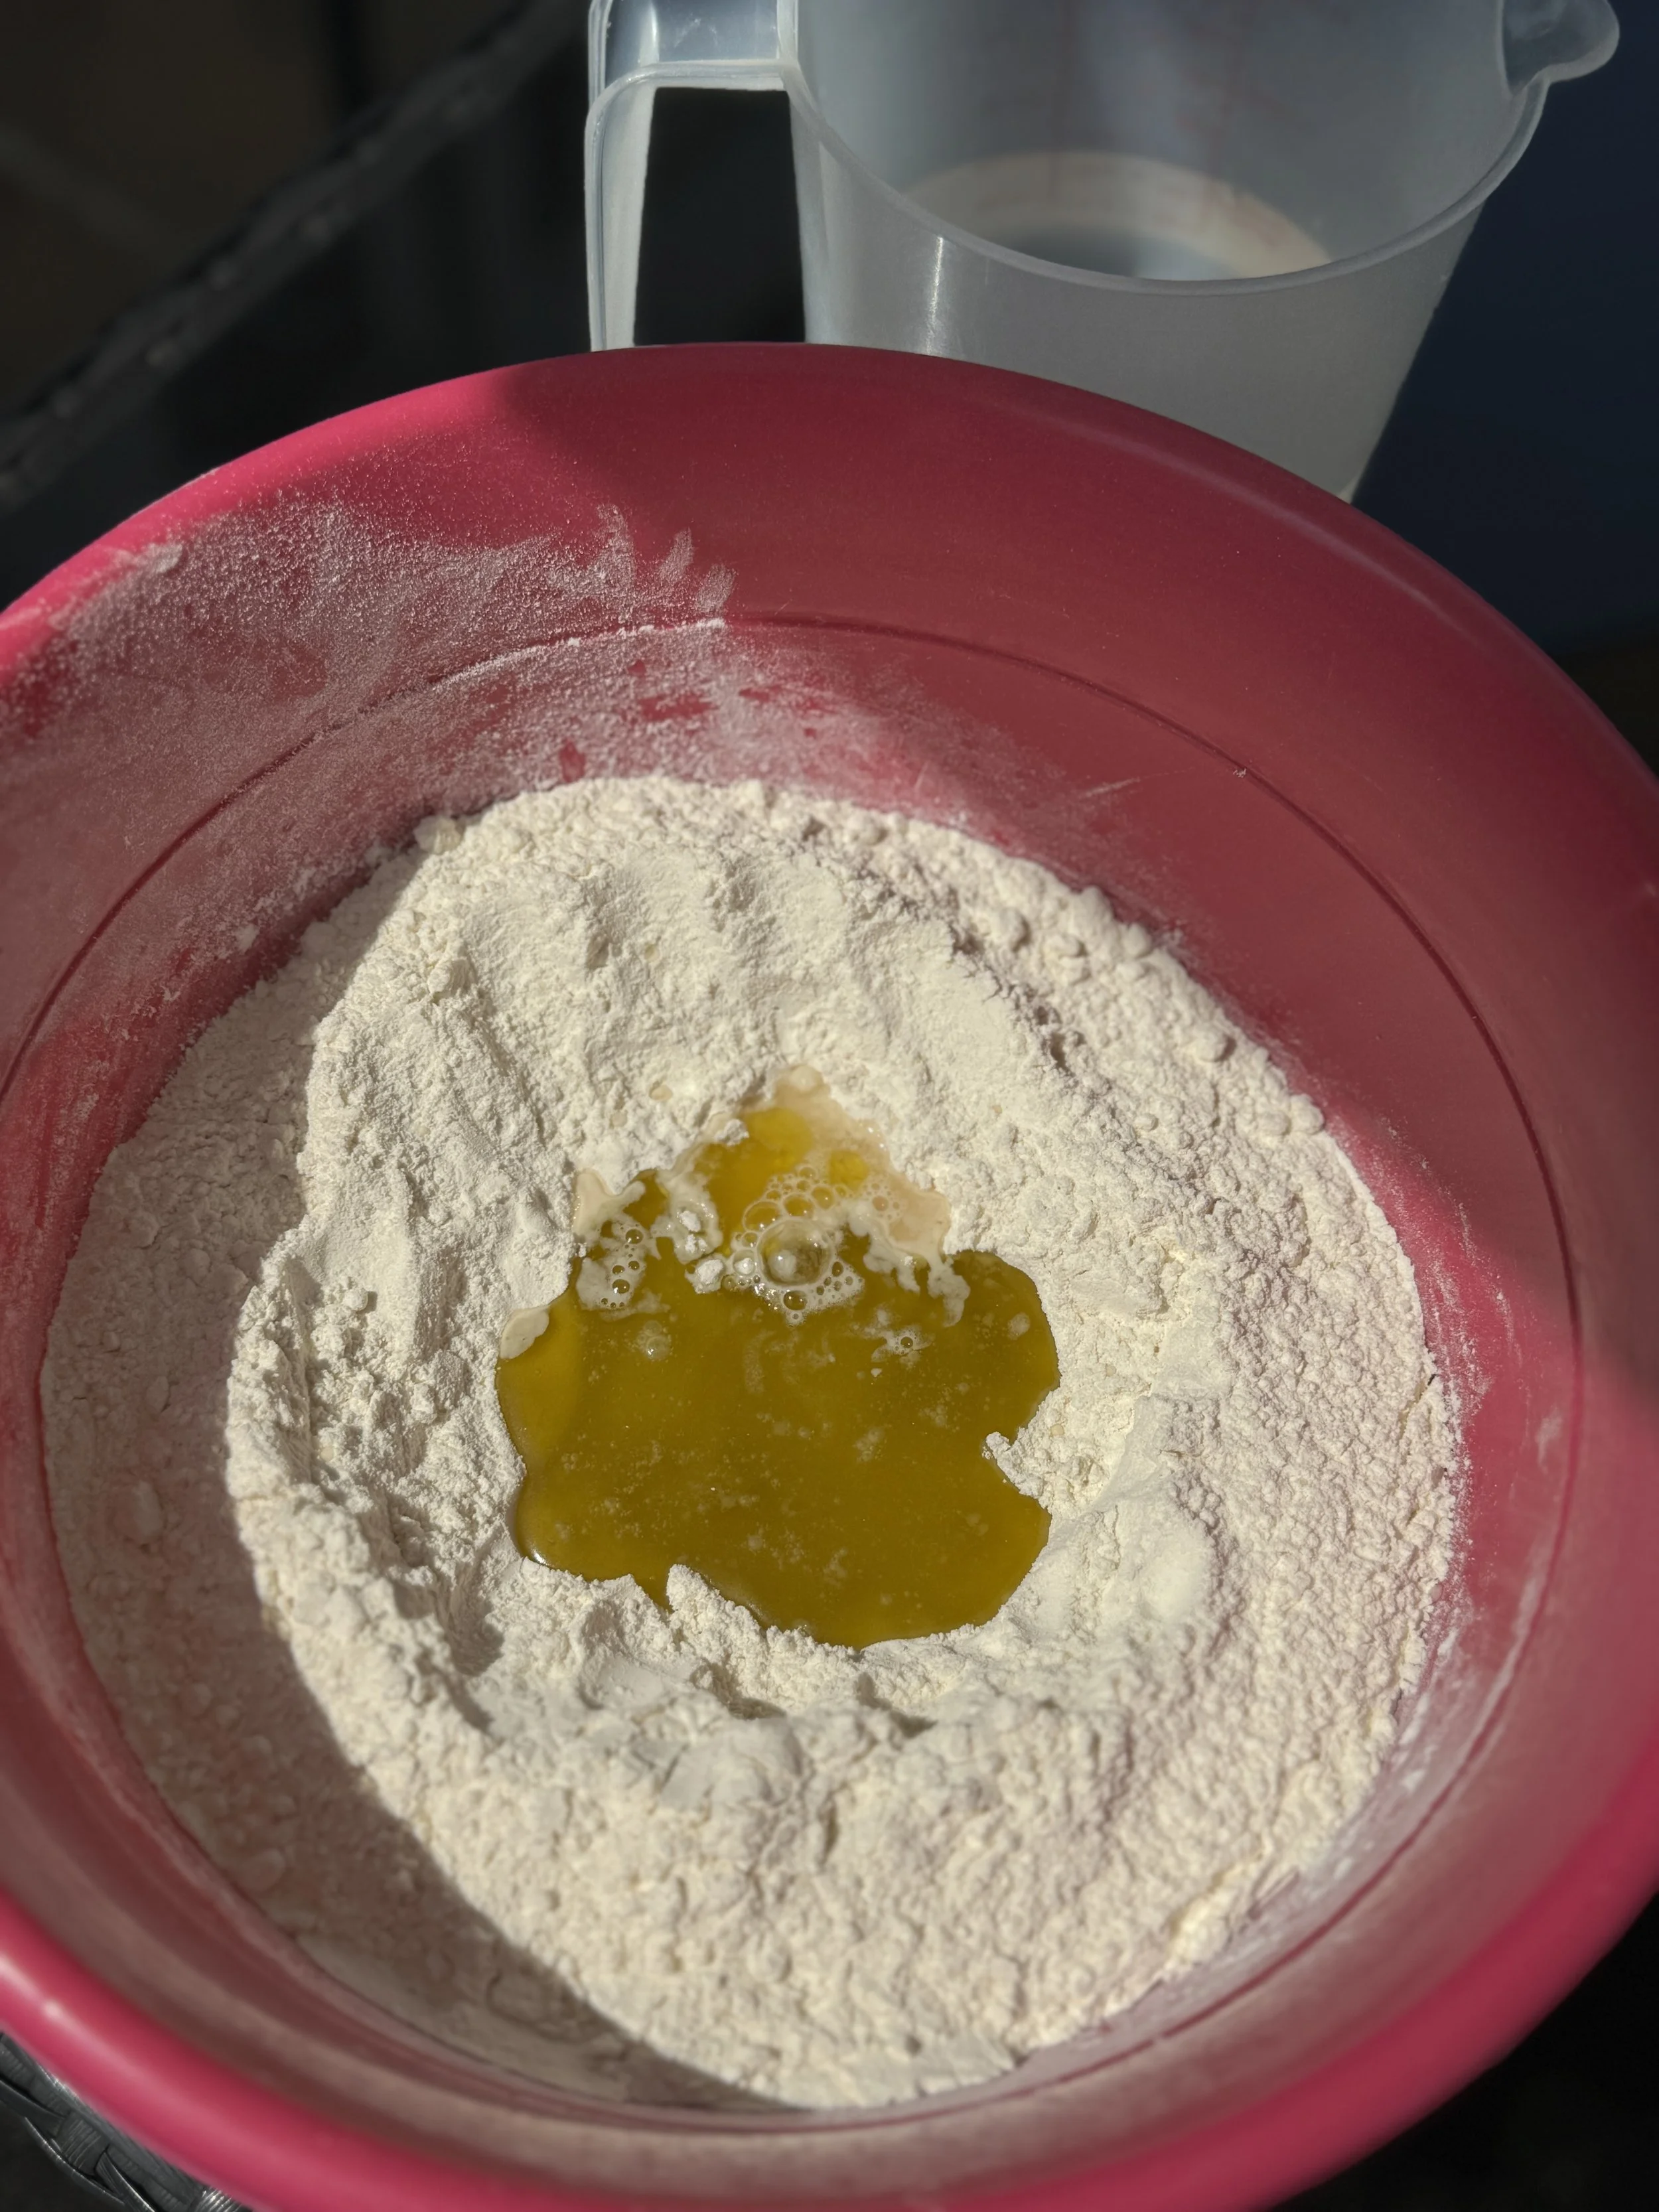
Sieve the flour into a large bowl. Make a well in the centre and add the salt, extra virgin olive oil, and vinegar.
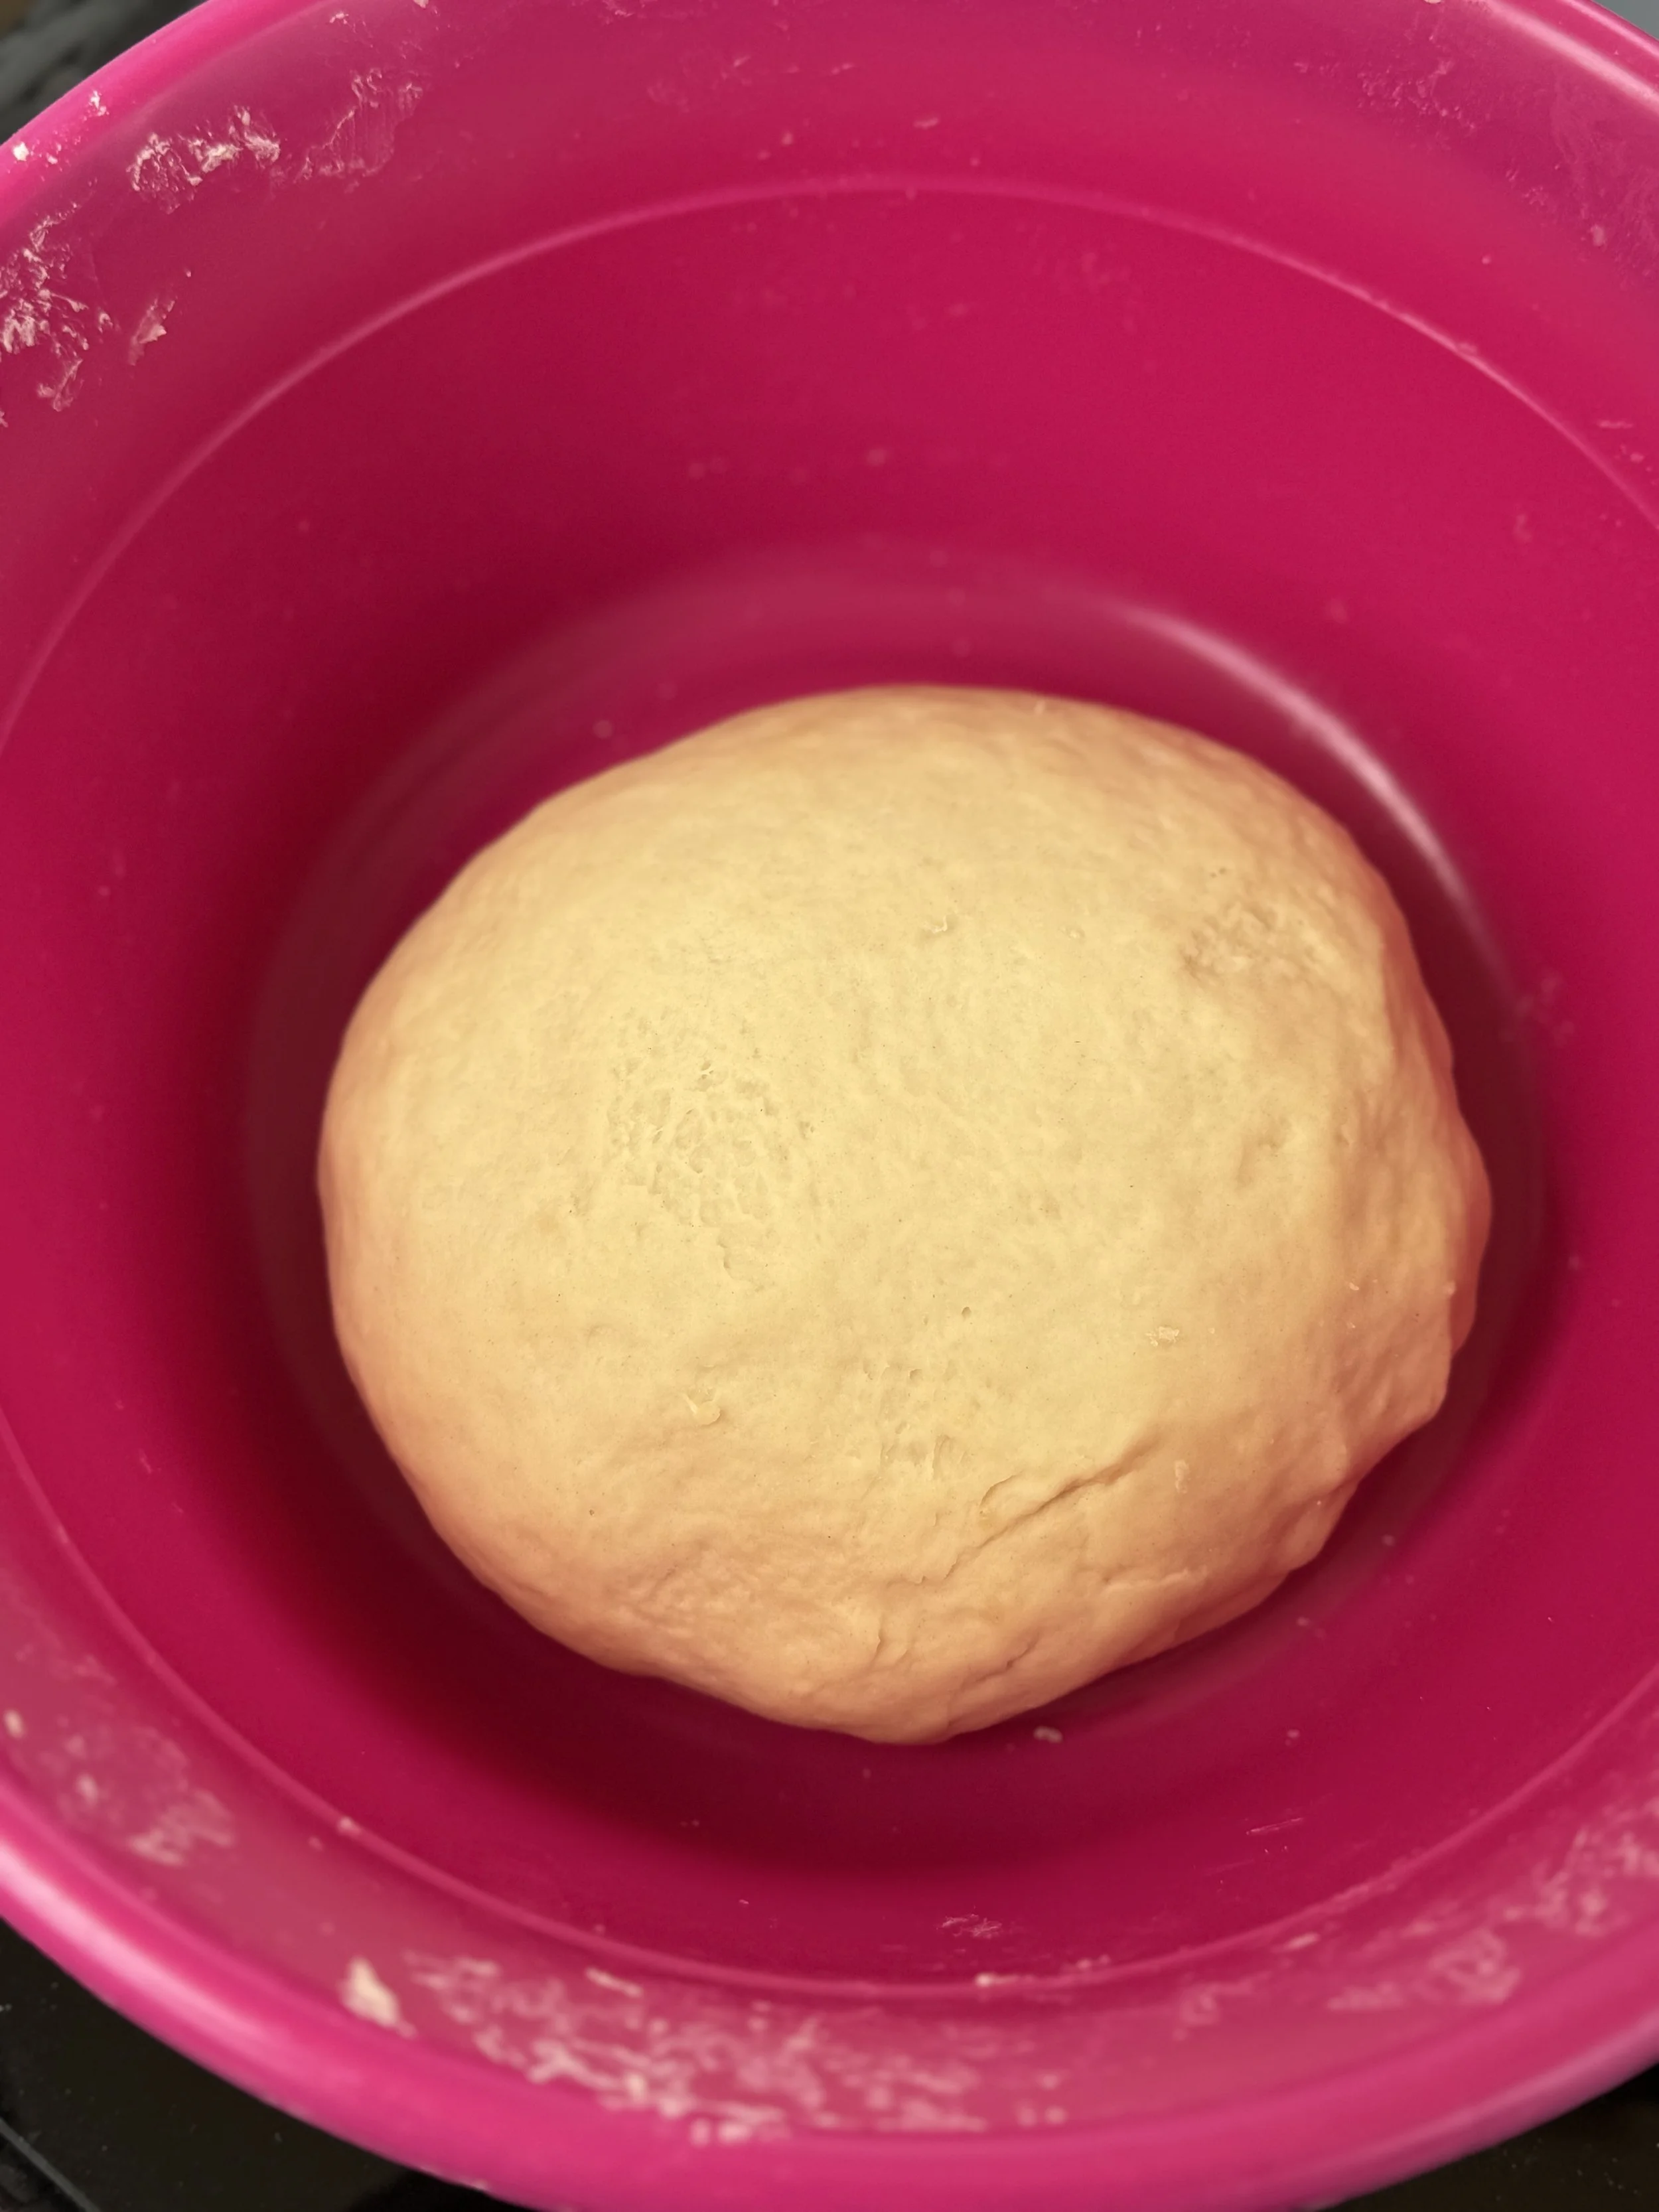
Gradually add the water, combining well as you go, until the dough is smooth. Combine fully before assessing whether you need to add any more flour or water. At the end the dough shouldn’t be dry with cracks but also shouldn’t stick to your hands.
Cover with a tea towel and leave to rest for 30 minutes.
Preparing the greens
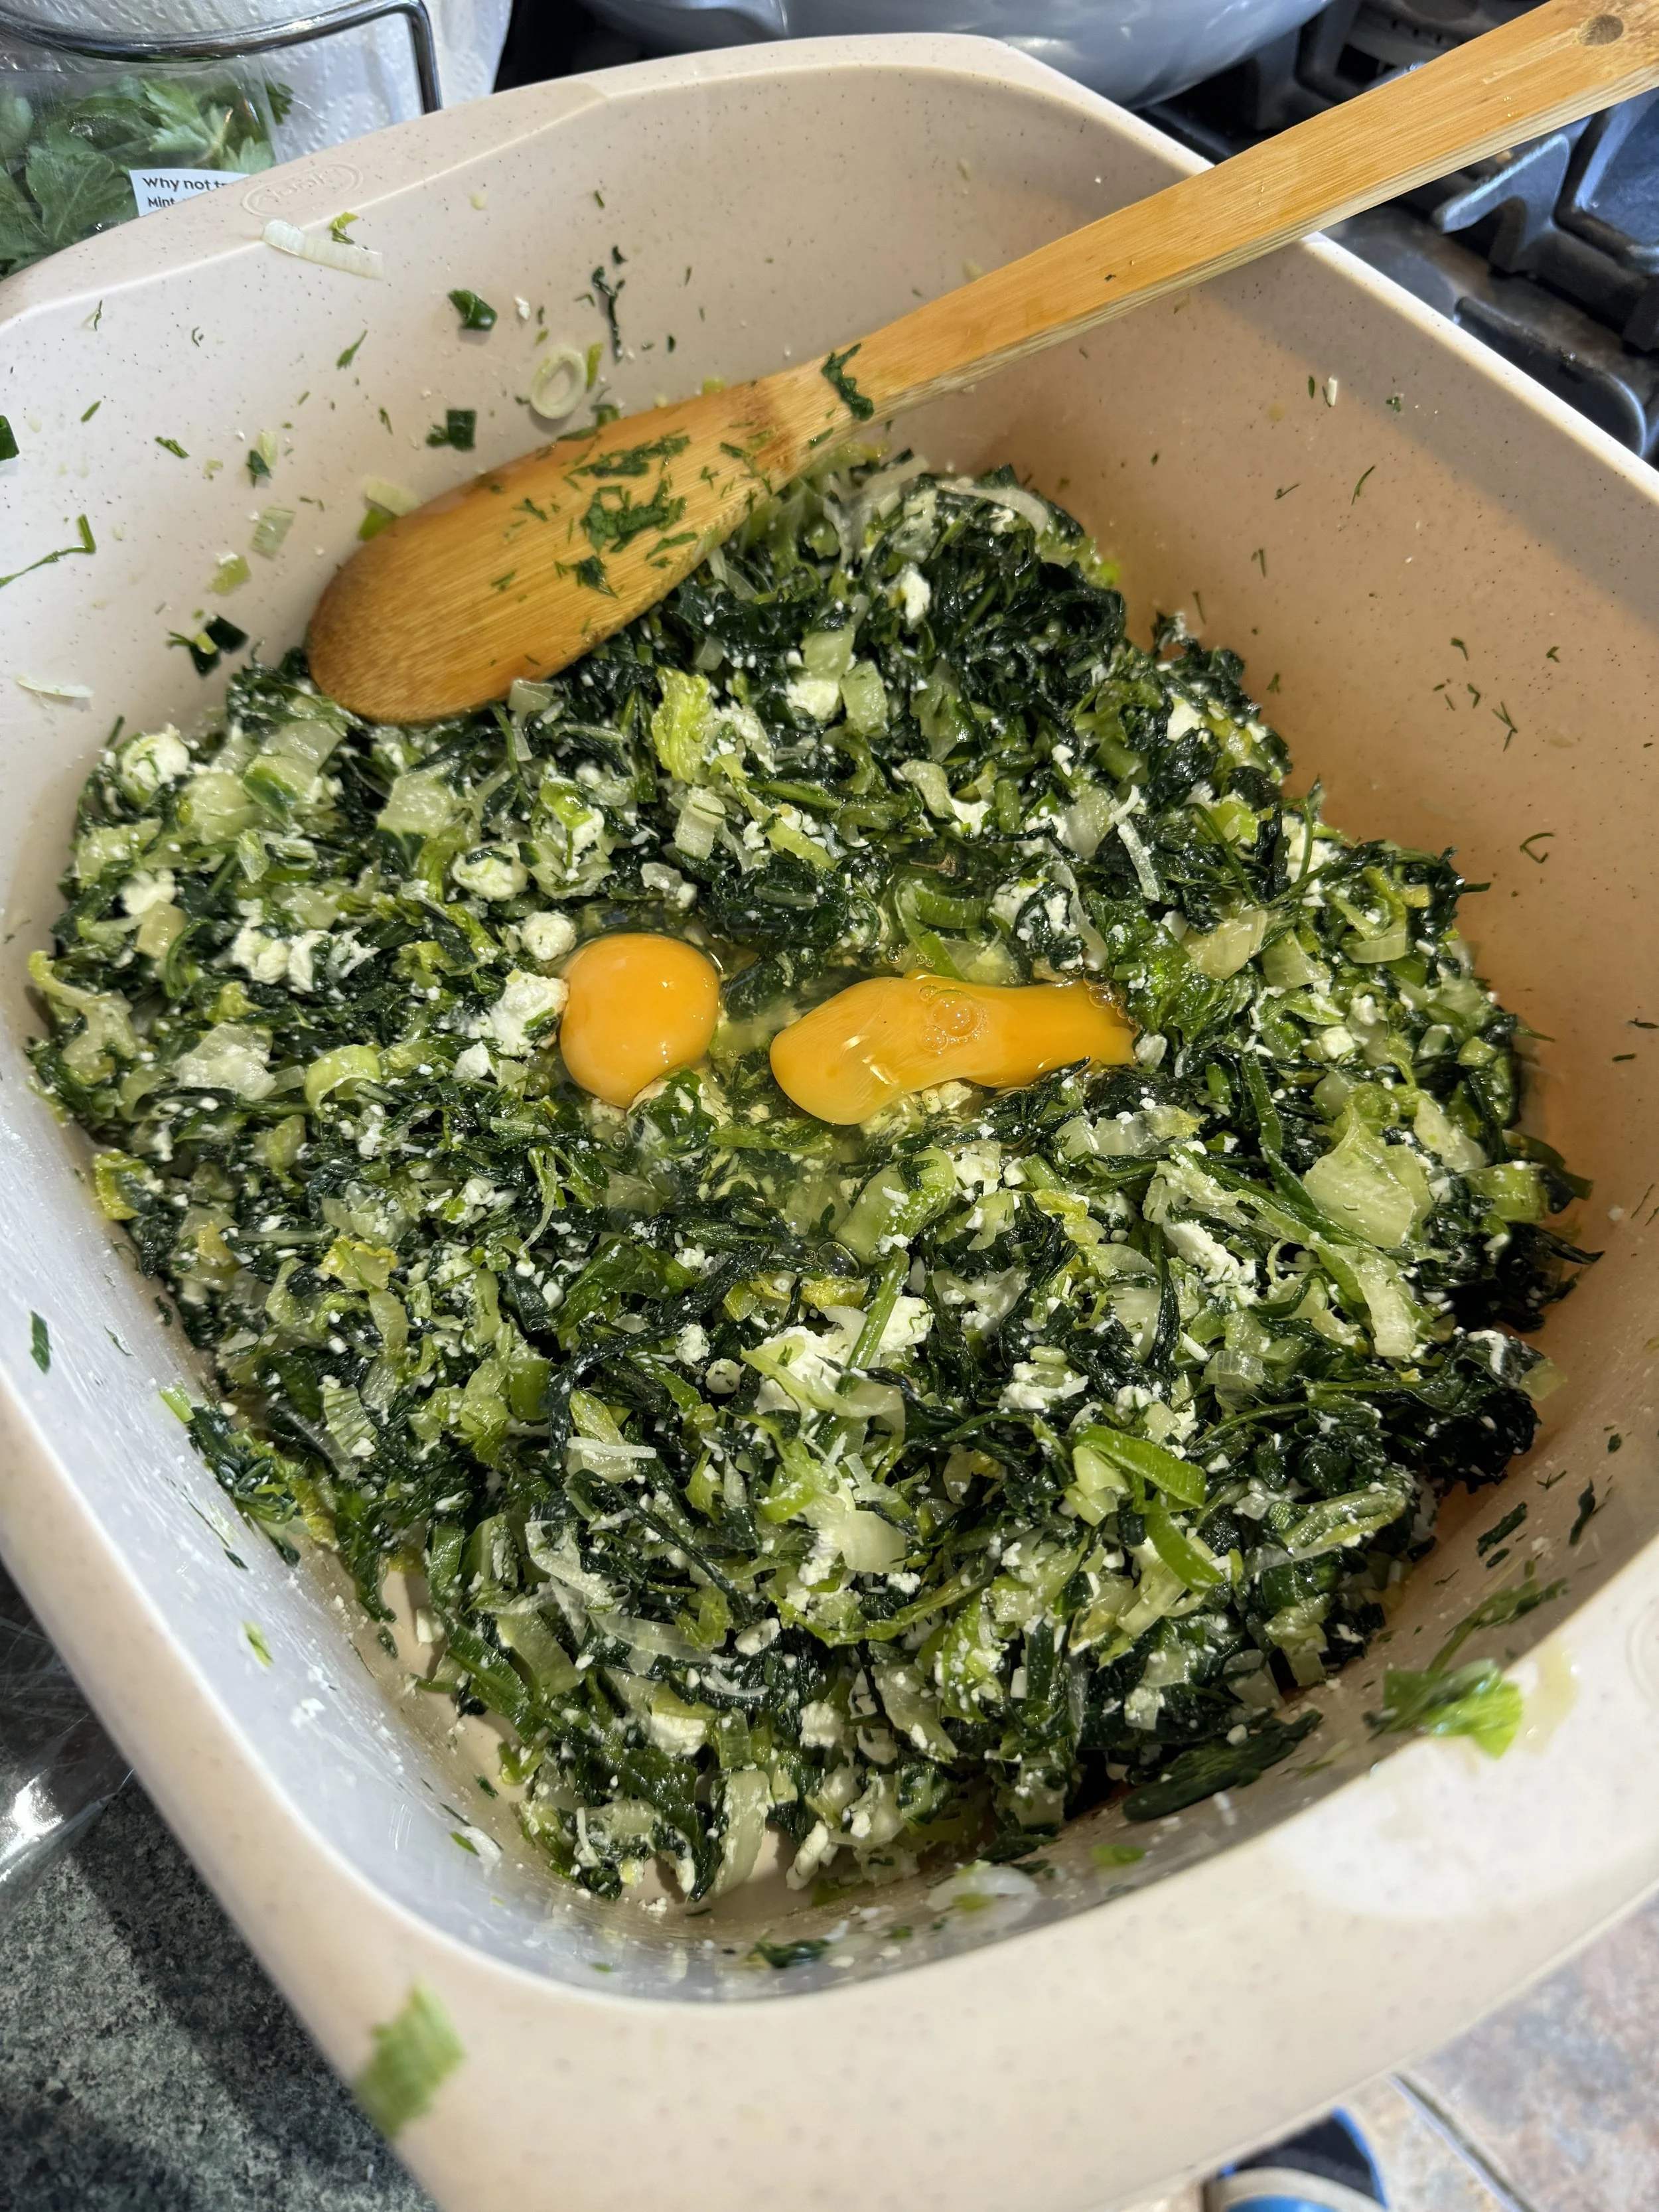
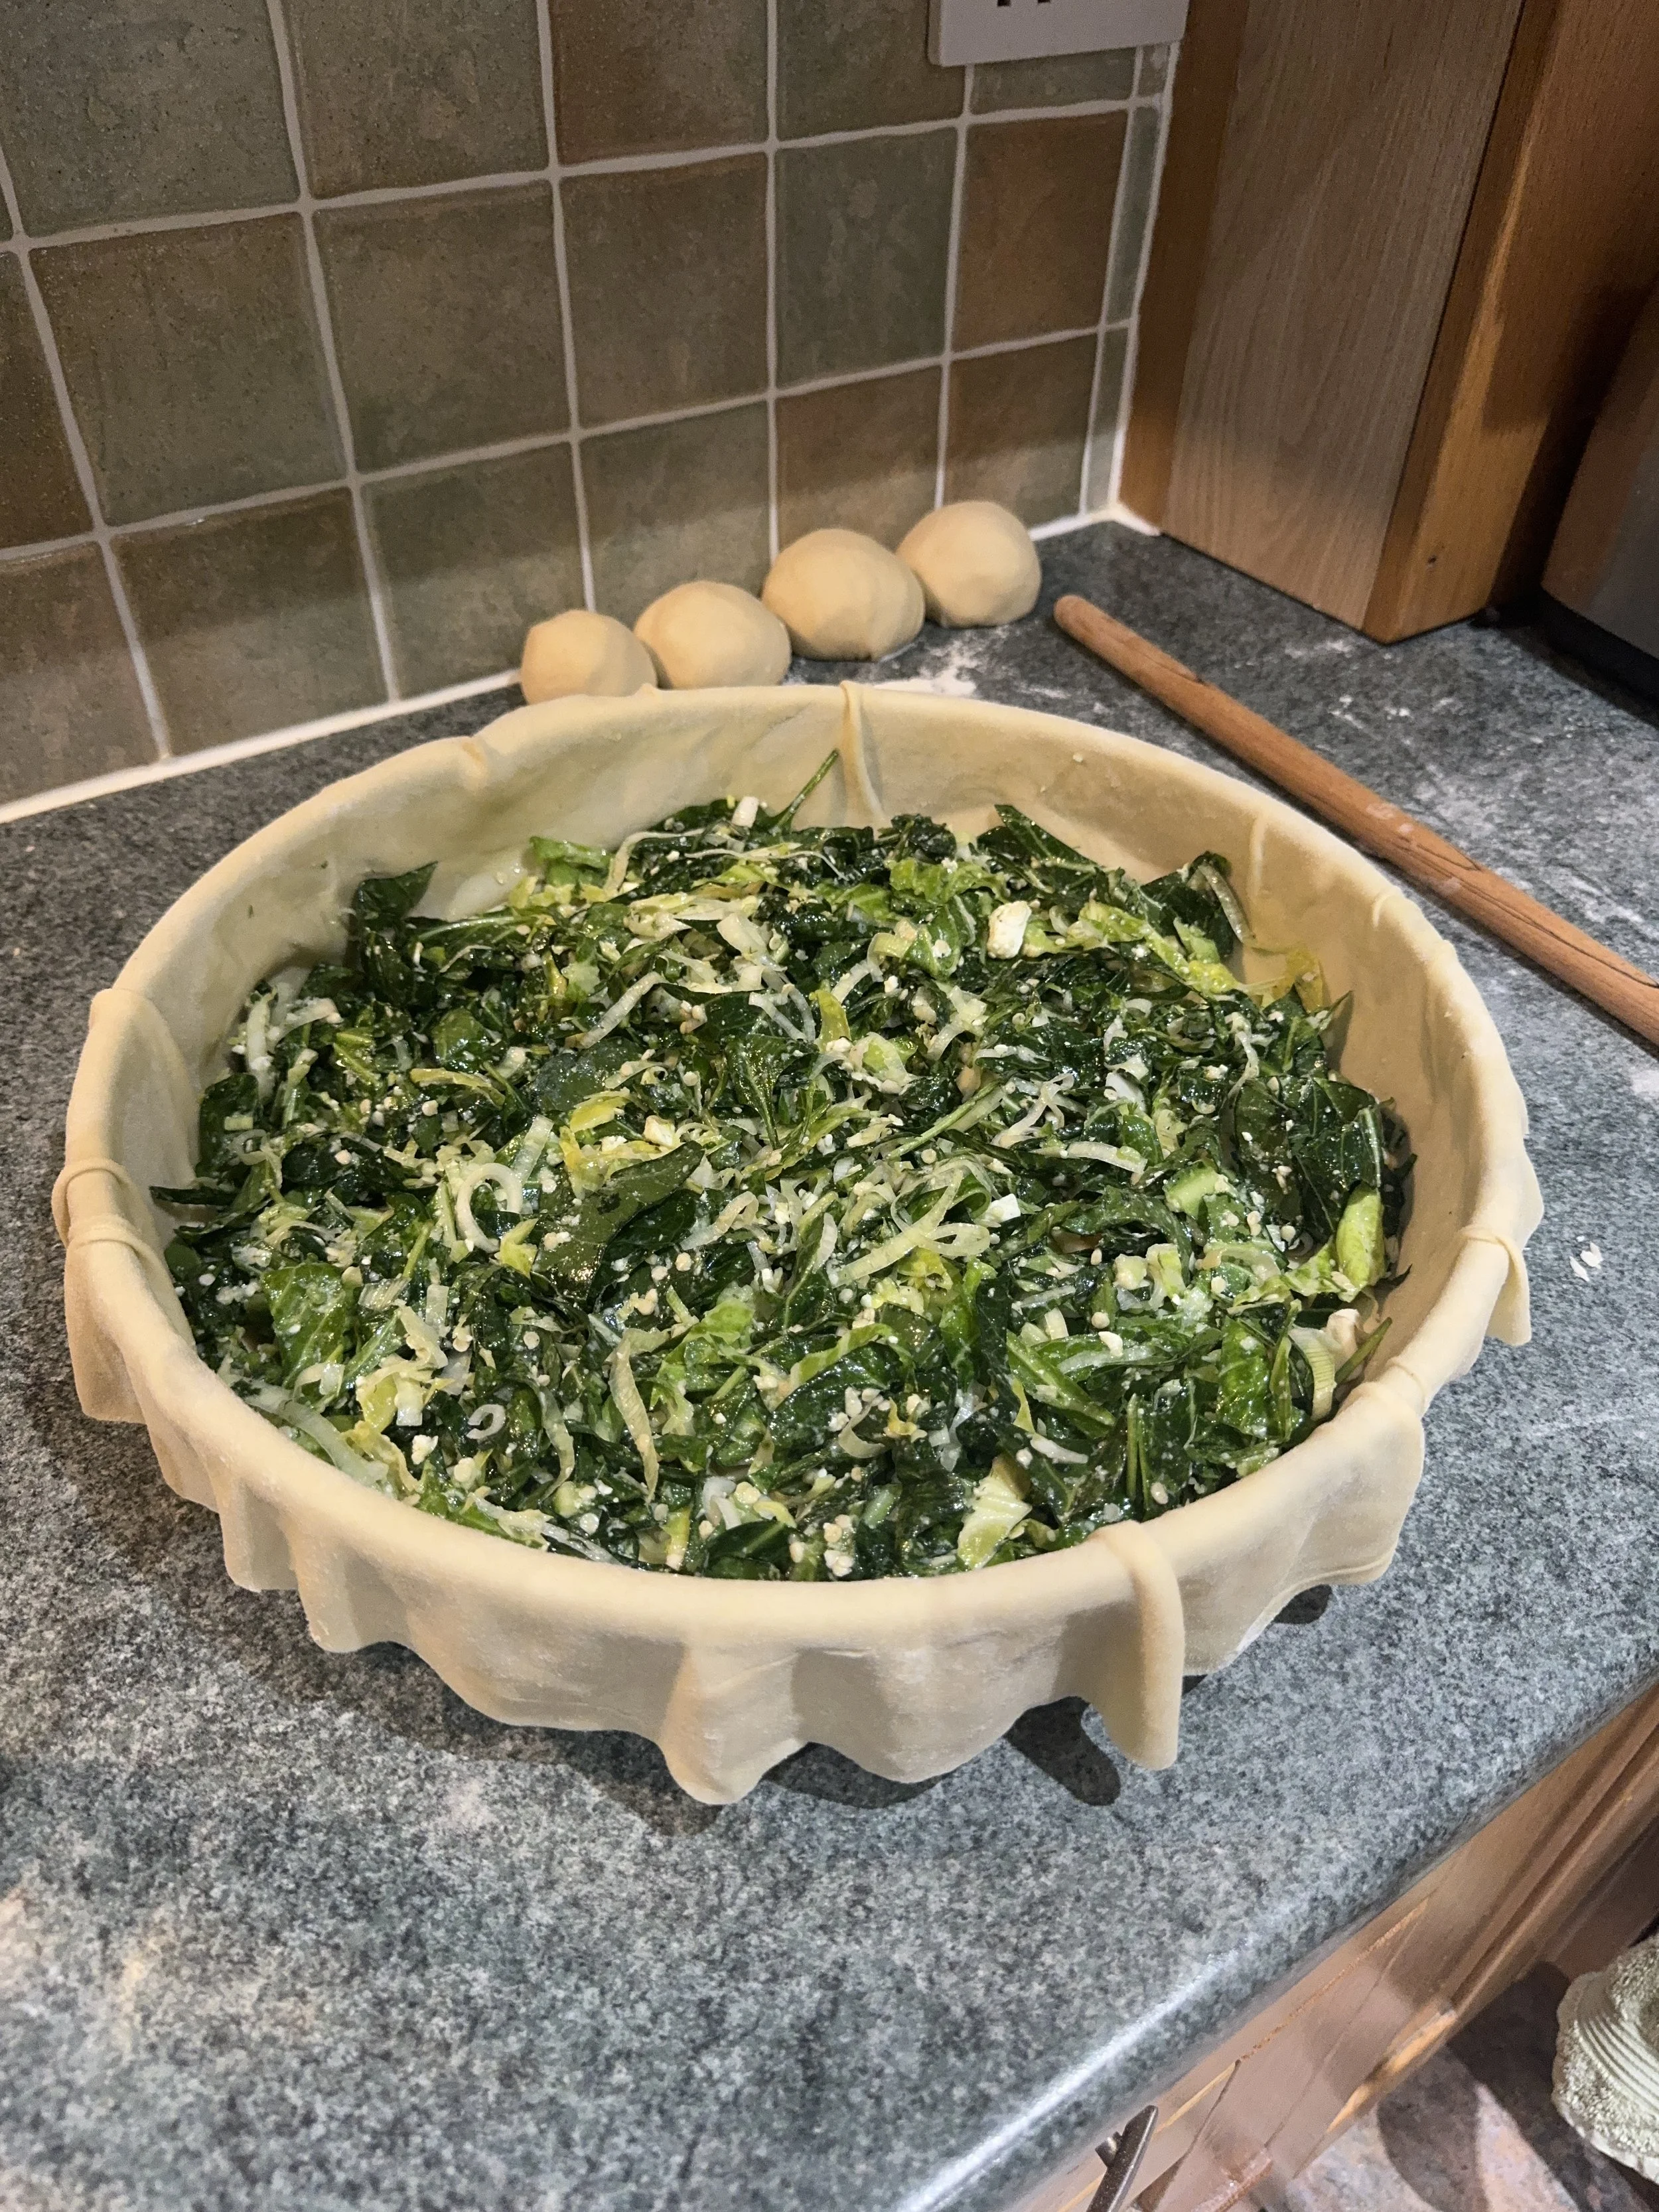
Trim the greens once they’re dry. Shred them and place in a large bowl.
Add the cheese(s), olive oil, eggs, trahana, then combine and season well. The filling is ready. Don’t start this step too early as the salt may wilt the greens, drawing out moisture and altering the structure of the pita. Lots of people strain the greens and squeeze all the moisture out, but this isn’t necessary and doesn’t actually give the pita more structure or crispness as you might think it does. Plus, the trahanas is there to absorb excess moisture.

‘Opening’ the filo
See video & photos below for guidance.
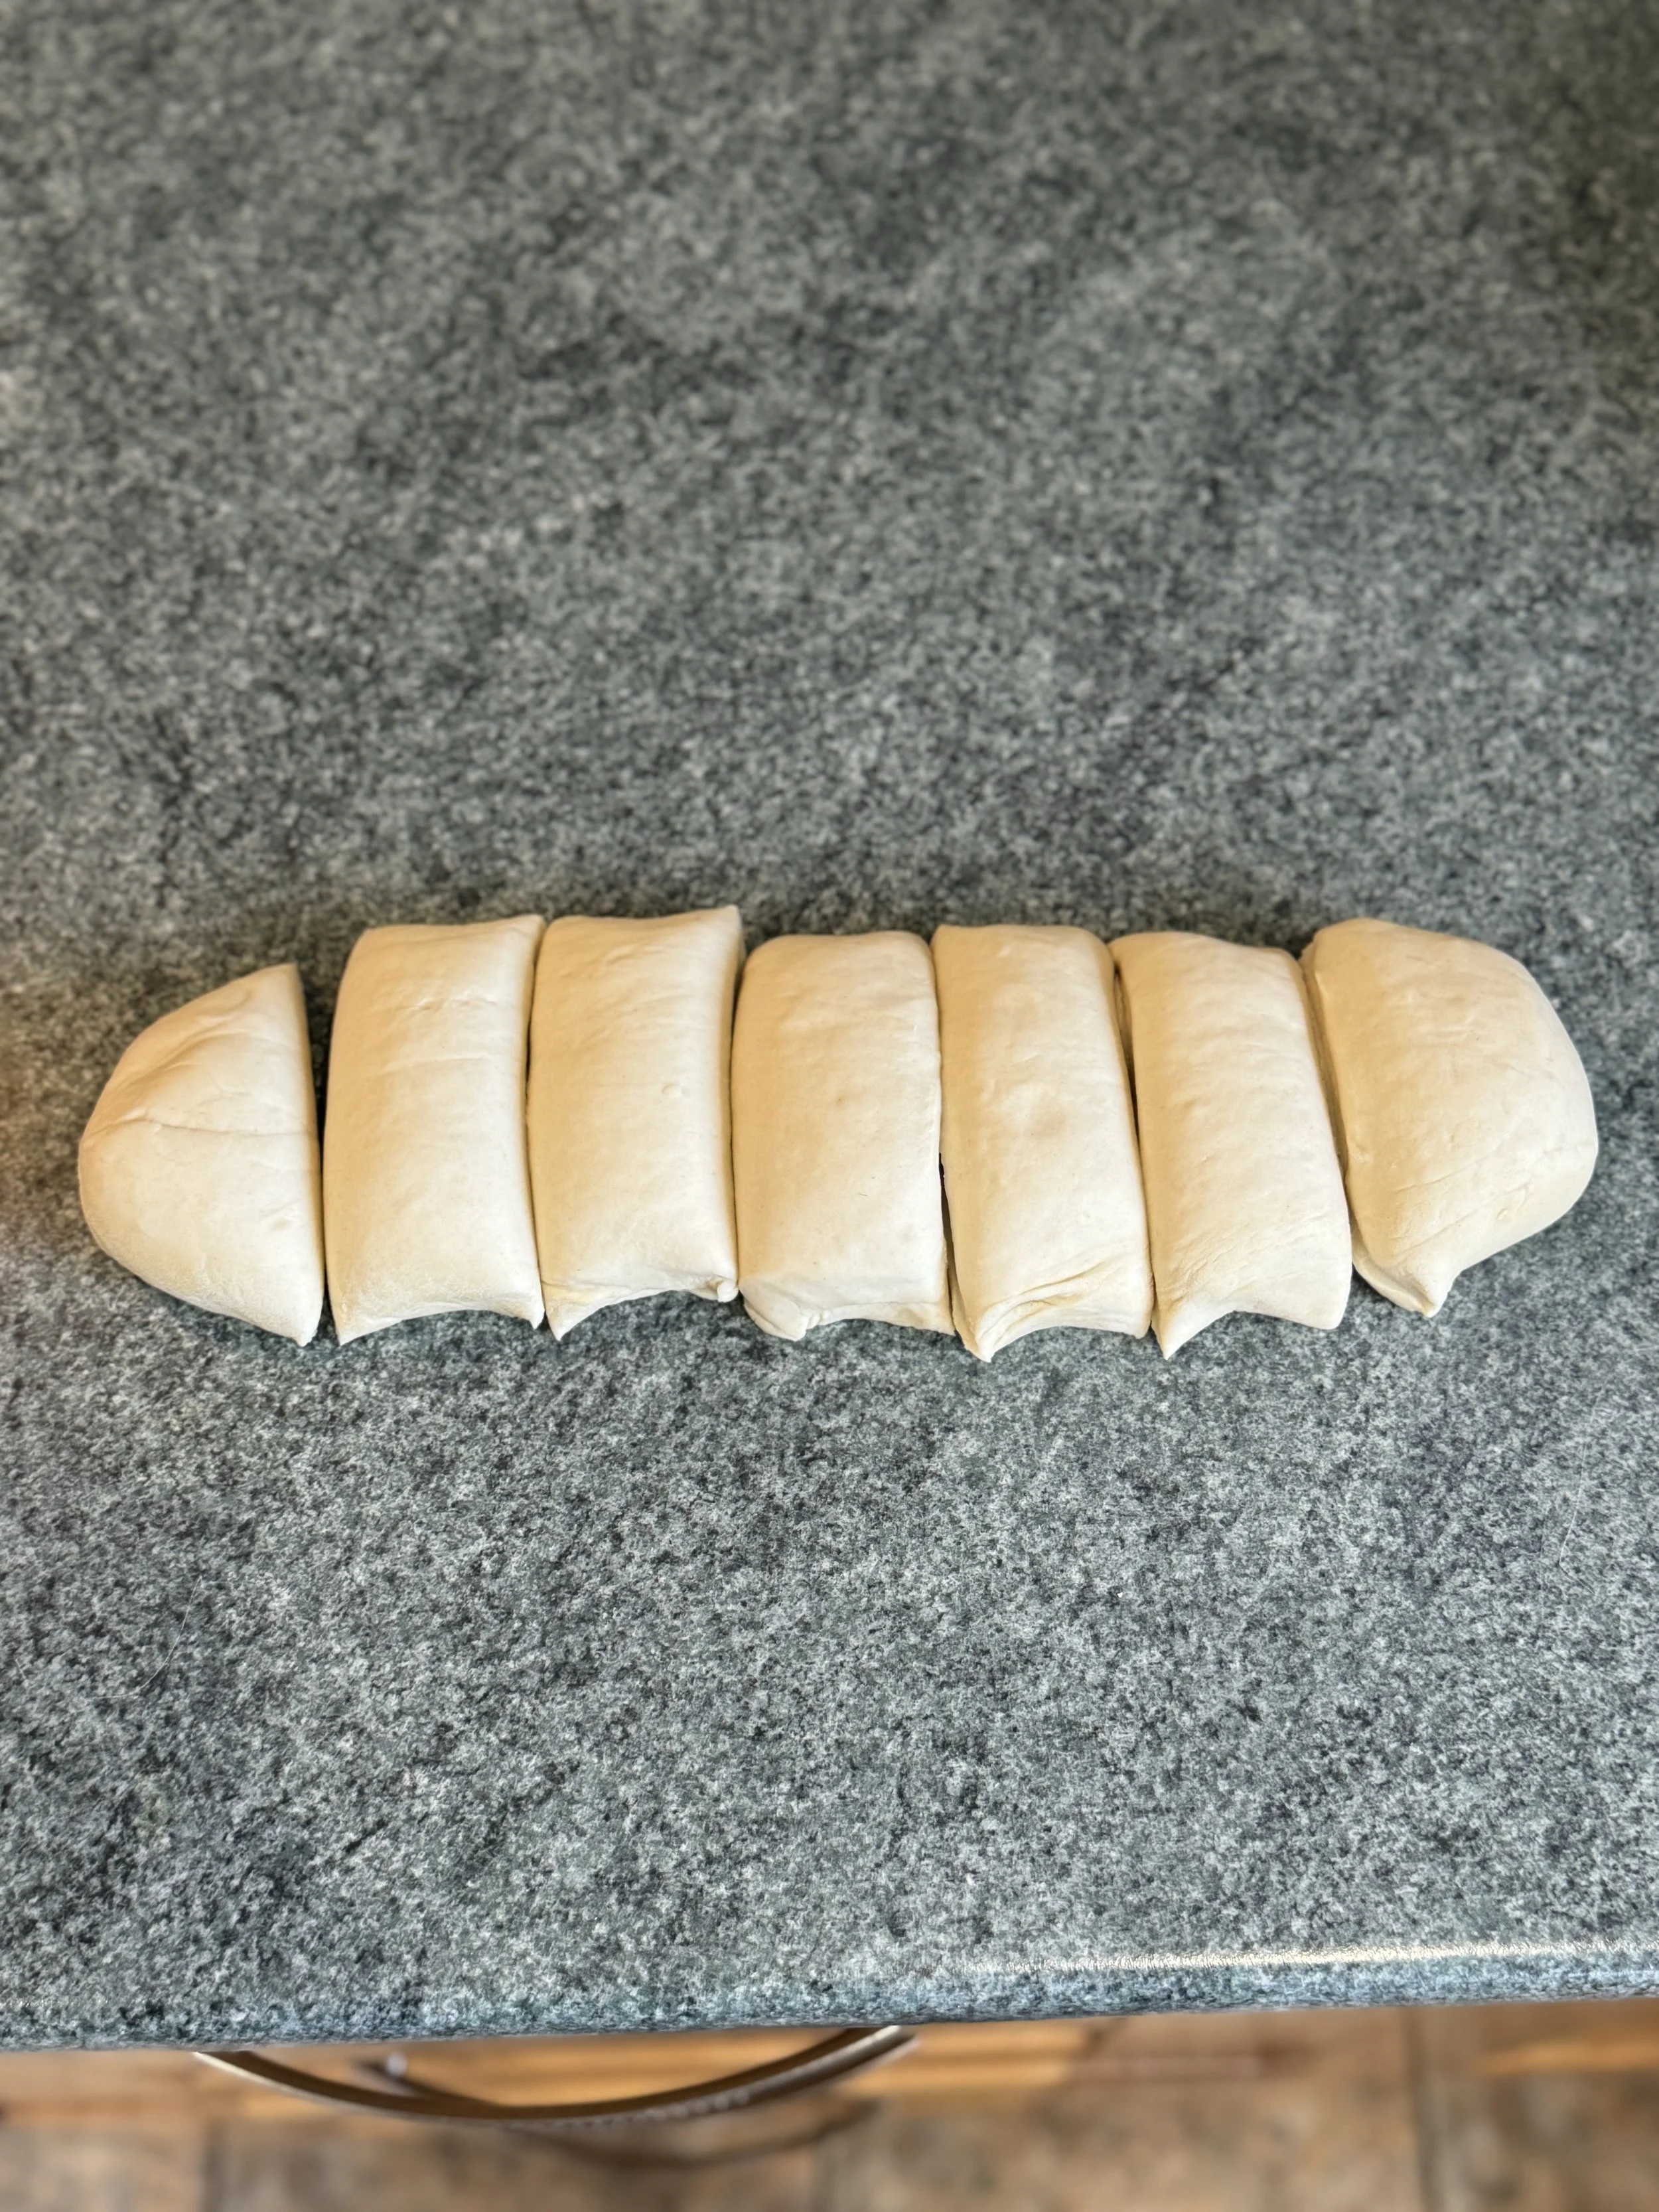
Now that the dough has rested, empty onto a large, spacious surface and roll it into a log shape, roughly 50cm in length, then cut into 5-6 discs, one slightly larger than the rest. (I’ve found the pita is best if you use 2 pieces of filo at the bottom, 1 piece between layers of the filling, and another 2 layers of filo on top.)
Roll the pieces into ball shapes and set aside as you begin to ‘open’ the fylla (‘leaves’) one by one.
On a floured surface, take the largest piece, sprinkle it with flour, and flatten it with your hand. With the rolling pin, begin to roll the dough until you’ve got it down to 1/2cm or thinner, again rotating it as you go to maintain symmetry. Sprinkle it with a little more flour to stop it from sticking.
After the first few rolls, place the rolling pin at the edge of the fillo that is nearest to you, and roll the filo in on itself so it tightly wraps itself around the rolling pin (first picture below).
With the filo coiled around the rolling pin, use the palms of both of your hands to gentle roll it, starting with your hands in the middle of the rolling pin and moving them outwards. Roll back and forth while moving your hands outwards a couple of times as you unravel the filo. Evenly sprinkle more flour if you feel it’s sticking or creasing. Rotate before repeating to maintain an even shape and prevent tearing.
To rotate, wrap the filo around the rolling pin again, turn the pin 45 degrees so it is diagonal, unravel in that position, and bring the pin back to the nearest edge so you can start rolling from a different angle (stages in photos below). This is the easiest and quickest way to rotate the filo; avoid overhandling it and damaging it with your hands as you try to turn it around.
Add more flour as you go to prevent the filo sticking and tearing as you roll it. If the filo is wrinkling, you may be pressing or stretching too hard in areas, but you might also need to add a bit more flour.
Continue until the filo is paper thin, almost translucent but not quite.
The gentler and more patient you are when starting out, the more likely you will get the smooth, thin and rounded result without tearing holes in the filo. For the first filo at least, roll it out so it’s larger than the diameter of the baking tray so it can hang over the edges.


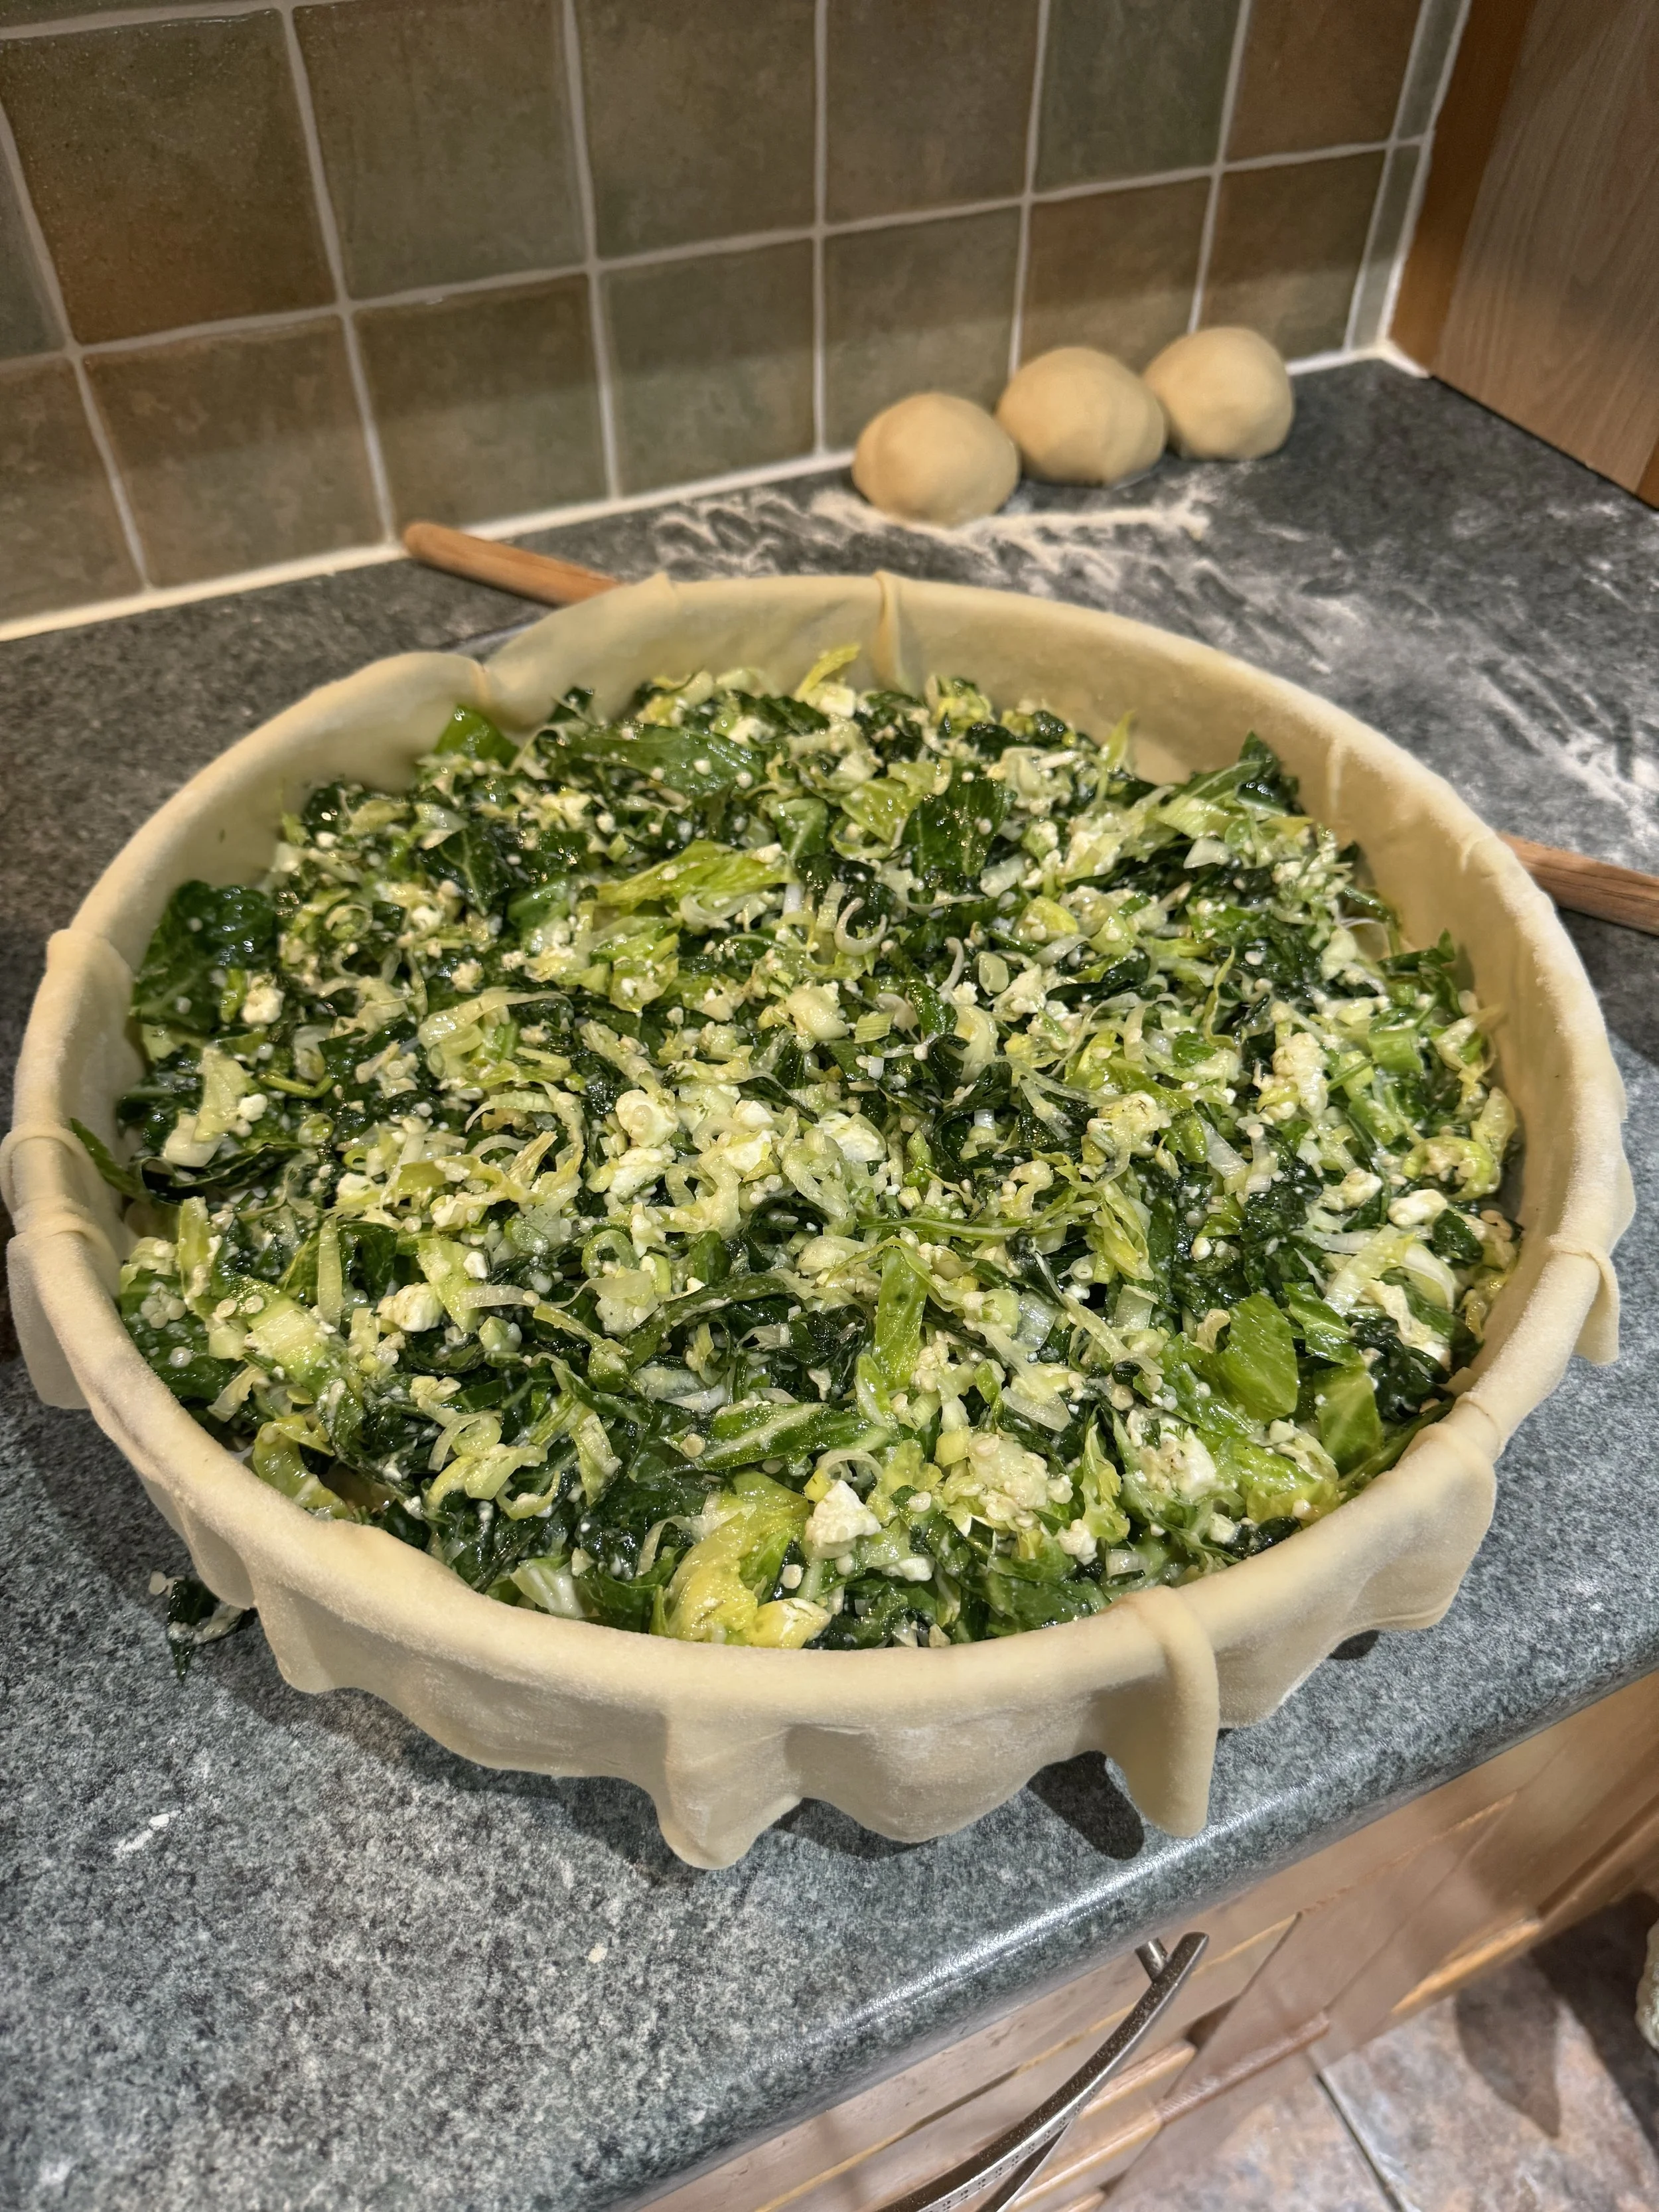
Constructing the pita
Preheat your oven to 170 degrees celsius, fan. Take a wide baking tray, round or rectangular, and lightly oil it all over inside.
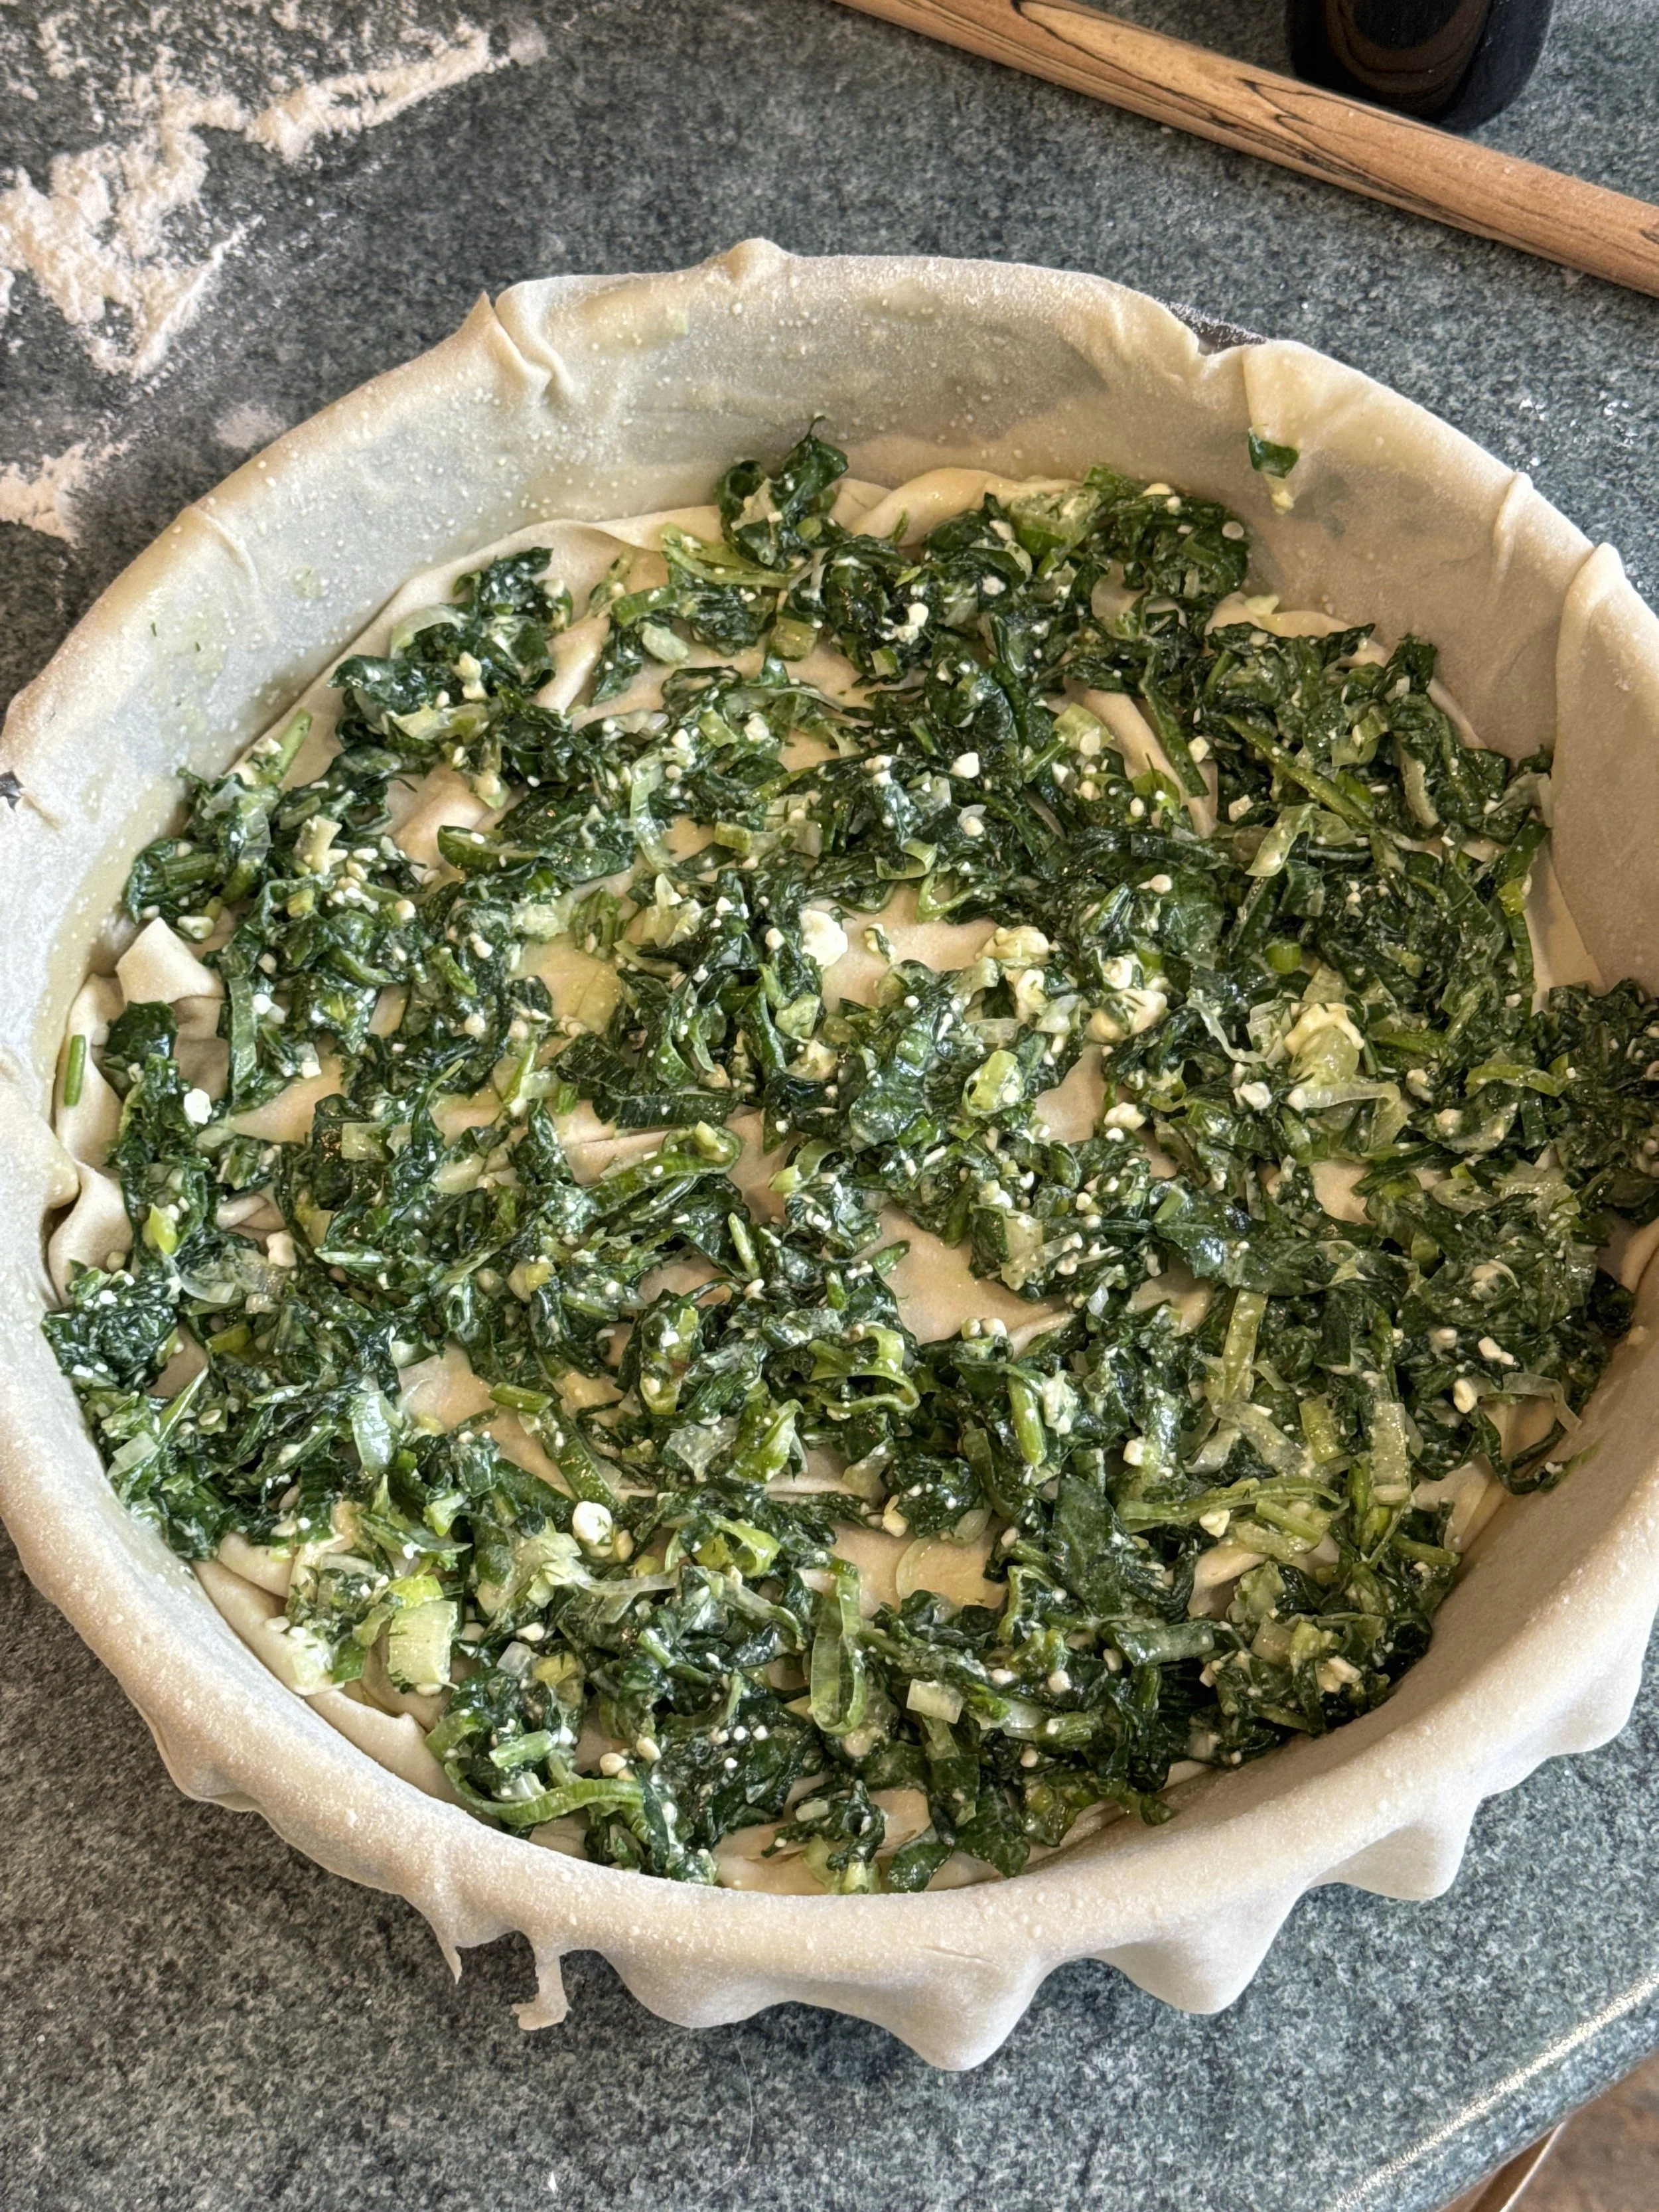
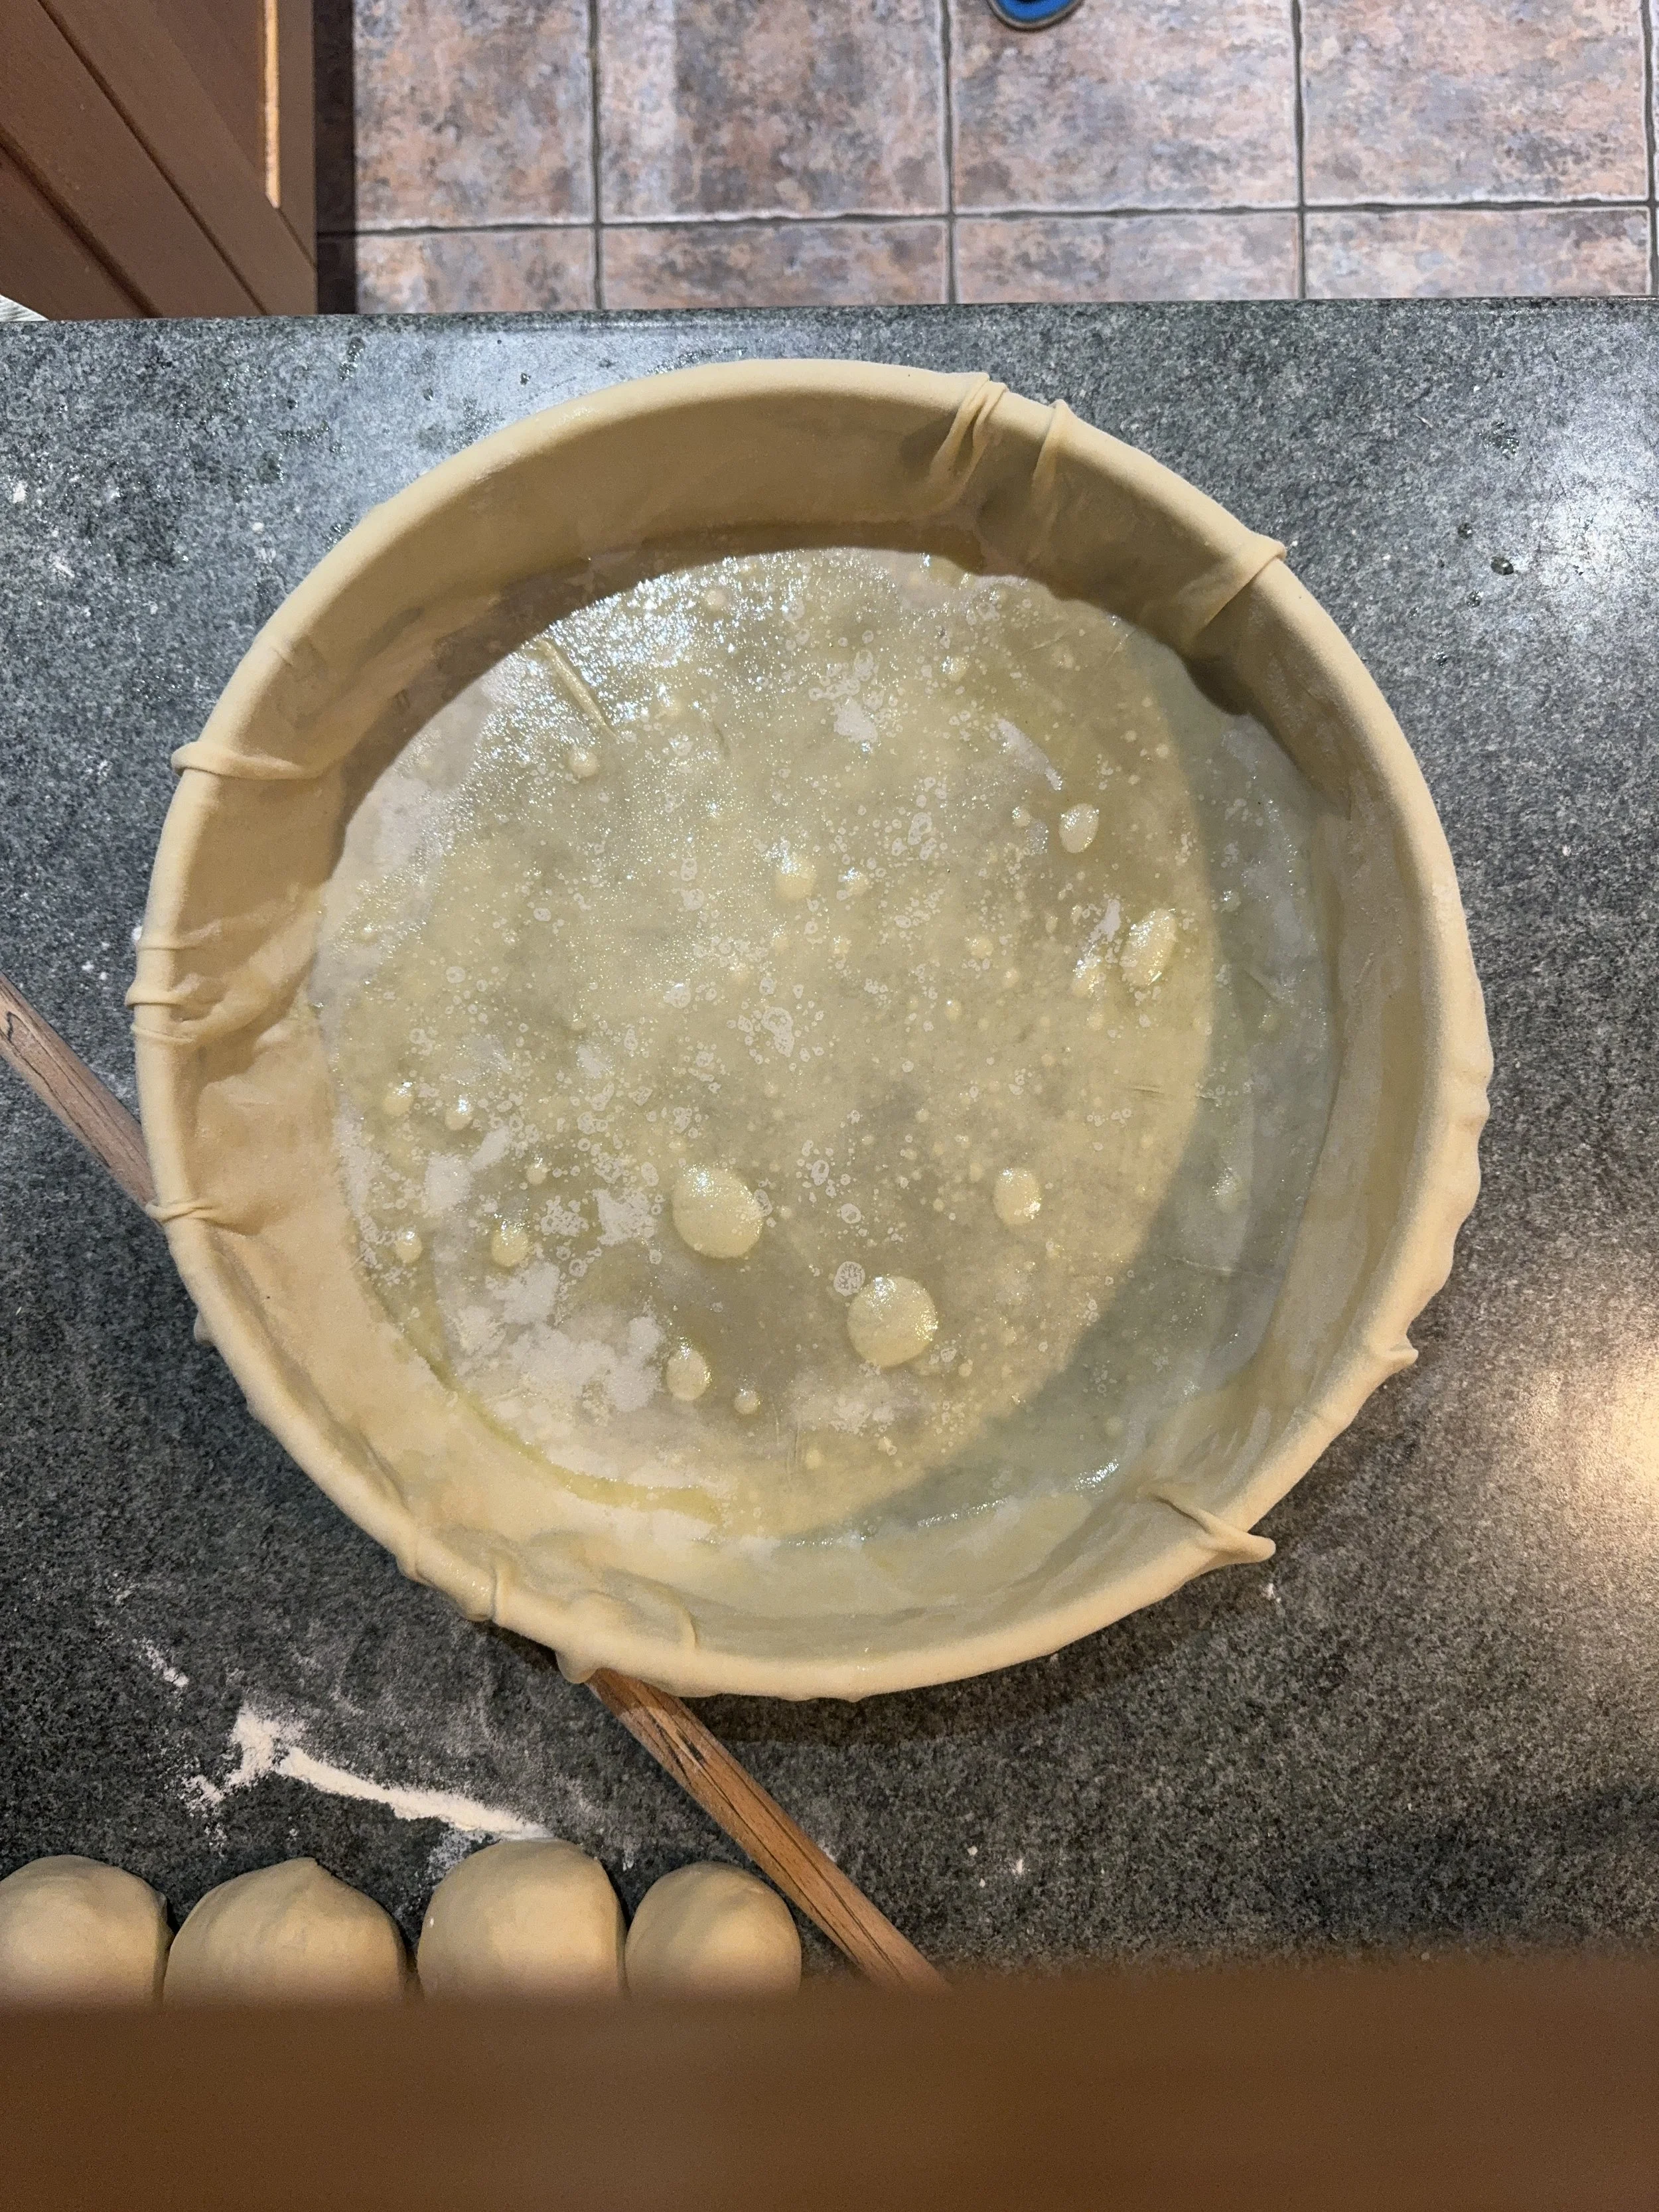
Gently place the first filo in the baking tray so that it’s hanging over the edges. To do this, roll the phyllo around the rolling pin and slowly unravel onto the tray. Drizzle with extra virgin olive oil and sprinkle with a touch of water. Repeat another 1-2 times until you have your base, but for the remaining fylla, tuck the entire filo into the baking tray so it isn’t hanging over the edges like the first one. It doesn’t matter if it crumples or creases a little – so long as the filo is thin enough this will help create texture and structure. Drizzle each layer of filo with the extra virgin oil and a sprinkle of water.
Now add half the filling onto the base and spread evenly with some small gaps between clusters, reaching all of the corners. Add another layer of filo and cover with the remainder of the filling so that you have one filo sheet between 2 layers of filling.
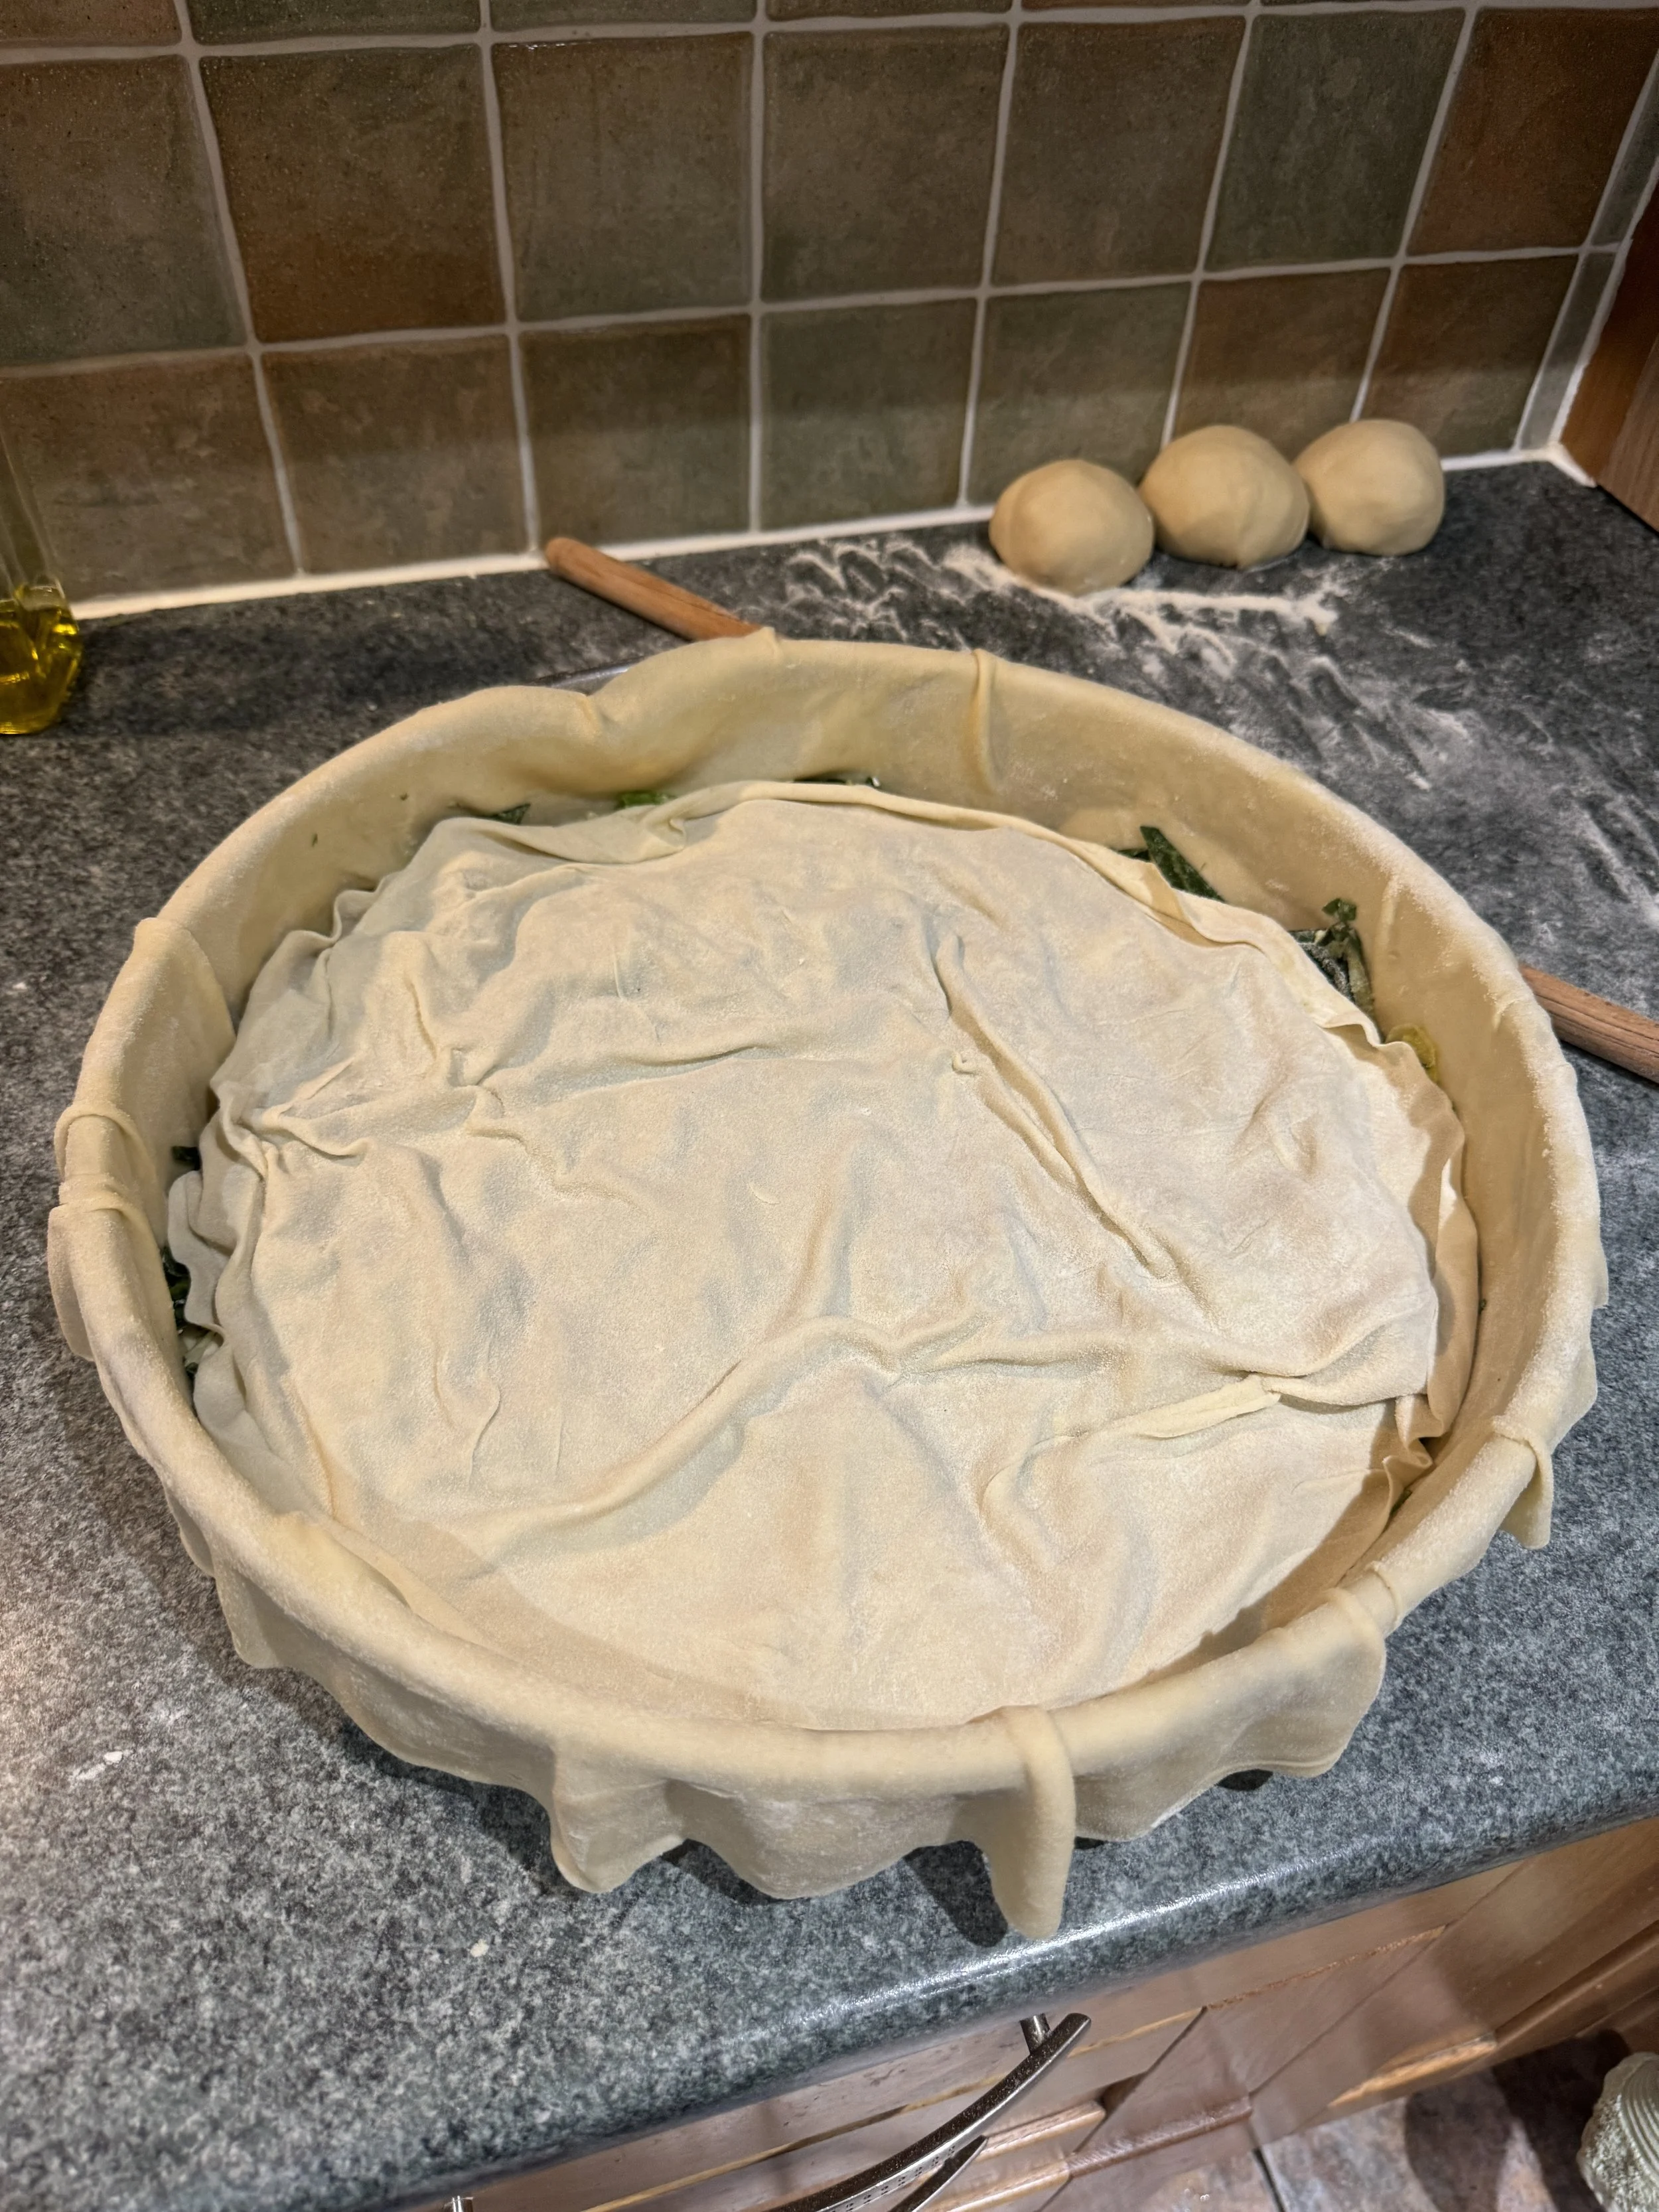
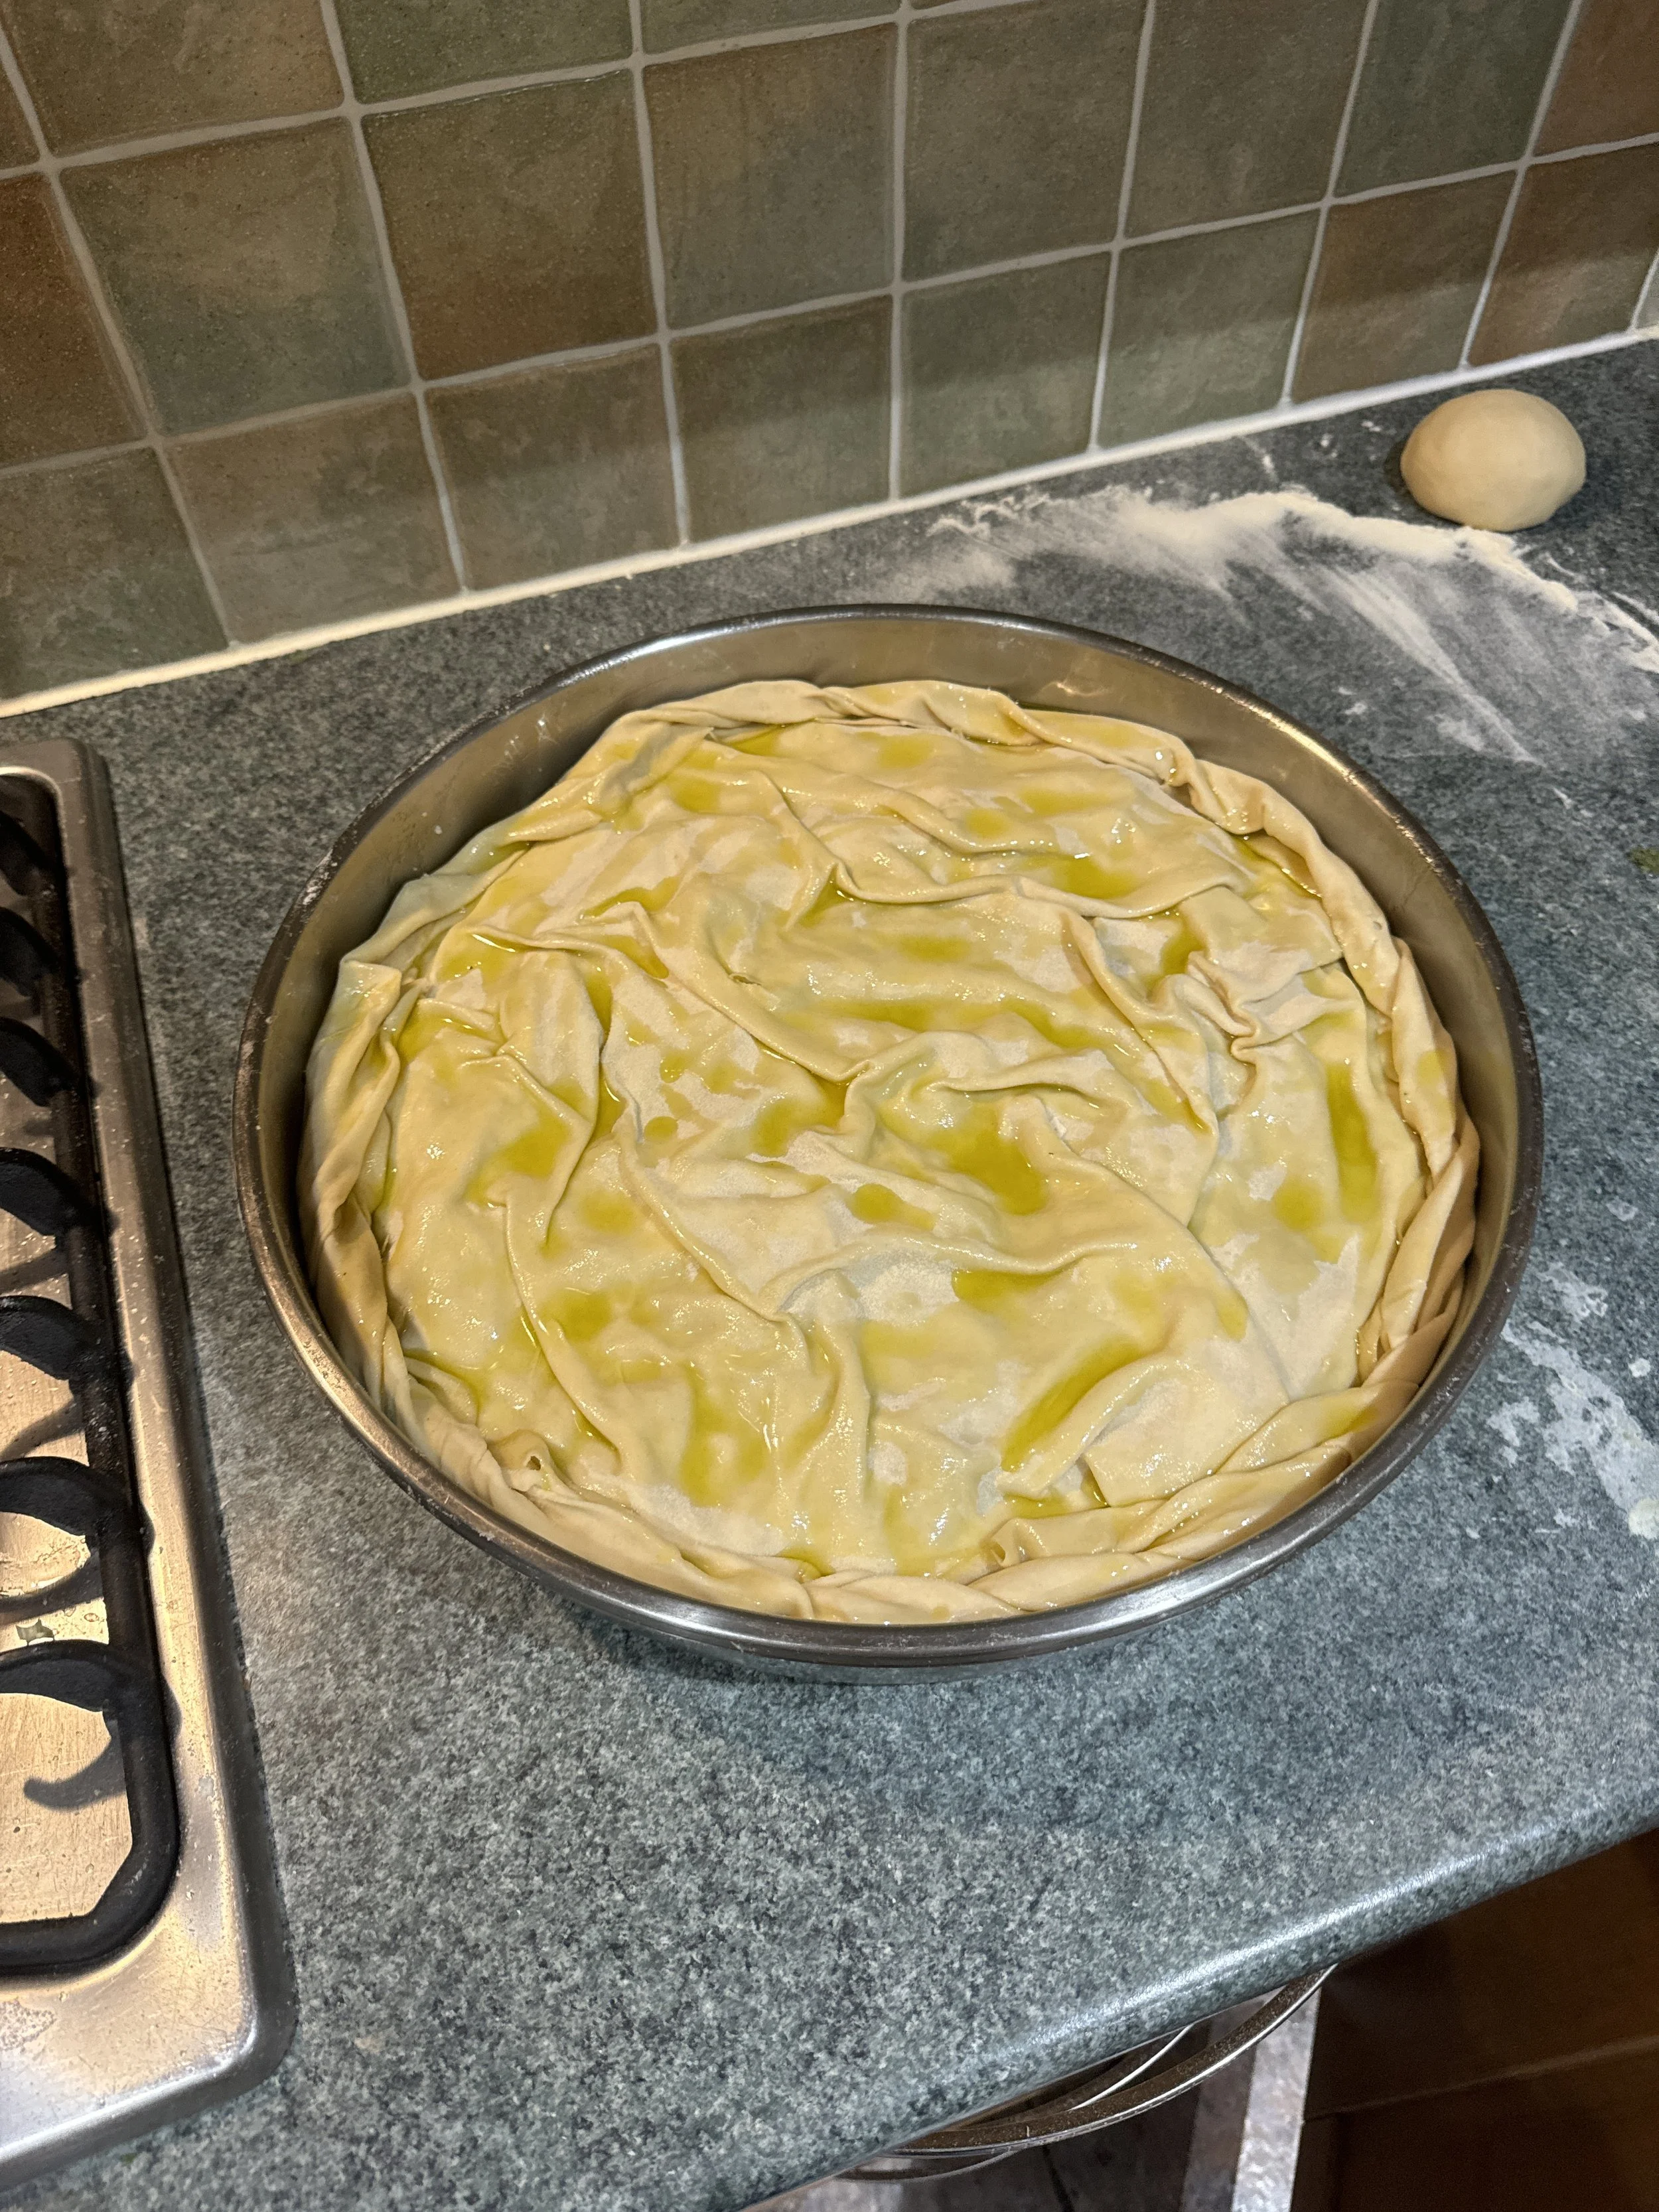
Onto the top layer. Once you have added all of the filling, cover with a sheet of filo. If the filo is larger than the tray, you can either tuck the edges in, let the filo crease for a ripple effect, or (if you want a smooth surface without too must crust) use the rolling pin to cut off the excess by pressing and rolling along the rim of the tray.
Add a drizzle of oil and sprinkle of water and repeat with the final filo.
With the parts of the first filo that are hanging out of the tray, roll them inwards as you like to create an outer crust. Roll it inwards diagonally or press with your fingers to create a pattern.
Drizzle the extra virgin olive oil and sprinkle some more water. If you like, you can also brush with a beaten egg to create a smoother, golden crust. Both are common methods but the egg isn’t necessary.


Cooking the pita
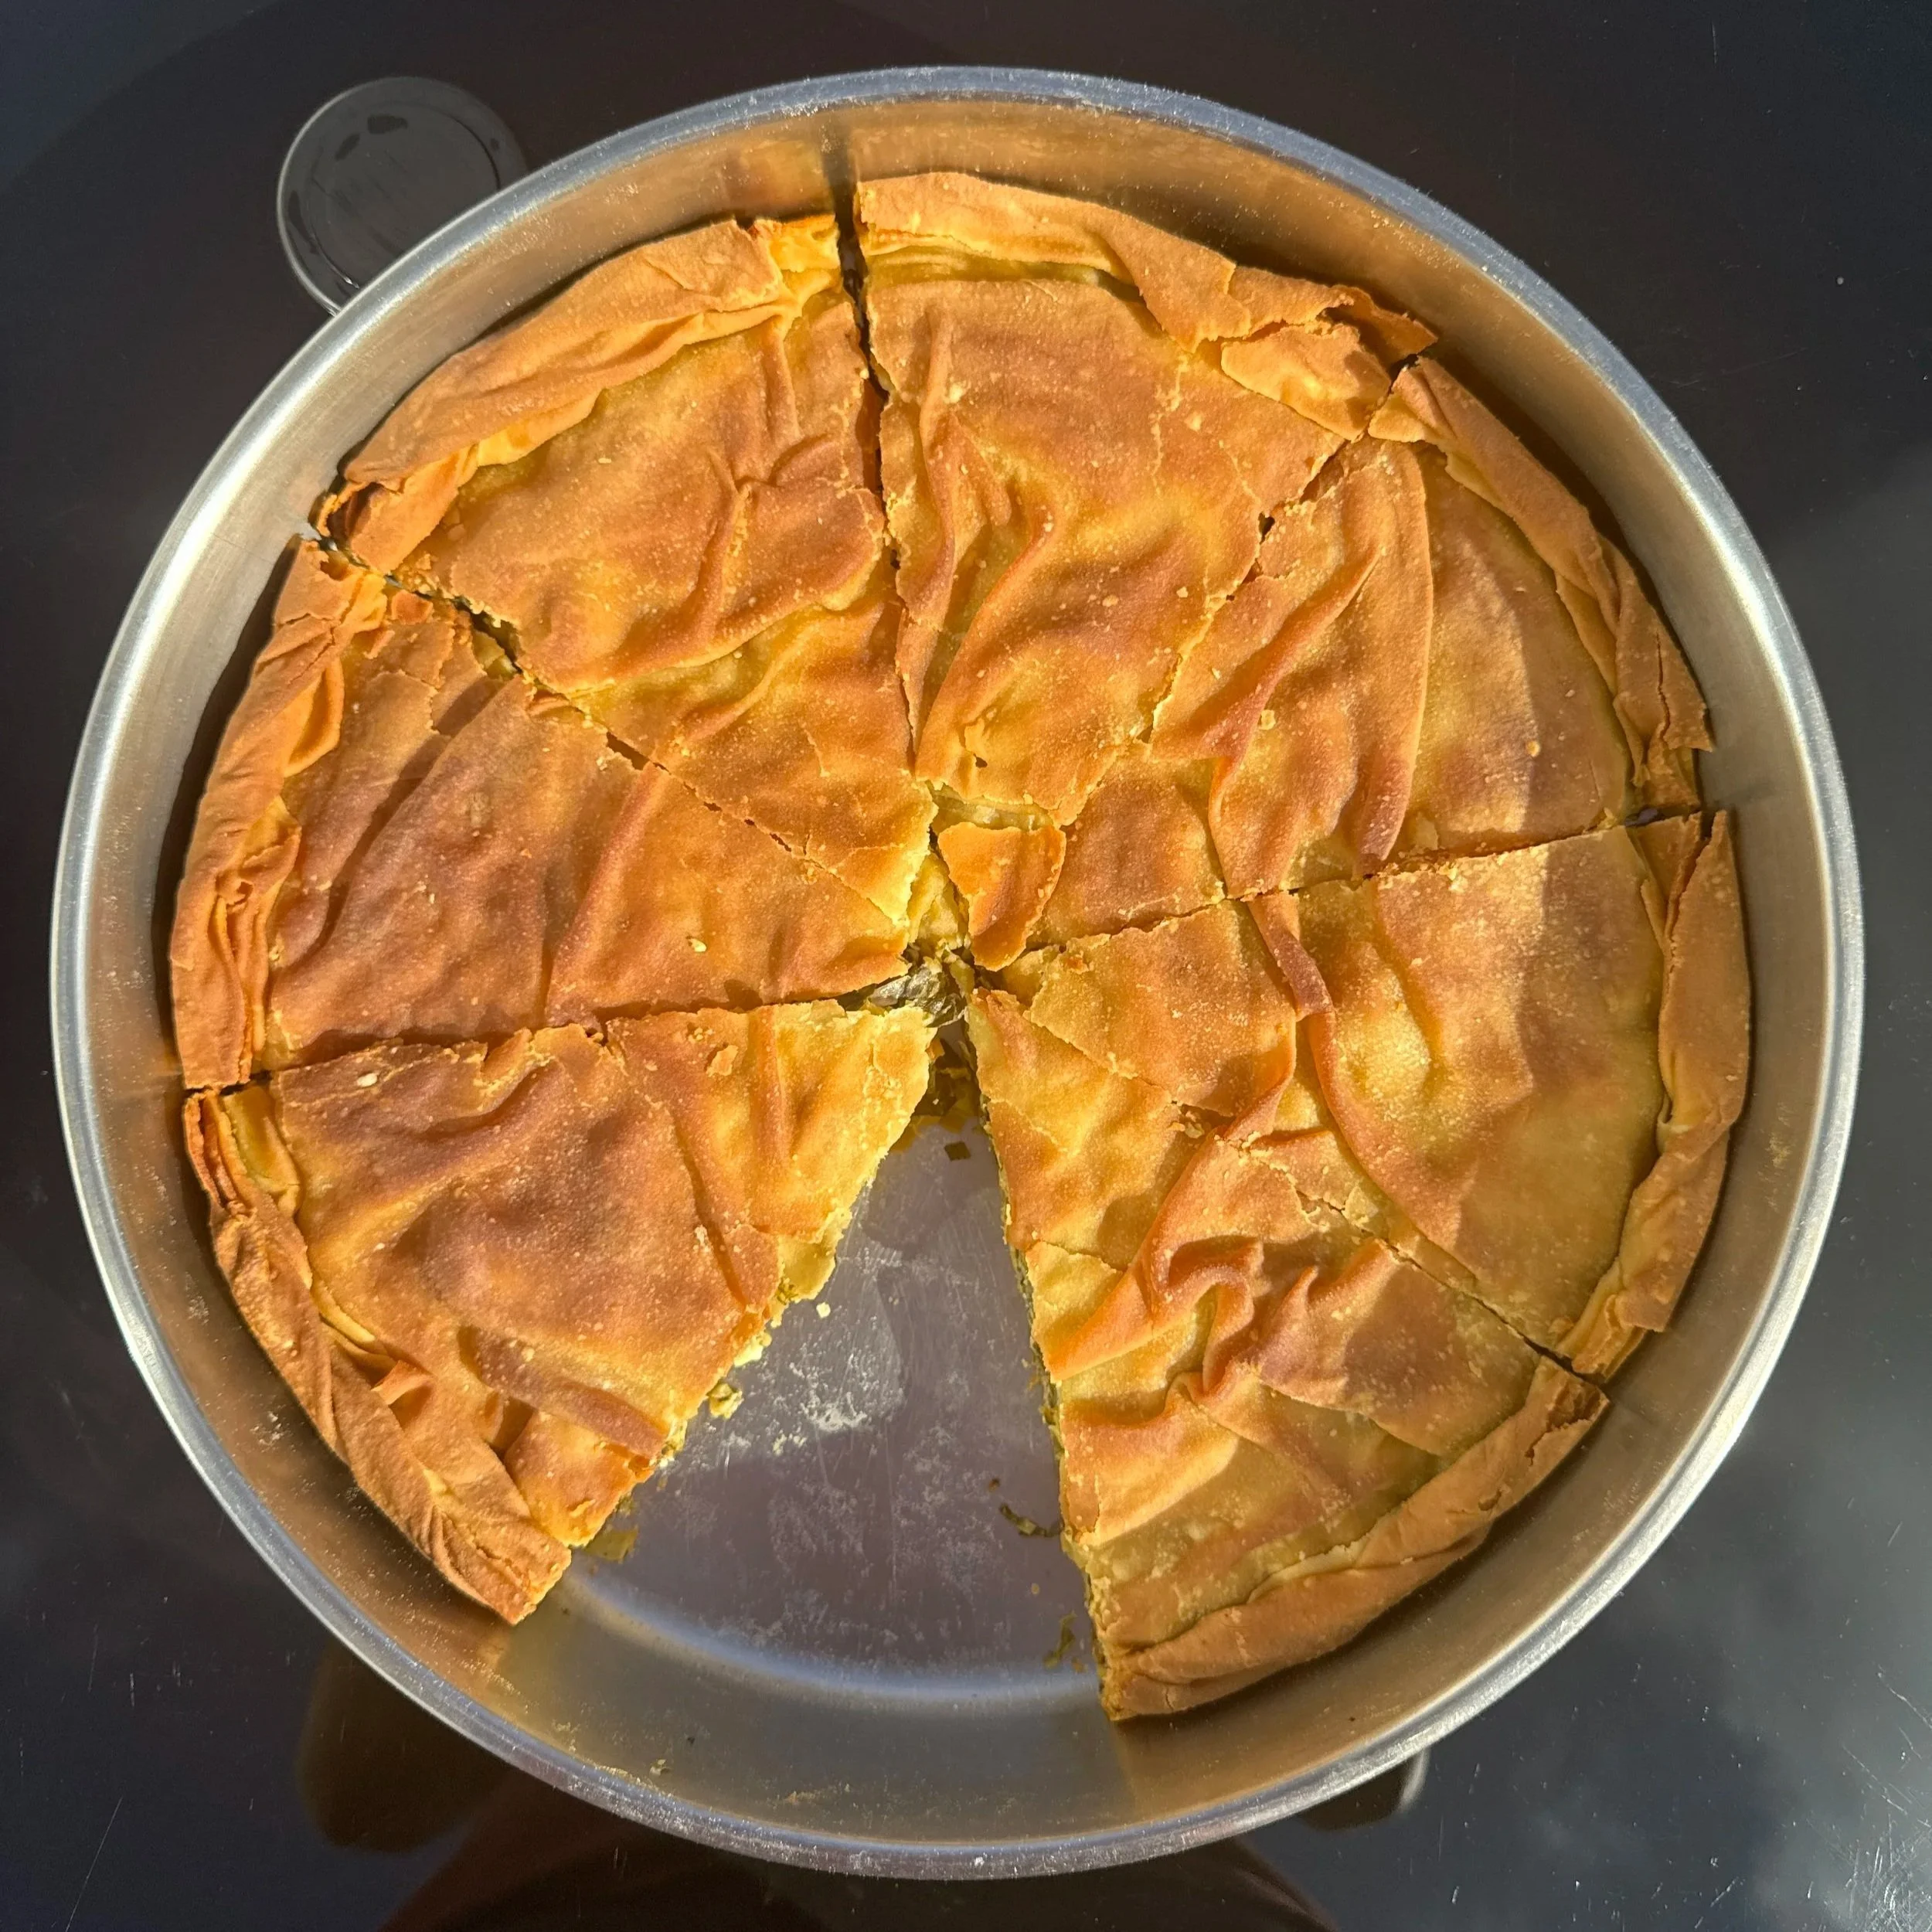
You can pre-cut the pita if you like before it goes in the oven. It makes it easier to serve, but I prefer to flip the pita halfway through and cut after cooking, which helps create more of an even crust on both sides.
Place in the preheated oven and cook for a total of 60-90 minutes, checking as you go.
Once the pita is golden and crisp, remove from the oven. If you haven’t pre-cut it, cut it as soon as it comes out of the oven to allow it to release its steam and prevent the filo going soggy. Allow to cool for 30 minutes or so and serve warm or cold. Traditional pites don’t usually stay crispy for too long, so it’s best to eat it on the same day!
Tag @souvakination_ in your stories. Email alex@souvlakination.com if you have any questions or want to share the way you make it.